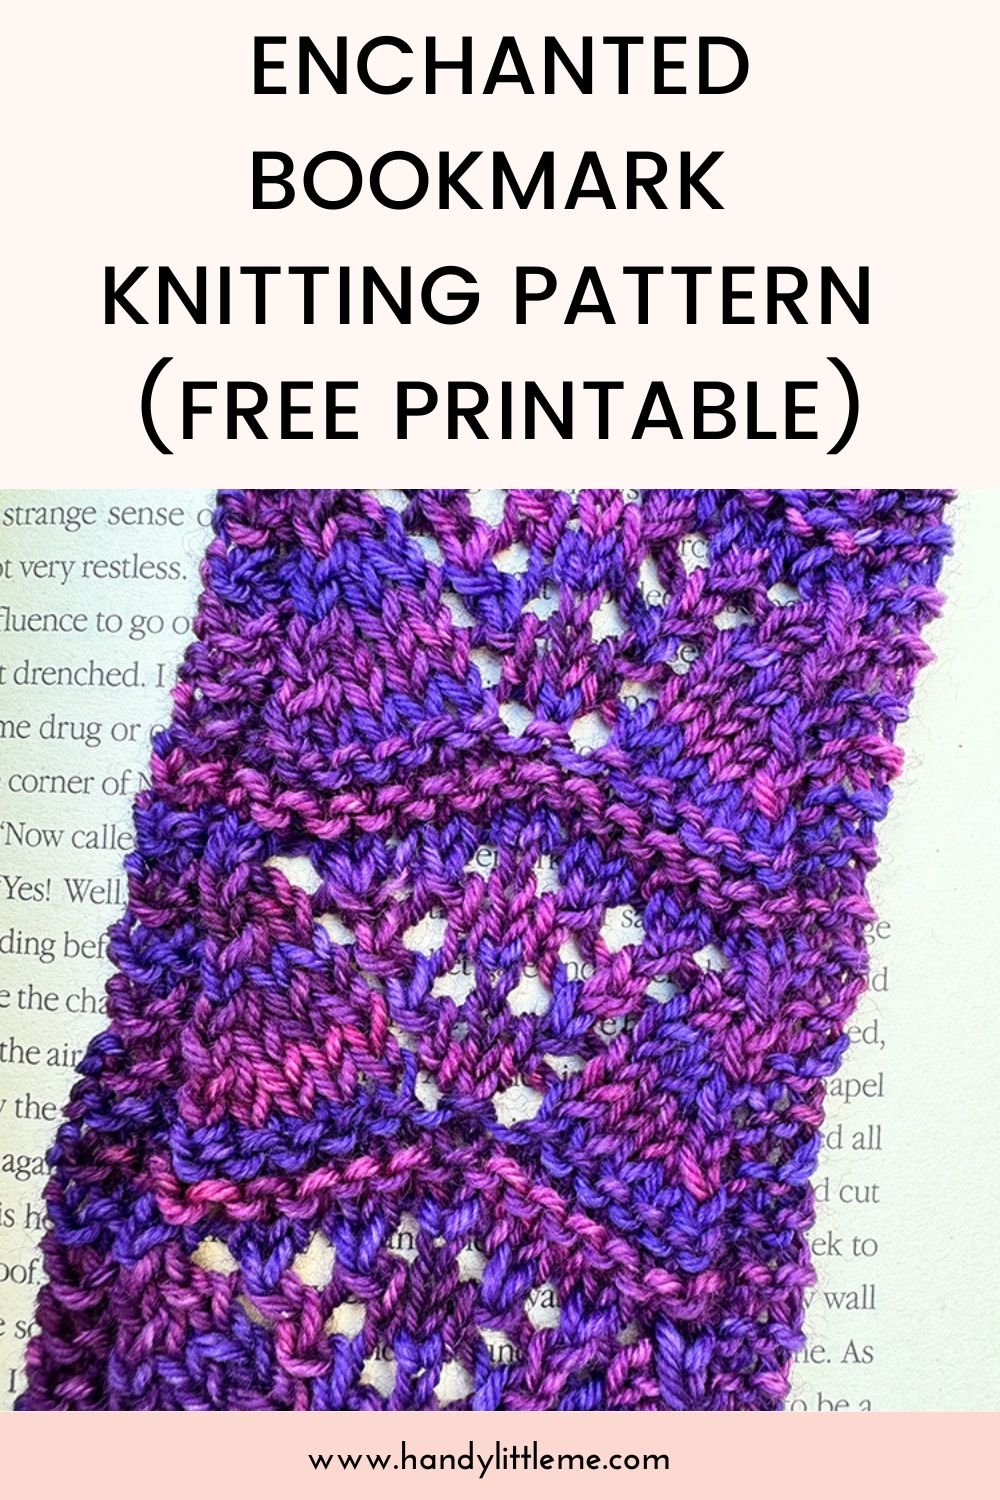
Enchanted Bookmark Knitting Pattern (Free Printable)
THIS ARTICLE CONTAINS AFFILIATE LINKS THAT SUPPORT HANDY LITTLE ME CONTENT AND FREE PATTERNS.Fall under the spell of soft stitches and easy lacework with this quick Enchanted Bookmark pattern, inspired by Taylor Swift’s magical song Enchanted.
This dreamy little knit uses fingering yarn and a repeating lace motif to create something delicate, useful, and utterly charming.
Whether you’re a Swiftie or a stashbuster on a mission, this project will have you humming along with every row.
This tutorial walks you through how to make the lace bookmark from start to finish, including tips for blocking and customizing with your favorite yarn scraps.
Before You Get Started
Here are a few helpful notes before you cast on:
- This is a beginner-friendly project featuring a repeating lace stitch and garter stitch edges.
- You’ll need just a few grams of fingering yarn—great for using leftovers.
- Blocking is essential to open up the lace and shape the piece beautifully.
- This bookmark is perfect for gifting, journaling, or simply keeping your reading magical.
Tools/Materials Needed
- Yarn: Fingering weight/4 ply yarn
– Suggested: Dark Omen Yarn – Merino Sock Mini in “Bahamut”
– Approx. 10g / 40 meters - Knitting Needles: Size 3.5 mm (US 4)
- Notions:
– Darning needle
– Scissors
– Tape measure
– Blocking mat & pins
Gauge: 32 stitches and 36 rows = 10 x 10 cm (4 inches) in lace pattern.
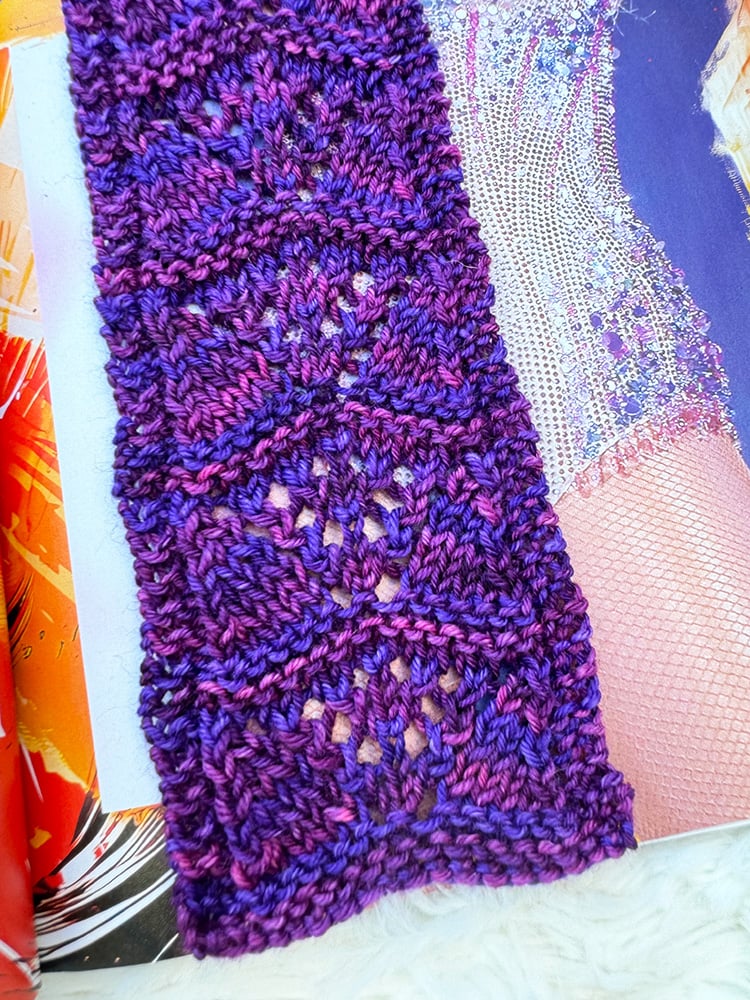
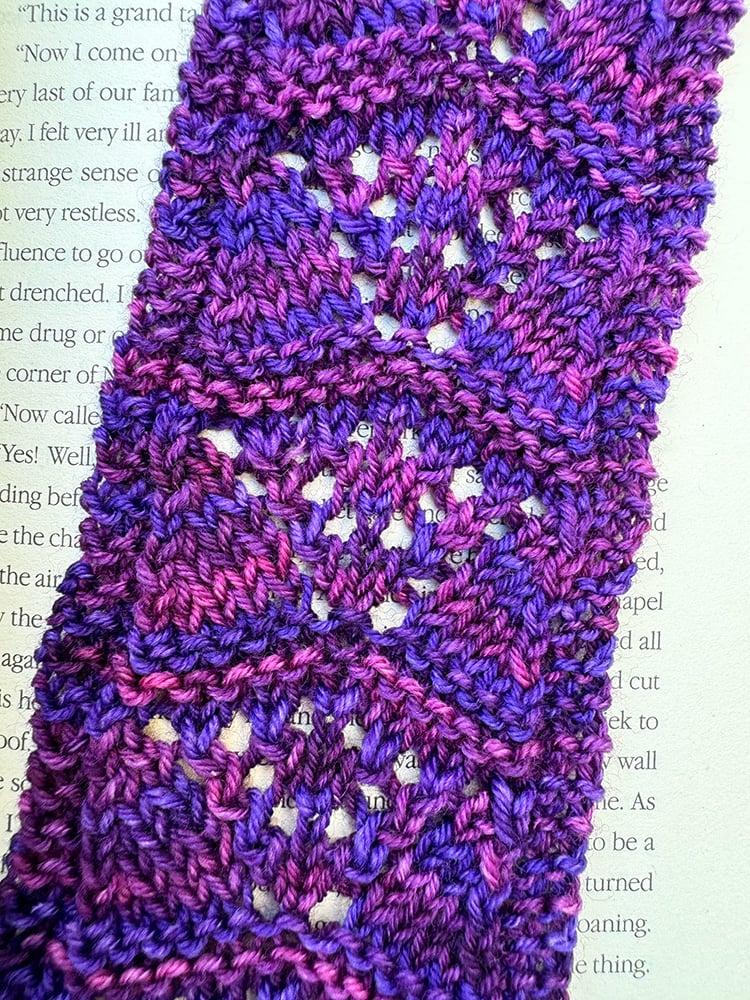
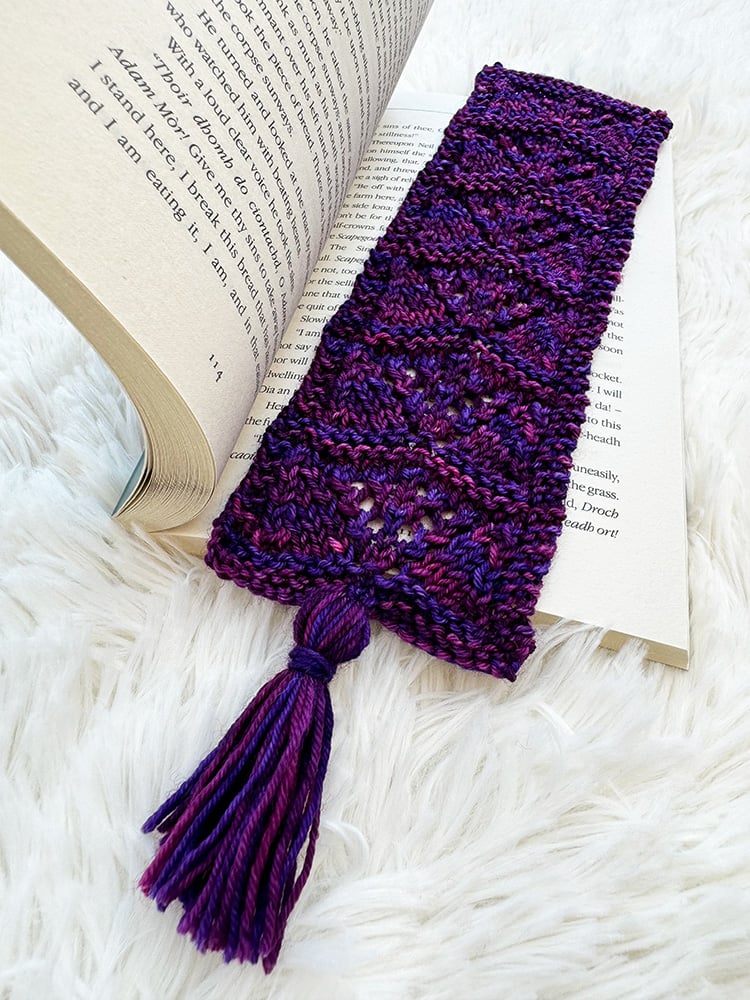
Size: Approximately 8.5 inches long x 3 inches wide.
Pattern Instructions
This bookmark begins and ends with garter stitch edges and features an elegant lace panel down the center.
Knitting Abbreviations
- CO – cast on
- K – knit
- K2tog – Knit the next two stitches together (decrease)
- P – purl
- PSSO – Pass slipped stitch over
- SL1 – Slip one stitch
- St(s) – stitch(es)
- Rep – repeat
- RS – Right side
- WS – Wrong side
- YF – Yarn to the front/yarn forward
Begin Knitting
Cast on 19 stitches.
Rows 1–4: Garter stitch (Knit all stitches for 4 rows)
Row 5 (RS): K2, P1, SL1, K1, PSSO, K4, YF, K1, YF, K4, K2tog, P1, K2
Rows 6, 8, 10, 12 (WS): K2, P to last 2 sts, K2
Row 7: K2, P1, SL1, K1, PSSO, [K3, YF] twice, K3, K2tog, P1, K2
Row 9: K2, P1, SL1, K1, PSSO, K2, YF, K2tog, YF, K1, YF, SL1, K1, PSSO, YF, K2, K2tog, P1, K2
Row 11: K2, P1, SL1, K1, PSSO, K1, YF, K2tog, YF, K3, YF, SL1, K1, PSSO, YF, K1, K2tog, P1, K2
Row 13: K2, P1, SL1, K1, PSSO, [YF, K2tog] twice, YF, K1, [YF, SL1, K1, PSSO] twice, YF, K2tog, P1, K2
Row 14: K2, P to last 2 sts, K2
Repeat Section
Repeat Rows 1–14 until the work measures approximately 8.5 inches.
👉 For the next repeat of Rows 1–4, work as follows:
- Row 1: K2, P1, K to last 3 sts, P1, K2
- Row 2: K across
- Row 3: Repeat Row 1
- Row 4: Repeat Row 2
Finish
- When the work measures 8.5 inches, work 4 more rows in garter stitch.
- Cast off.
- Weave in all loose ends.
- Block the bookmark to open up the lace and shape the edges. Let dry fully before using.
FAQs & Tips
→ Do I really need to block it?
Yes! Blocking transforms the lace from scrunched to stunning.
It opens the stitches and gives the bookmark its elegant shape.
→ Can I use leftover sock yarn?
Absolutely. This project is a perfect stashbuster for fingering and sock-weight scraps.
→ What if I want to make it longer or shorter?
Just repeat the lace section (Rows 1–14) more or fewer times to get your desired length.
→ Is this beginner-friendly?
Yes! While it uses lace techniques, the repeats are easy to memorize, and the project is small—perfect for practicing yarn overs and decreases.
Free Printable
If you prefer to work from a printed pattern or just want a version you can take on the go, I’ve got you covered!
You can print the pattern below to keep it handy while you knit.
It’s a simple, easy-to-follow design that’s perfect for relaxing with a project you’ll actually use.
Enchanted Bookmark Knitting Pattern

Learn how to knit the Enchanted Bookmark step-by-step with easy-to-follow lace instructions, beginner tips, and finishing advice.
This quick, stash-busting project is perfect for knitters of all levels — no magic wand required.
Materials
- Yarn: Fingering weight/4 ply yarn
- – Suggested: Dark Omen Yarn – Merino Sock Mini in “Bahamut”
- – Approx. 10g / 40 meters
Tools
- Knitting Needles: Size 3.5 mm (US 4)
- Notions:
- – Darning needle
- – Scissors
- – Tape measure
- – Blocking mat & pins
Instructions
This bookmark begins and ends with garter stitch edges and features an elegant lace panel down the center.
Begin Knitting
Cast on 19 stitches.
Rows 1–4: Garter stitch (Knit all stitches for 4 rows)
Row 5 (RS): K2, P1, SL1, K1, PSSO, K4, YF, K1, YF, K4, K2tog, P1, K2
Rows 6, 8, 10, 12 (WS): K2, P to last 2 sts, K2
Row 7: K2, P1, SL1, K1, PSSO, [K3, YF] twice, K3, K2tog, P1, K2
Row 9: K2, P1, SL1, K1, PSSO, K2, YF, K2tog, YF, K1, YF, SL1, K1, PSSO, YF, K2, K2tog, P1, K2
Row 11: K2, P1, SL1, K1, PSSO, K1, YF, K2tog, YF, K3, YF, SL1, K1, PSSO, YF, K1, K2tog, P1, K2
Row 13: K2, P1, SL1, K1, PSSO, [YF, K2tog] twice, YF, K1, [YF, SL1, K1, PSSO] twice, YF, K2tog, P1, K2
Row 14: K2, P to last 2 sts, K2
Repeat Section
Repeat Rows 1–14 until the work measures approximately 8.5 inches.
👉 For the next repeat of Rows 1–4, work as follows:
- Row 1: K2, P1, K to last 3 sts, P1, K2
- Row 2: K across
- Row 3: Repeat Row 1
- Row 4: Repeat Row 2
Finish
- When the work measures 8.5 inches, work 4 more rows in garter stitch.
- Cast off.
- Weave in all loose ends.
- Block the bookmark to open up the lace and shape the edges. Let dry fully before using.
Notes
Size Info
Gauge: 32 stitches and 36 rows = 10 x 10 cm (4 inches) in lace pattern.
Size: Approximately 8.5 inches long x 3 inches wide.
Knitting Abbreviations
- CO - cast on
- K - knit
- K2tog - Knit the next two stitches together (decrease)
- P - purl
- PSSO - Pass slipped stitch over
- SL1 - Slip one stitch
- St(s) - stitch(es)
- Rep - repeat
- RS - Right side
- WS - Wrong side
- YF - Yarn to the front/yarn forward
Loved this tutorial?
Don’t forget to pin it for later and tag @handylittleme on Instagram with your finished squares!
Want More Swift-Inspired Knits?
- 1989 Bookmark Knitting Pattern
- Lover Bookmark Knitting Pattern
- Cruel Summer Bookmark Knitting Pattern
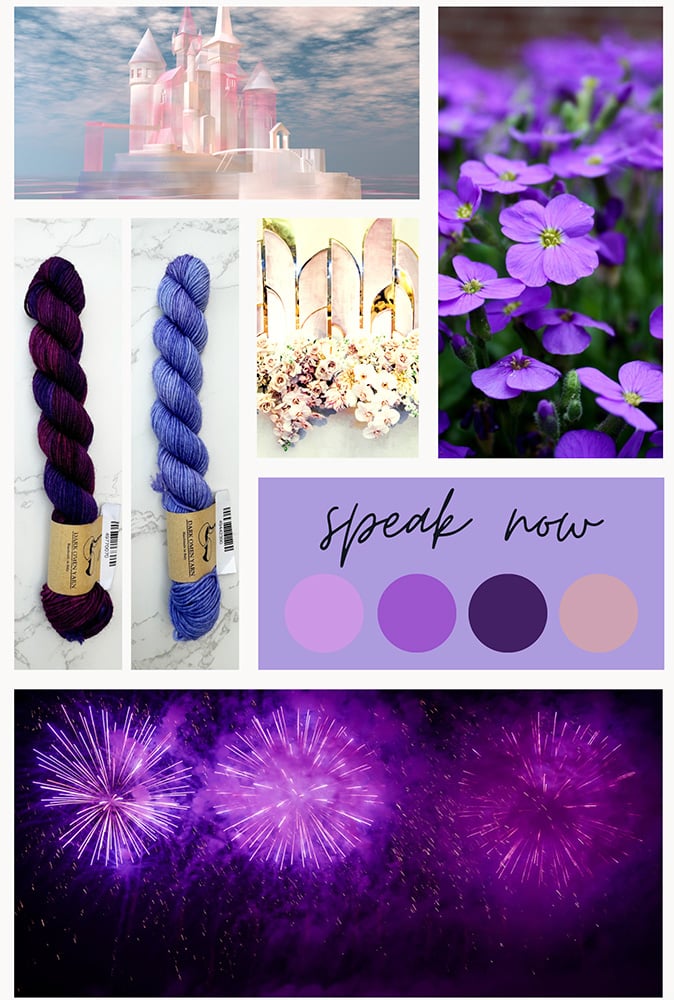
- Speak Now Bookmark Knitting Pattern
- Midnights Bookmark Knitting Pattern
- Willow Bookmark Knitting Pattern
- Folklore Bookmark Knitting Pattern
- The Tortured Poet Bookmark Knitting Pattern
- Autumn Leaves & Evermore: A Knitted Lace Bookmark
- Swiftie Bracelet Bookmark Knitting Pattern
- 17+ Free Bookmark Knitting Patterns For Book-Lovers
Hi Louise,
At row 5 it says k2, p1, sl1, k1… do I slip1 knitwise or purlwise? And YF makes an increase? I tried to follow the pattern and came short of 2 sts at the end, there was only 1st left so I couldn’t knit the last 2 sts.
Help please…
Hi Catherine,
Thanks so much for your thoughtful questions. I’m happy to clarify:
“Slip 1” at Row 5
This means to slip the stitch knitwise, not purlwise. Slipping knitwise helps the stitch lie flat and ensures the lace pattern looks smooth.
“YF” (Yarn Forward)
Yes, YF means to bring the yarn forward to the front of the work—this creates a yarn-over (yo) that’s part of the lace design.
Missing Stitches at the End of the Row
It sounds like a slipped stitch got passed over (due to the PSSO) but wasn’t accounted for in your stitch count. That could cause you to end up short. Double-check that you’re slipping the stitch correctly, knitting the next stitch as instructed, and then passing the slipped stitch over (PSSO). That sequence should maintain your stitch count as designed.
I hope this helps!
Louise
Hi Louise,
I’m having the same problem with being 2 stitches short at the end. I had ChatGPT try help me and still have not got it. Is there any video tutorials that would help me.
Thanks,
Simone
Hi Simone — on Row 5 you should still have 19 stitches (no net change).
The row is: K2, P1, sl1, k1, psso, K4, YO, K1, YO, K4, k2tog, P1, K2.
If you’re 2 sts short, it’s almost always the two YOs after the first K4—be sure to bring the yarn forward and over the needle so both YOs are made.
Even rows are K2, purl to last 2, K2.
Sorry I don’t have a video tutorial for this pattern.
Happy knitting,
Louise