How To Join Granny Squares The Easy Way!
THIS ARTICLE CONTAINS AFFILIATE LINKS THAT SUPPORT HANDY LITTLE ME CONTENT AND FREE PATTERNS.Granny squares are a beloved building block in crochet, from cozy blankets to stylish bags and garments.
But the magic happens when those squares come together into a finished project.
If you’ve ever struggled with bulky seams or uneven joins, this tutorial is for you.
This guide with step-by-step instructions will walk you through seamless joining techniques that create flat, nearly invisible connections, perfect for both beginners and seasoned crocheters.

Before You Get Started
Here are a few tips before you begin:
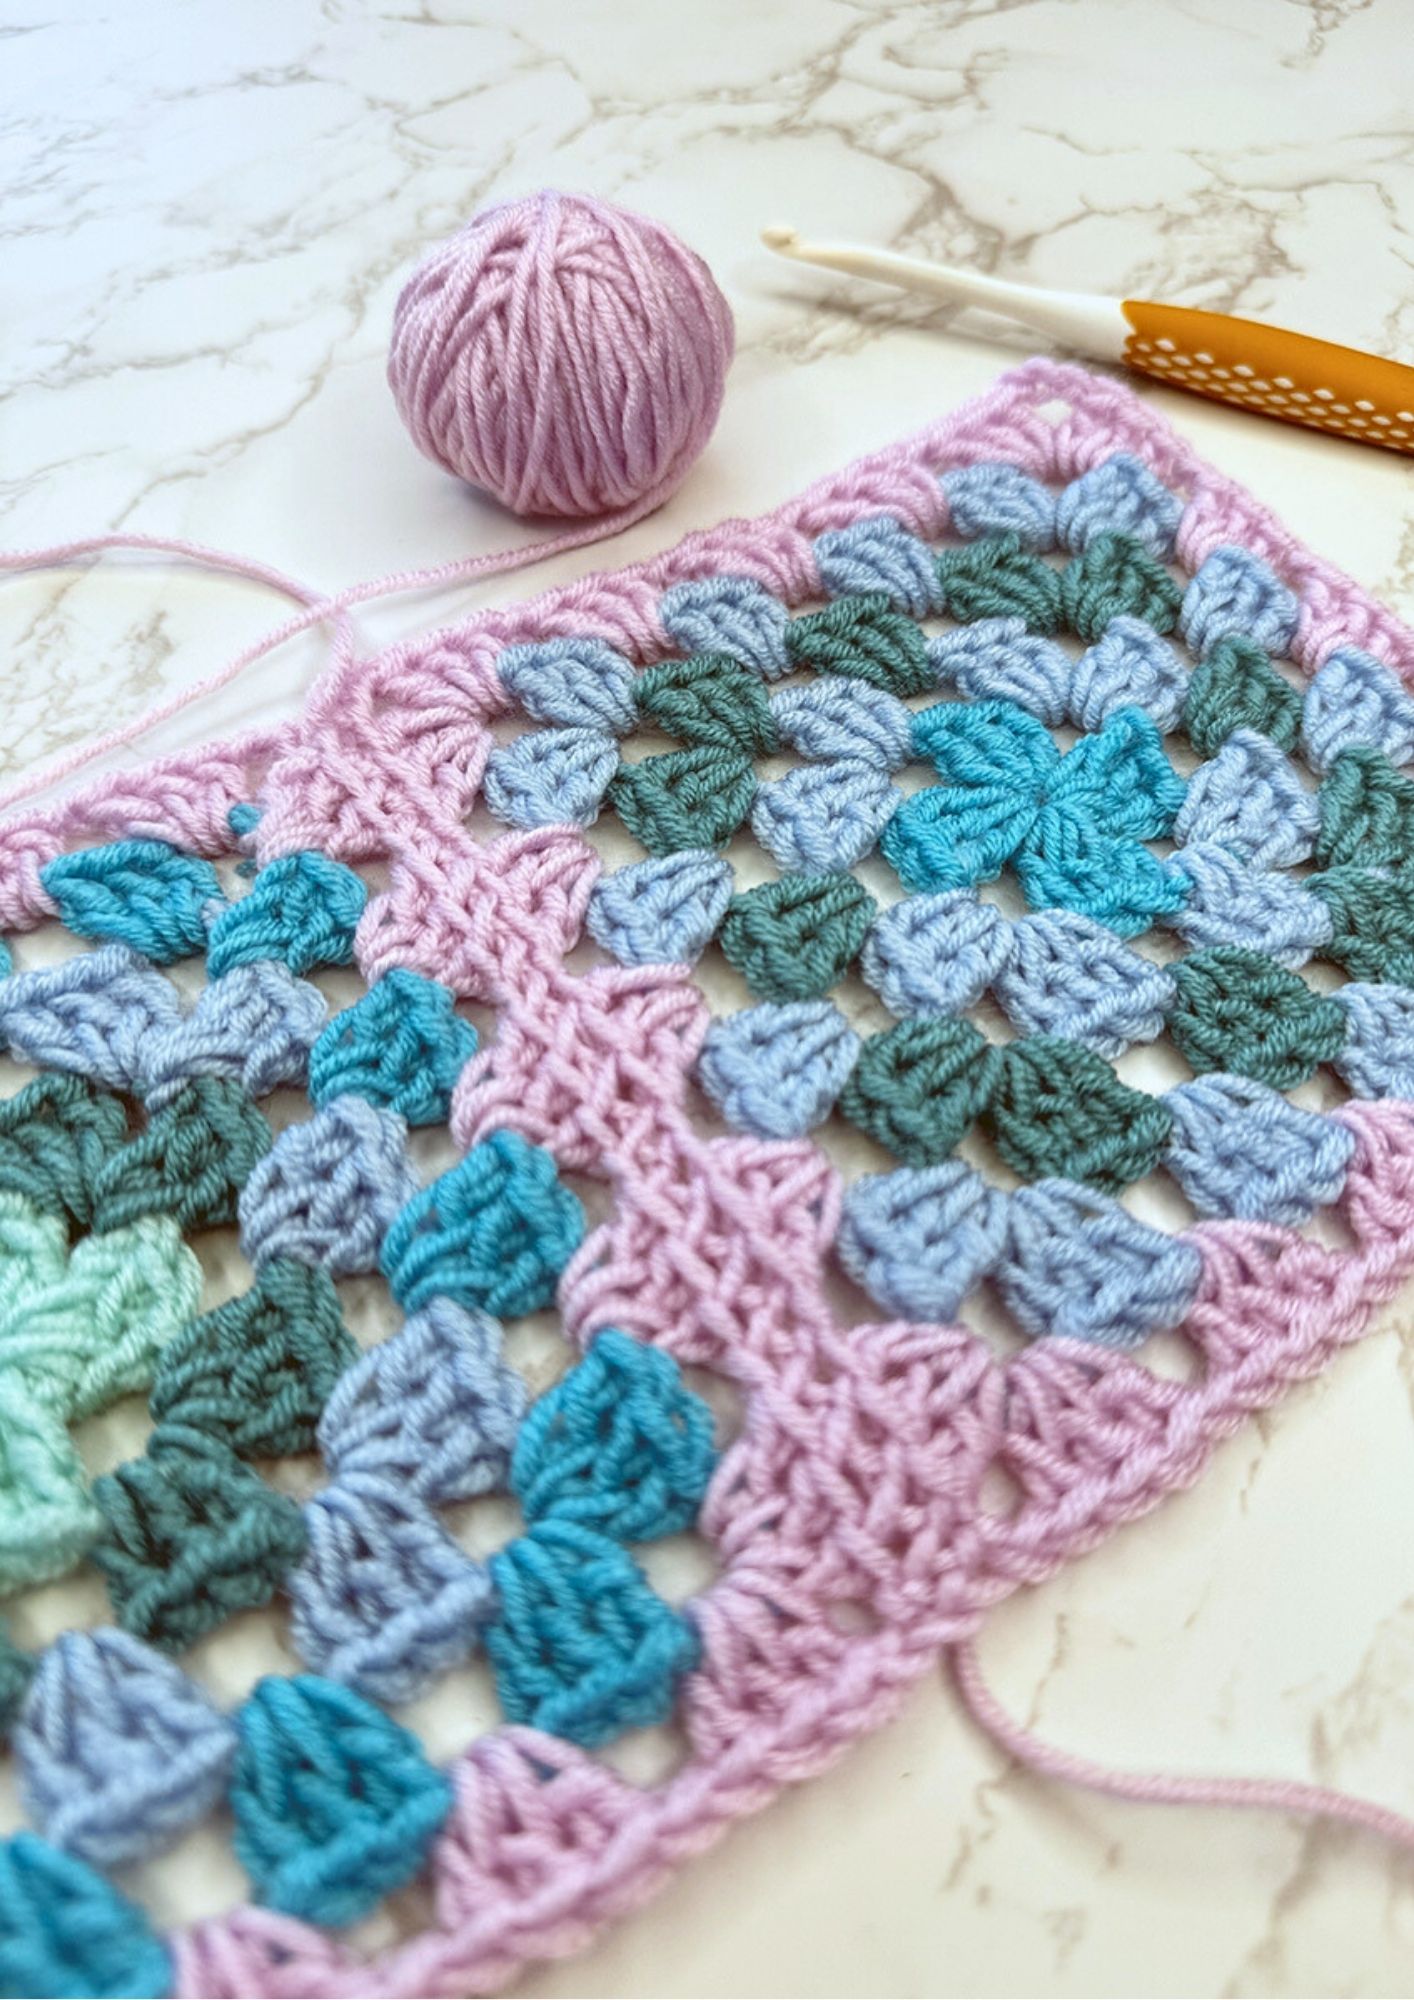
- Make sure your squares are all the same size. Block them if needed for evenness.
- Use the same yarn and hook size you used for your squares (or slightly smaller for more control).
- If you plan a contrasting color, make it intentional and even.
Tools and Materials Needed
- Completed granny squares (same size)
- Crochet hook
- Yarn needle
- Yarn (same color or contrasting for joining)
- Scissors
- Pins or stitch markers (optional)
How To Join Granny Squares Seamlessly
Below are two beginner-friendly techniques for joining your squares with a smooth, seamless look.
1. Invisible seam with the mattress stitch (sewing method)
A great joining method, perfect for flat projects like blankets or garments, where you want the join to disappear.
Step 1: Place Squares Right-Side Up
Lay two crochet squares side by side with the right sides facing up and edges touching.
This ensures the seam will be invisible from the front.
Step 2: Thread a Yarn Needle
Cut a length of yarn and thread it onto a blunt yarn needle.
Starting at the bottom corner of the left square, insert the needle under the back loop only of the first corner stitch (or the inner loop of the corner space).
Then insert the needle into the back loop only of the matching corner stitch on the right square.
Step 3: Work the Mattress Stitch
Continue alternating between the two squares, weaving the needle through the back loops only of each stitch.
Every few stitches, gently pull the yarn so the seam closes like a zipper — not too tight, to avoid puckering.
Step 4: Secure the End
When you reach the top corner, weave in the yarn tail through the seam stitches on the inside of the work to secure it.
Tip: Use matching yarn for truly invisible seams.
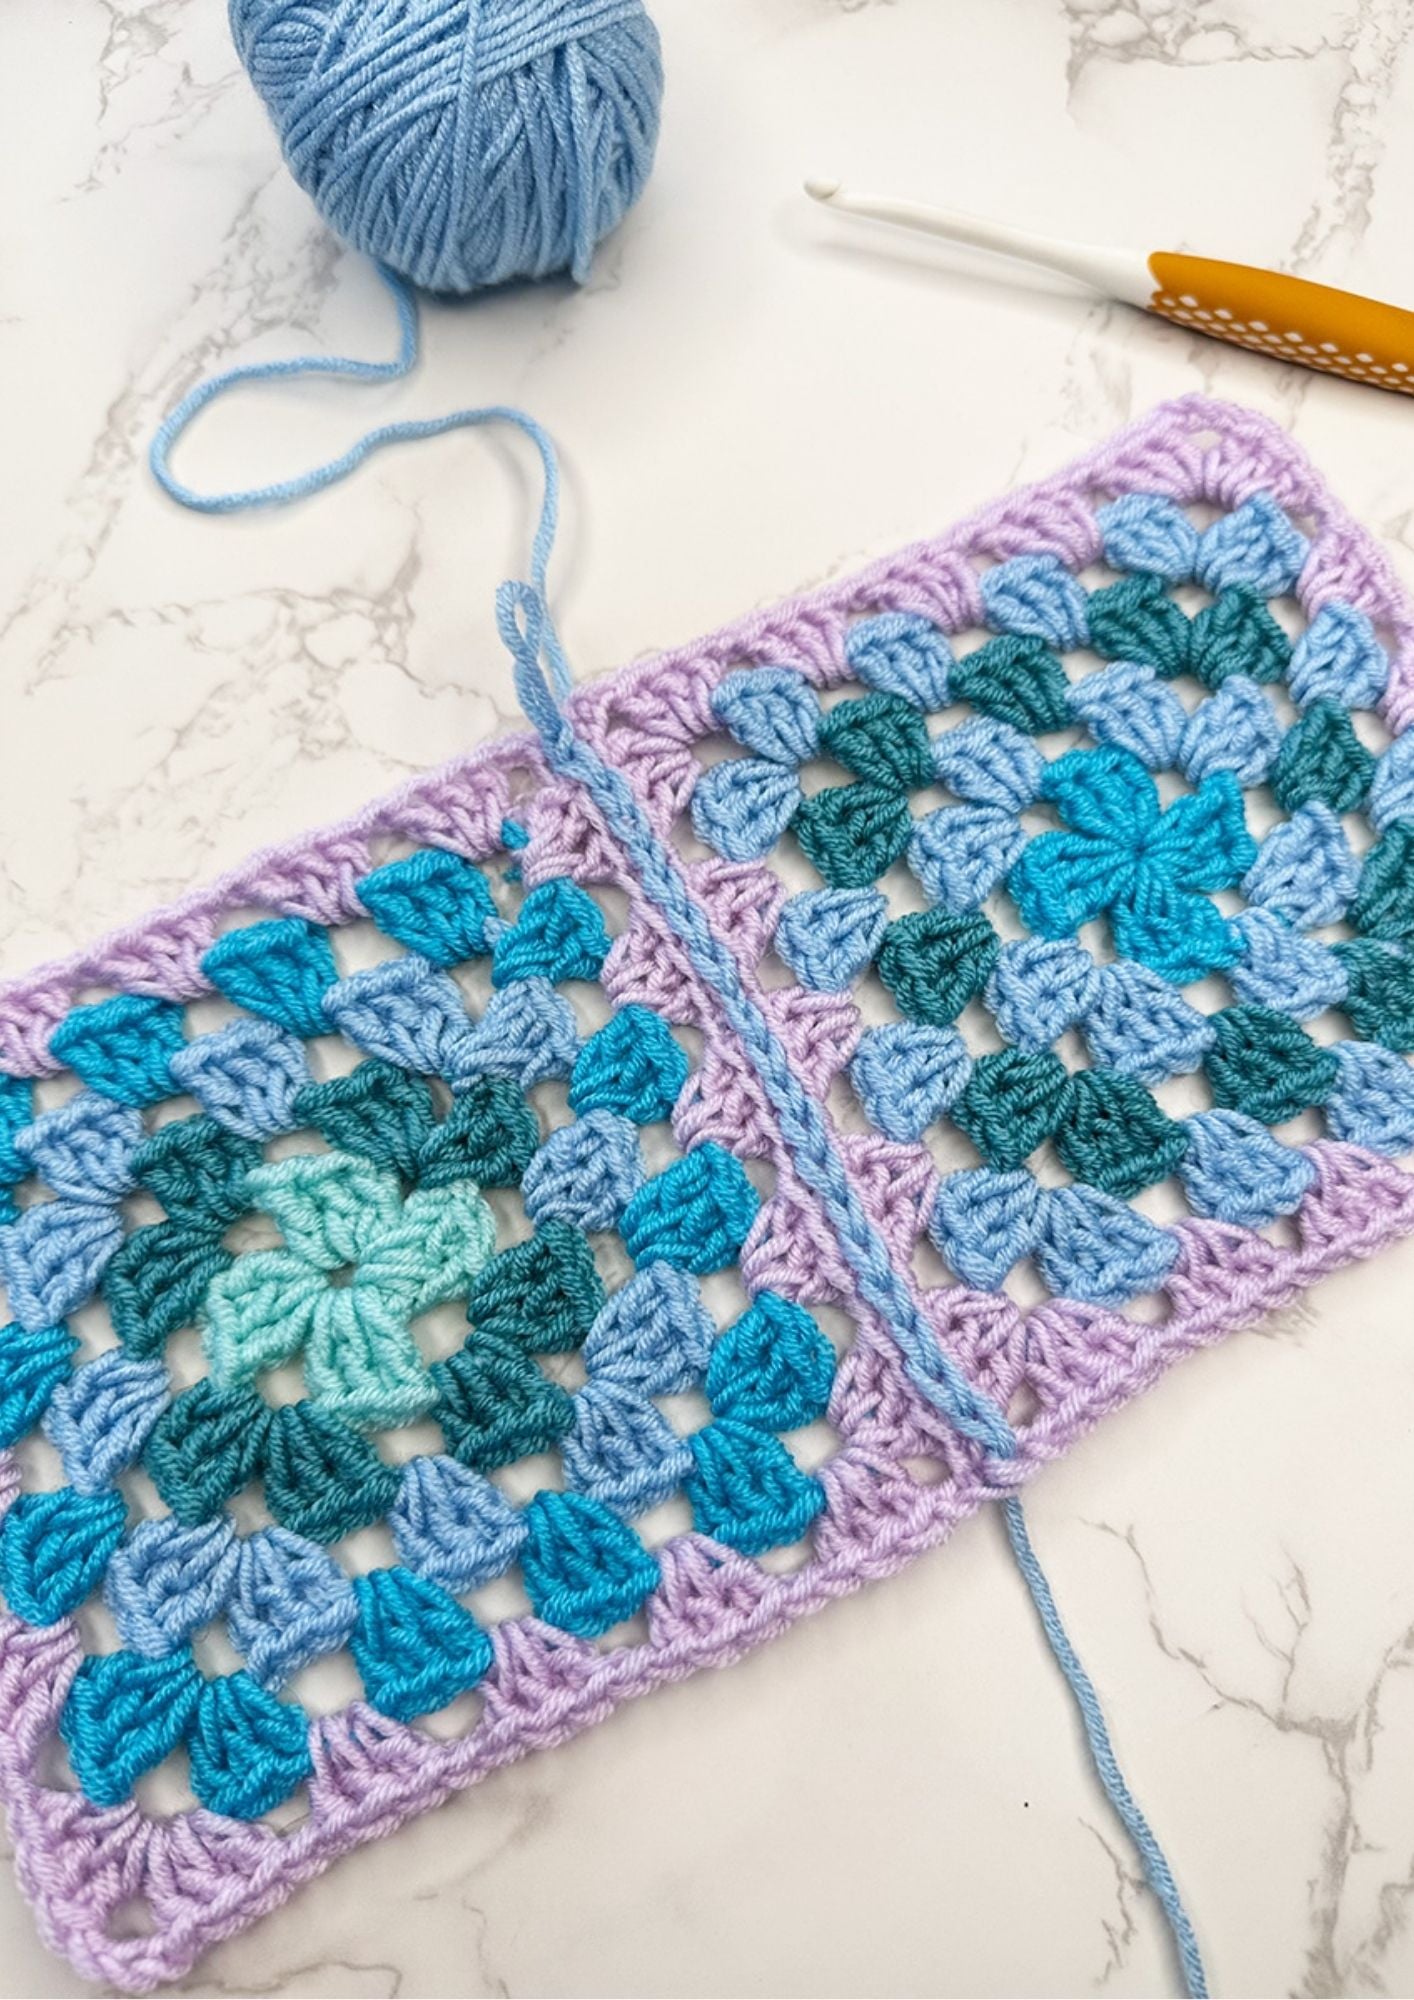
2. Flat slip stitch join (crochet method)
Step 1: Place Squares Wrong Sides Together
Step 2: Insert Hook and Yarn
Step 3: Slip Stitch Across
With the yarn kept behind your work, insert your hook into the back loop only of the next stitch on the left square, then into the back loop only of the matching stitch on the right square.
Yarn over and pull through both loops on the hook — this completes one slip stitch.
Repeat along the edge, keeping tension even so the seam stays flat.
Step 4: Finish and Repeat
FAQs & Extra Tips
→ Which joining method is best for beginners?
The slip stitch flat join is a great choice for beginners since it uses the hook and no needle.
→ Can I use a different color to join?
Yes! A contrasting color yarn can highlight each square and add a design element with decorative joins— just be intentional with your color choices.
→ What if my squares don’t line up perfectly?
Try blocking them with steam or pinning them evenly before joining.
Small differences can be hidden with strategic joins.
→ How many joins will I need?
That depends on your layout.
For a 4×4 square blanket, you’ll need to make 6 horizontal and 6 vertical joins.
Want to Learn More?
- Granny Square Patterns Library – Explore even more colorful mini square designs.
- Granny Square Pattern: Crochet The Perfect Square (Free Printable)
- Beginner Crochet Projects – Find bookmarks, coasters, small stashbusters, and more enjoyable projects.
- Free Crochet Bookmark Patterns
- Video Tutorials
Share Your Work
I’d love to see your finished granny squares on social media!
Tag me on Instagram @handylittleme or use #handylittleme to show off your makes.
Join the Handy Little Me Facebook Group to share photos, ask questions, and connect with other makers.