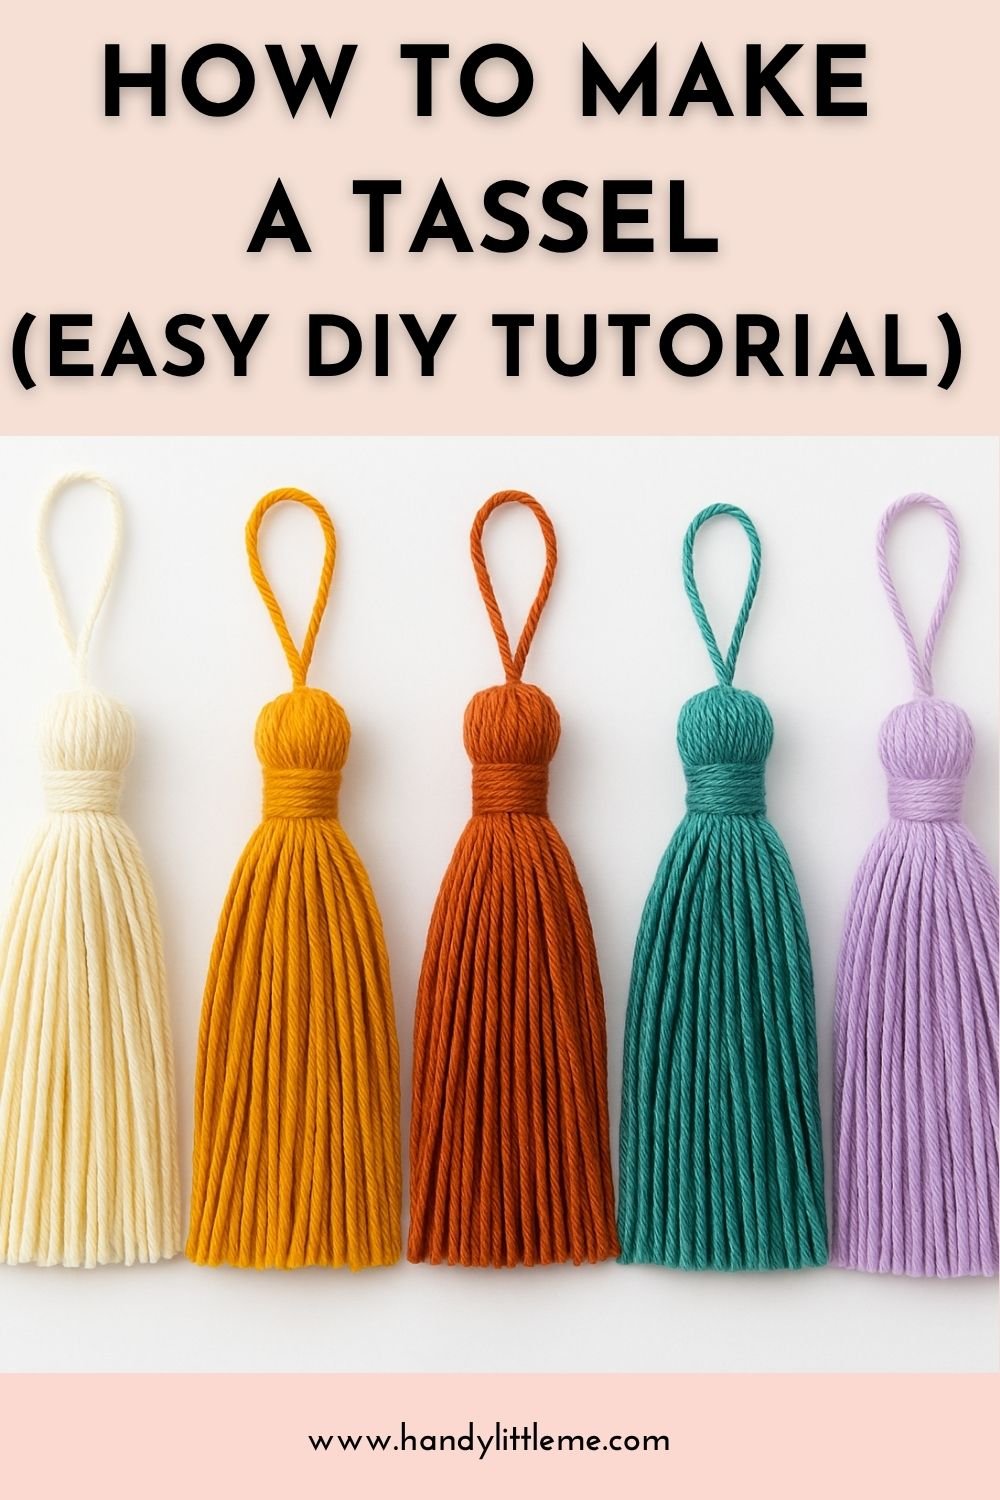
How To Make A Tassel (Easy DIY Tutorial)
THIS ARTICLE CONTAINS AFFILIATE LINKS THAT SUPPORT HANDY LITTLE ME CONTENT AND FREE PATTERNS.Learn how to make a tassel with this quick and easy photo + video tutorial.
Whether you’re adding flair to your crochet bags, making tassel keychains, or decorating home accessories, this step-by-step guide will show you exactly how to create tassels using yarn, raffia, or other craft materials.
Before You Get Started
Here are a few tips to help you get the best results:
- Use a notebook or sturdy cardboard as a base for wrapping.
- Choose materials like raffia, cotton yarn, embroidery thread, or suede cord.
- Sharp scissors are key for clean cuts and polished results.
- Tassels can be made in any size, color, or texture — get creative!
Tools & Materials Needed
- Yarn, raffia, cotton cord, or string
- Embroidery thread, ribbon, or suede (for wrapping)
- A notebook or piece of sturdy cardboard
- Sharp scissors
- Tapestry needle (optional but helpful)
- Beads or pom-poms (optional for embellishment)
- Keyring or clip (if making a keychain tassel)

Step-by-Step: How to Make a Tassel
This DIY tassel method is beginner-friendly and can be used for home decor, accessories, and gift tags.
1️⃣ Wrap the yarn
Place your yarn horizontally and wrap it evenly around your notebook or cardboard about 20–40 times (depending on how thick you want your tassel).
More wraps = thicker tassel.

2️⃣ Secure the top
Cut a separate piece of yarn and thread it underneath your wrapped yarn at the top.
Tie a tight double knot.
Leave the ends long if you want to attach beads, charms, or keychains later.

3️⃣ Cut the bottom
Slide your scissors under the bottom of the wrapped yarn and cut across to release the tassel strands.

4️⃣ Wrap the head of the tassel
Gather your tassel.
Take a contrasting thread (embroidery floss or yarn), and begin wrapping about 1 inch below the top knot.
Create a small loop before wrapping, and once finished, pull the end through the loop to secure.
Pull the top end to tighten and hide the ends.
Use a needle to pull ends through for a neater finish.

5️⃣ Trim the tassel
Even out the ends by trimming across the bottom.
Make it as long or short as you like!

Creative Variations
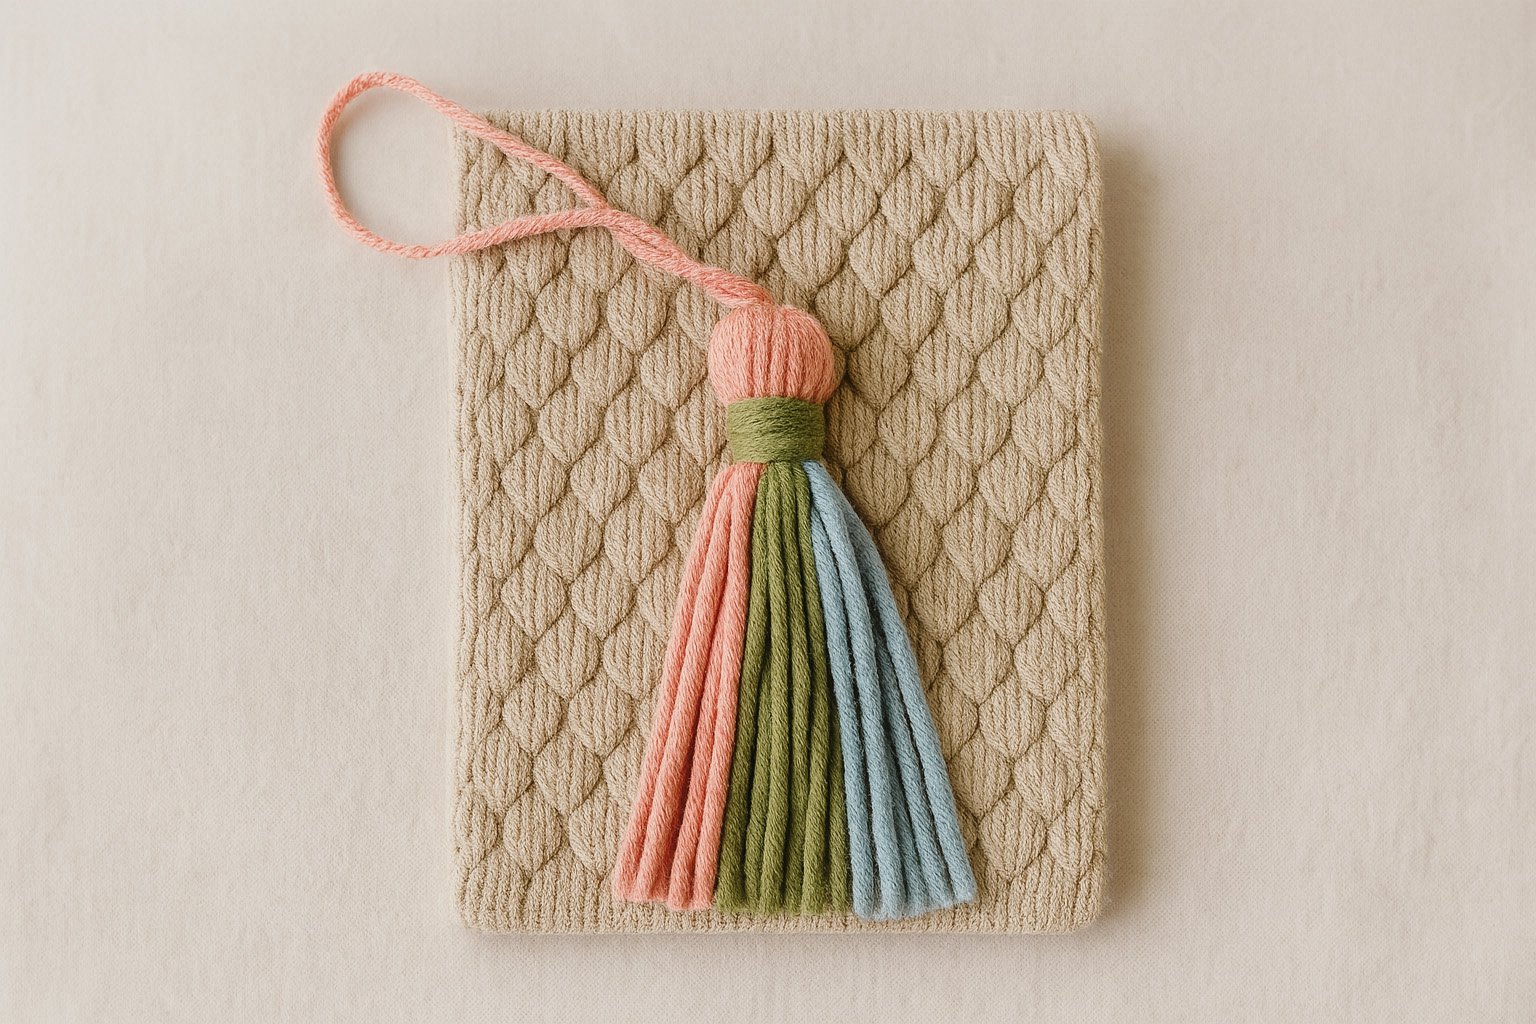
- Multi-Color Tassels: Use different yarn colors for a layered or striped look.
- Beaded Tassels: Slide wooden or glass beads onto the top strings before attaching to bags or necklaces.
- Pom-Pom Toppers: Add a pom-pom for extra texture.
- Raffia Tassels: Lightweight and perfect for summer accessories.
- Keychain Tassels: Add a metal ring or lobster clasp for a boho bag charm or DIY gift.
Video Tutorial
Watch the full video tutorial on my YouTube channel here.
You can also watch this video tutorial, which shows you how to create a yarn tassel and attach it to a shawl.
This is the shawl pattern with tassels: Claire’s Tassel Shawl Crochet Pattern
FAQs & Creative Tips
→ What materials work best for tassels?
Yarn, raffia, cotton string, embroidery thread, and suede all work beautifully. Choose based on texture and how soft or stiff you want the tassel to be.
→ How do I attach tassels to a bag?
Use the long top strings to sew or tie onto your crochet bag, or slide onto a keyring for an easy clip-on style.
→ Can I make very small or large tassels?
Yes! Use smaller cardboard for mini tassels (great for jewelry) or larger surfaces for bold statement ones.
→ Can kids make these?
Absolutely. With child-safe scissors and some guidance, this makes a fun craft for kids, too.
Share Your Tassels With Me!
I’d love to see how you use your handmade tassels!
Tag me @handylittleme or use #handylittleme on Instagram.
Join our community on Facebook and share your creations!