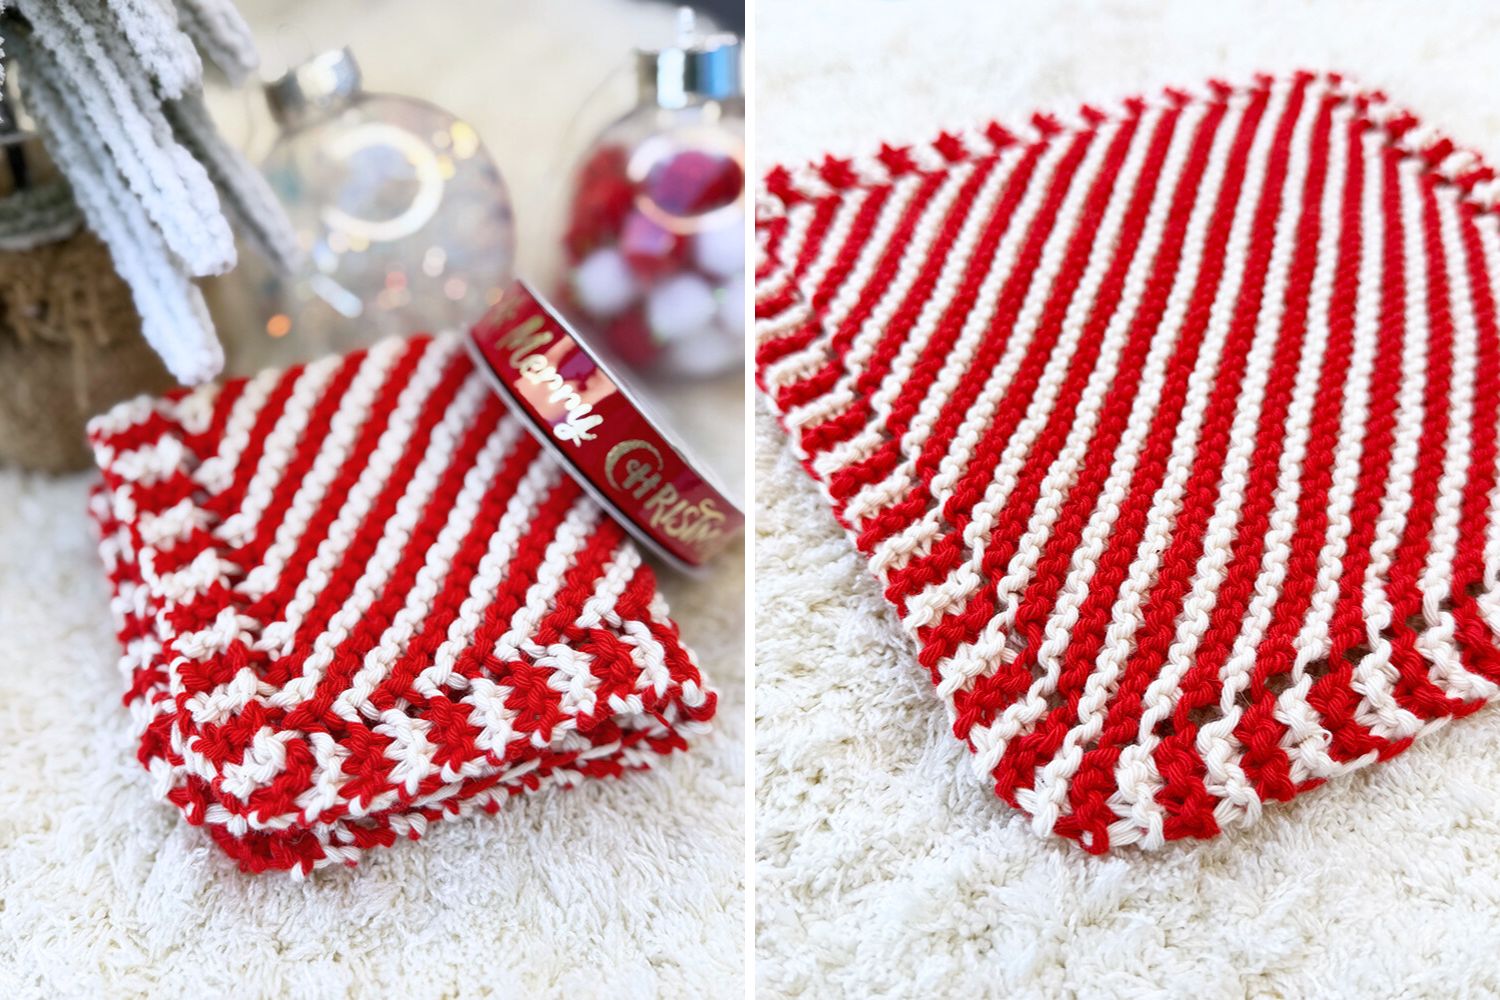
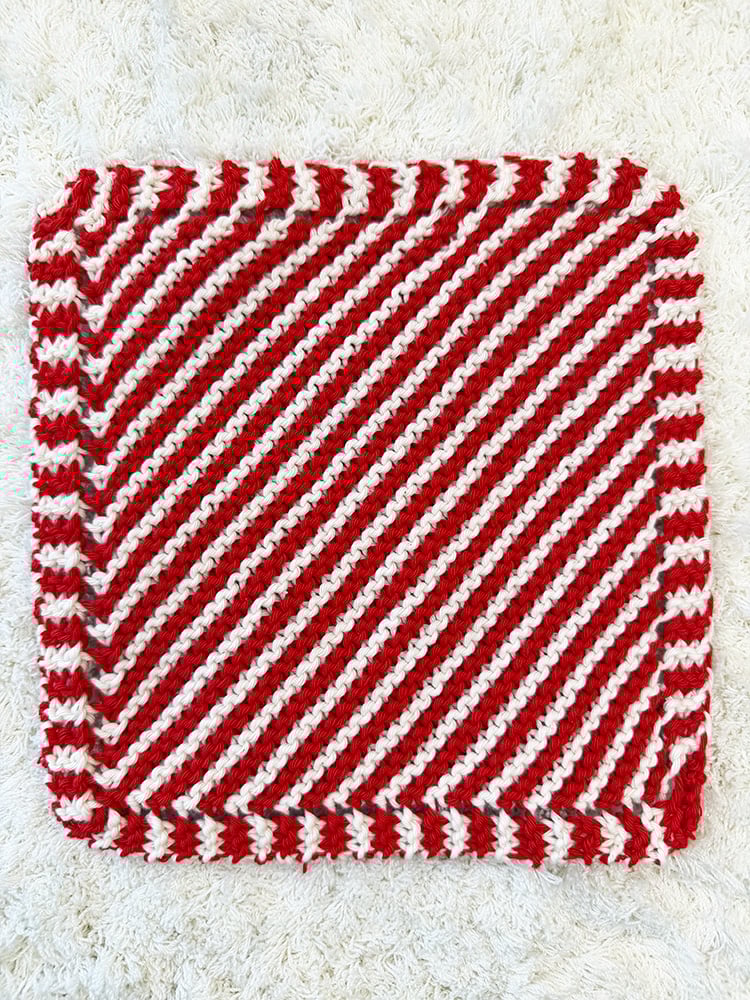
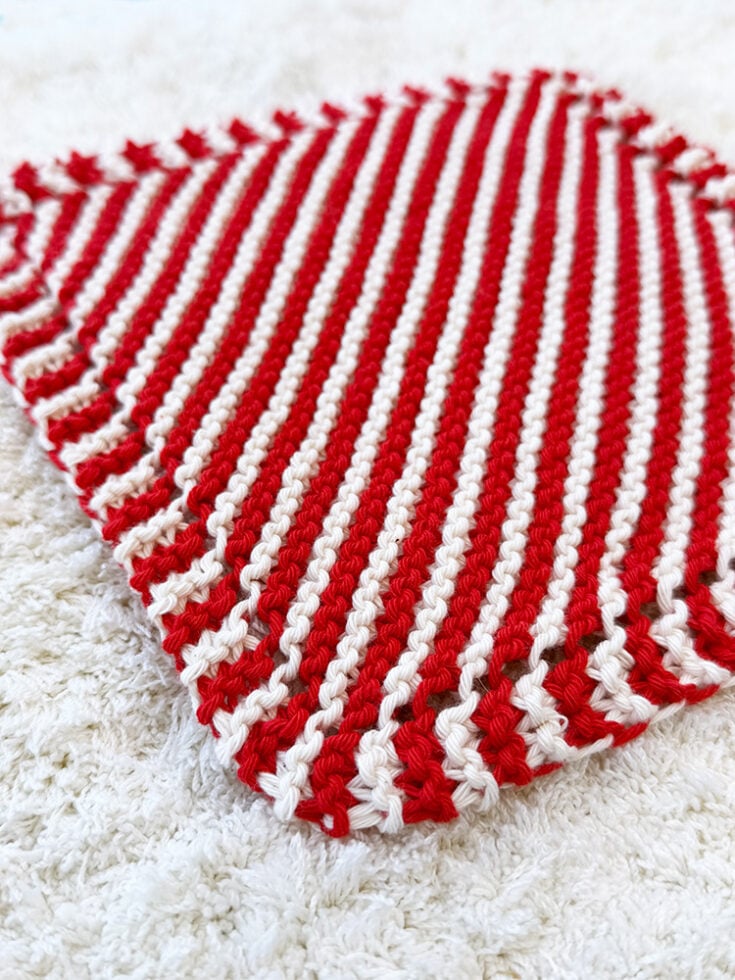
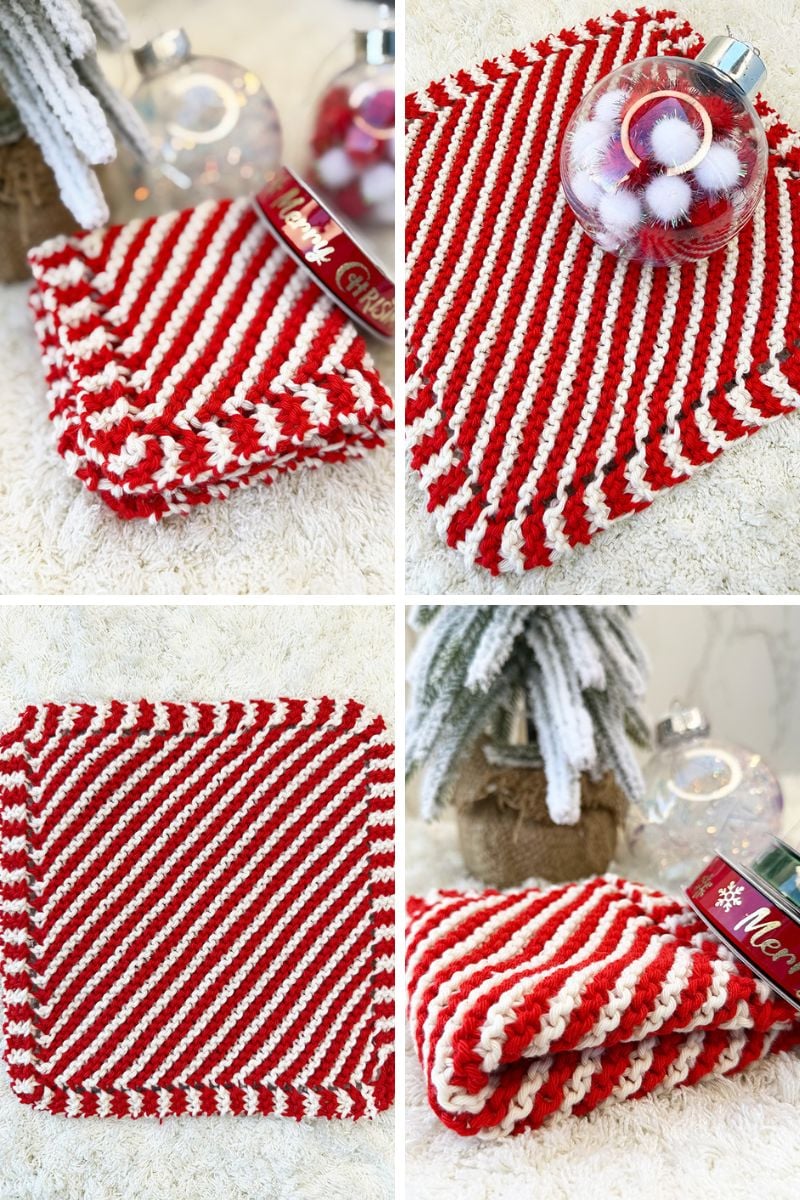
Candy Cane C2C Dishcloth (Free Printable Knitting Pattern)
THIS ARTICLE CONTAINS AFFILIATE LINKS THAT SUPPORT HANDY LITTLE ME CONTENT AND FREE PATTERNS.Meet your new festive favorite: a squishy, diagonal garter dishcloth with candy-cane stripes—perfect for gifting, decorating your kitchen, or pairing with holiday cookies and easy dinners.
Worked corner-to-corner (C2C) with simple increases and decreases, this project is beginner-friendly, portable, and quick to knit with two colors of yarn.
Before You Get Started
Here are a few things to know before you begin:
- This pattern is worked in garter stitch (every row is knit) from one corner to the other—no purl rows required.
- Stripe plan = 2 rows Red, 2 rows White, carrying yarn neatly up the side (no extra ends!).
- Use US 7 (4.5 mm) or US 8 (5 mm) needles—both work well with worsted weight yarn (cotton yarn + relevant needle sizes).
- For tidy edges, slip the first stitch wyif (with yarn in front) every row, then knit the rest.
- Gauge isn’t critical for dishcloths or washcloths, but a sample is provided if you like to check.
Tools/Materials Needed
- Yarn: Worsted cotton (e.g., Lily Sugar’n Cream or Rico Creative Cotton Aran) — 40–50g Color A (Red), 40–50g Color B (White)
- Needles: US 7 (4.5 mm) or US 8 (5 mm), straight or circular
- Notions: Tapestry needle, scissors, tape measure.
Pattern At A Glance
- Finished Size: ~8–10″ square
- Gauge (garter): ~18 sts & 24 rows = 4″ (10 cm) in garter stitch (not crucial)
- Skill Level: Basic (beginner)
Abbreviations
- K – knit
- K2tog – knit 2 together
- YO – yarn over
- Rep – repeat
- sl 1 – slip one stitch
- wyif – with yarn in front

How The C2C Garter Dishcloth Works
You’ll start at one corner and increase each right-side pass until the diagonal width is reached.
Then you’ll decrease each pass to the opposite corner.
The simple YO creates the bias growth; paired K2tog on the way down keeps the edges straight.
Step-By-Step Instructions (Candy Cane C2C Dishcloth)
1) Cast on & begin corner increases
- Cast on 5 sts.
- Row 1: K all sts.
- Row 2: K3, YO, K2. (6 sts)
- Row 3: K3, YO, K3. (7 sts)
- Row 4 (Increase Row): K3, YO, K to end of row.
- Rep Row 4 until you have 54 sts (or until work measures ~10″ across the diagonal).
Edge Tidy Tip: On every row, sl1 wyif, then knit the rest. This gives a neat chain edge that makes finishing easy.
2) Stripe plan (No ends!)
- Work 2 garter rows per color, switching every 2 rows:
Red ×2 rows → White ×2 rows → repeat. - Carry the unused color up the same side: at each color change, twist the two strands together once to anchor (prevents a gap).
3) Decrease to the final corner
- Decrease Row: K2, K2tog, YO, K2tog, K to end.
- Rep Decrease Row until 7 sts remain.
- Next Row: K2tog, K2tog, K2tog, K1.
- Bind off knitwise.
Optional Hanging Loop
- With a hook, chain 12–15, slip-stitch to the corner, fasten off; or
- Knit a short i-cord and stitch to a corner.
Finish
- Weave in any loose ends.
- With your long tail, skim stitch along the edge if desired for a subtle, tidy border.
- Block to finish and create an even square shape.
FAQs & Tips
Do I need to swatch?
No—gauge isn’t crucial for a dishcloth/washcloth, but if your fabric feels too loose, drop to US 7 (4.5 mm).
How do I keep the carried color neat?
Always twist the two strands together at the color change on the same edge.
Keep an even, gentle tension so the carried strand doesn’t pucker.
Can I make it larger or smaller?
Yes. Work the increase section to your desired diagonal width, then start the decrease section.
What if I prefer a solid color?
Work the same instructions in one color—still beautiful texture!
Why is it called C2C if it’s all knit?
Corner-to-corner (C2C) describes the direction of construction.
In this garter version, you knit every row (no purl rows).
Is there a video tutorial?
Yes, there is a similar pattern (with no color changes); you can watch that on my YouTube channel here to help you get started.

Free Printable
To make this project even easier, I’ve created a free printable version of the candy cane dishcloth pattern.
You can keep it handy while you work—no need to keep checking your phone or scrolling through the blog.
It’s perfect for printing out or saving to your tablet for easy access anytime.
Candy Cane Dishcloth Knitting Pattern
A quick, beginner-friendly C2C garter dishcloth with classic red-and-white candy cane stripes.
Knit every row (no purl), carry the yarn up the edge—no ends to weave!
Materials
- Yarn: Worsted cotton (e.g., Lily Sugar’n Cream) — 40–50g Color A (Red), 40–50g Color B (White)
- Or Rico Creative Cotton Aran
Tools
- Needles: US 7 (4.5 mm) or US 8 (5 mm), straight or circular
- Notions: Tapestry needle, scissors, tape measure.
Instructions
Step-By-Step Instructions (Candy Cane C2C Dishcloth)
1) Cast on & begin corner increases
- Cast on 5 sts.
- Row 1: K all sts.
- Row 2: K3, YO, K2. (6 sts)
- Row 3: K3, YO, K3. (7 sts)
- Row 4 (Increase Row): K3, YO, K to end of row.
- Rep Row 4 until you have 54 sts (or until work measures ~10" across the diagonal).
Edge Tidy Tip: On every row, sl1 wyif, then knit the rest. This gives a neat chain edge that makes finishing easy.
2) Stripe plan (No ends!)
- Work 2 garter rows per color, switching every 2 rows: Red ×2 rows → White ×2 rows → repeat.
- Carry the unused color up the same side: at each color change, twist the two strands together once to anchor (prevents a gap).
3) Decrease to the final corner
- Decrease Row: K2, K2tog, YO, K2tog, K to end.
- Rep Decrease Row until 7 sts remain.
- Next Row:K2tog, K2tog, K2tog, K1.
- Bind off knitwise.
Optional Hanging Loop
- With a hook, chain 12–15, slip-stitch to the corner, fasten off; or
- Knit a short i-cord and stitch to a corner.
Finish
- Weave in any loose ends.
- With your long tail, skim stitch along the edge if desired for a subtle, tidy border.
- Block to finish and create an even square shape.
Notes
Abbreviations
- K – knit
- K2tog – knit 2 together
- YO – yarn over
- Rep – repeat
- sl 1 - slip one stitch
- wyif - with yarn in front
Could you share your work with us…
I love seeing your finished projects on social media.
If you enjoyed making the easy knit dishcloth pattern, I’d love to see yours on Instagram, tag me @handylittleme or #handylittleme.
If you are on Facebook, stop over to the handylittleme Facebook group and share a photo.
I’d love to see your work.
Happy Knitting!
More Dishcloth Patterns You May Be Interested In…
For easier knitting patterns to try out new stitches, check out the list below…
- Corner-To-Corner Knit Dishcloth Pattern (Free Printable)
- Knitted Dishcloth Patterns Free (Best For Beginners)
- How To Knit A Mitered Square (Free Knitting Pattern)
- Irish Moss Stitch Dishcloth Knitting Pattern
- Double Moss Stitch (Free Knitting Pattern For Beginners)
- How To Knit The Basket Weave Stitch – Easy Tutorial
- Broken Rib Stitch Knitting Pattern For Beginners
- 31 Free Knitted Dishcloth Patterns For Beginners
- Celtic Cable Dishcloth Knitting Pattern (+ Free PDF)
- How To Knit The Linen Stitch (Tutorial + Pattern)
- 17 Free Christmas Dishcloth Knitting Patterns (Festive + Fun!)
I love this pattern and thought I’d like to make an oven hanger in the same pattern. However, I don’t want to do that without your permission. This is your livelihood and I didn’t want to modify it without asking first. Please let me know what you think as Christmas is getting closer and I plan to make these as gifts. Thanks for sharing.
Hello Louise,
Thanks so much for asking—yes, of course!
If it’s for gifts, please go ahead and adapt the pattern.
I just ask that you don’t resell my pattern (or distribute the PDF/instructions).
If you share your makes online, a little credit/link back is always appreciated.
Happy making—and merry Christmas crafting! 🎄💛
Louise
Hello,
I am beginning the Candy Cane C2C Garter Dishcloth. I want a nice edge, but I can’t figure out how to sl1 wyif on the first stitch. I can understand doing it on a second stitch, but it doesn’t make sense on the first stitch. What am I doing wrong?
Also, I have now made two C2C washcloths (I didn’t use the sl1 wyif method) and the two corners, at the end of the long diagonal stripe, curl up. What am I doing wrong?
I have a question on the instructions. They say that Row 4 is an increase row, but rows 2 and 3 also use the yarn-over and increase those stitch counts to six and seven stitches! So they are all increase rows, right? And lastly, to make the red and white stripes, when do you add the white? Row 3? Row 4?
Thanks so much for your help!
Michelle
Michelle — great questions!
For sl1 wyif on the first stitch: after you turn, bring yarn to the front, slip the first stitch purlwise, then move yarn to the back and continue. That creates a neat chain edge.
For the corner curl, it’s usually edge tension around the YO/decreases — try keeping the edge a bit looser, and a quick wet block (soak, squeeze, lay flat to dry) will usually flatten it right out.
On the instructions: Rows 2–3 do increase too (because of the YO) — Row 4 is just labeled “increase row” because it’s the repeat increase row you keep working as you grow the cloth.
For the candy cane stripes (2 rows red, 2 rows white): start the white on Row 3, then Row 4 is white as well.
I hope that helps!
Louise