Crochet Christmas Bauble Cover (Free Printable Pattern)
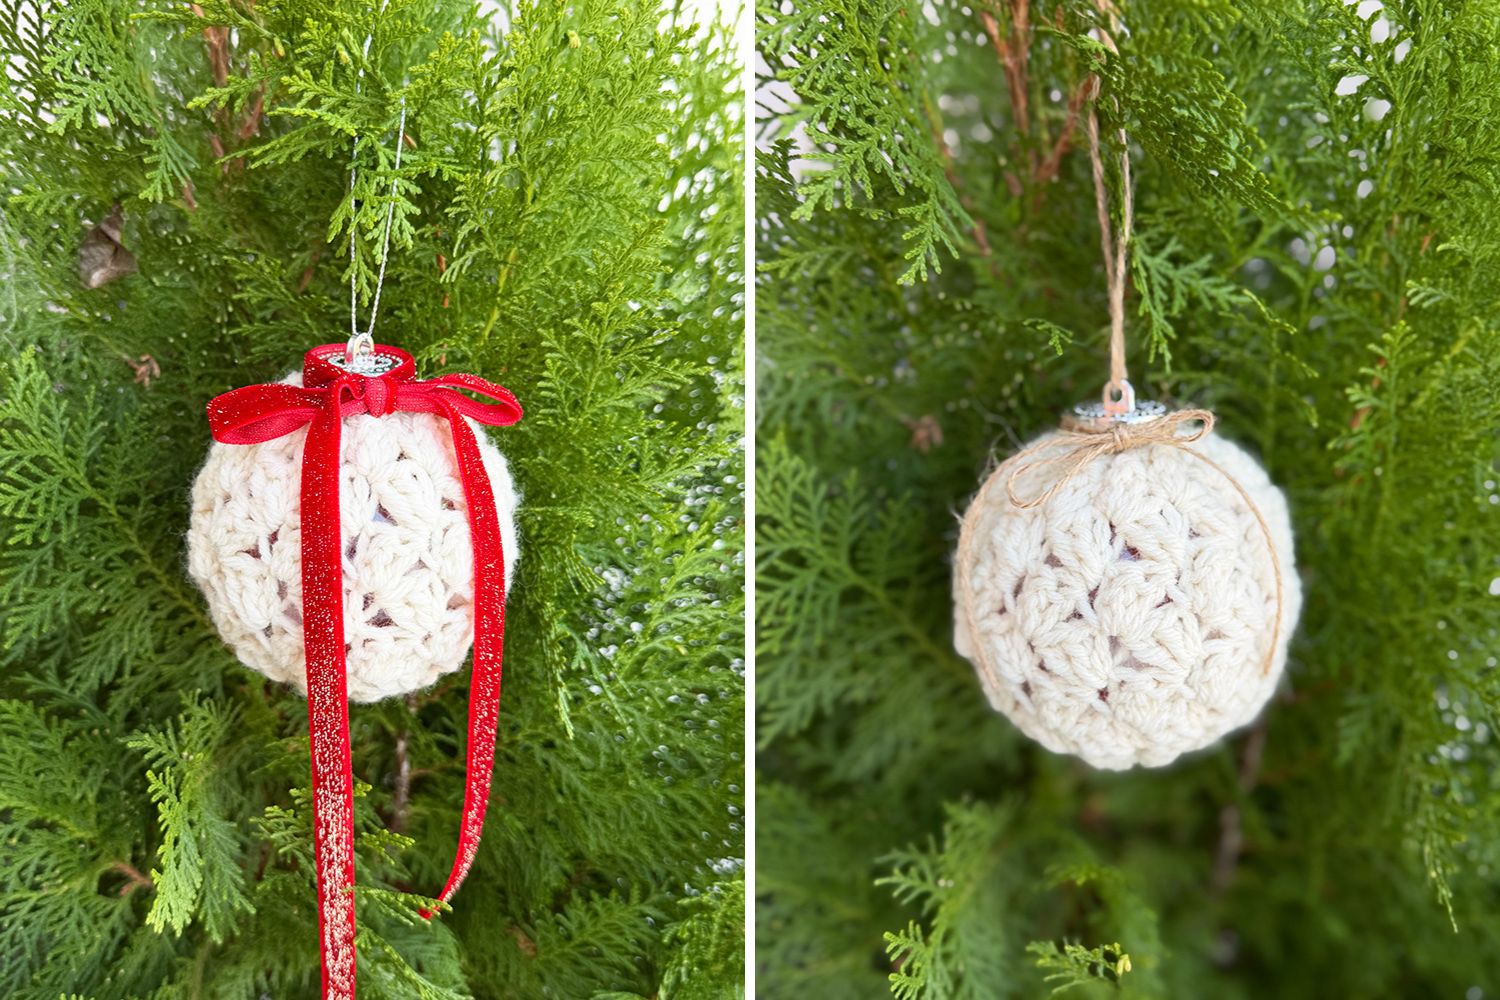
THIS ARTICLE CONTAINS AFFILIATE LINKS THAT SUPPORT HANDY LITTLE ME CONTENT AND FREE PATTERNS.This crochet Christmas bauble cover works flat in the blanket stitch, then seams into a tube and cinches at both ends for an easy, polished finish.
It’s quick, stash-friendly, and ideal for last-minute gifts—plus there’s a free pattern and printable PDF.
Before You Get Started
Here are a few things to know before you begin:
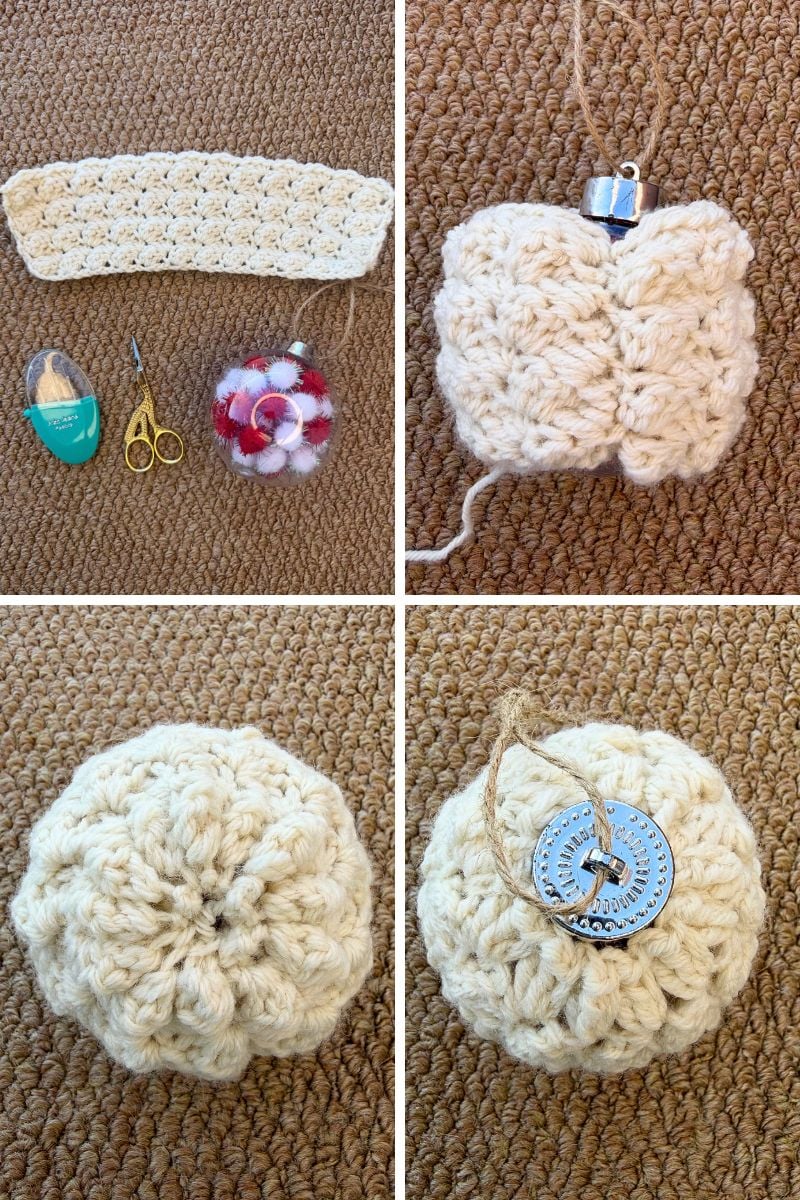
- You’ll crochet a flat rectangle in blanket stitch, seam the short ends, then add two drawcords to gather the top/bottom.
- Sizing is by measurement, not gauge. Chain to your bauble’s circumference with a touch of negative ease (see table + notes below).
- The ch-1 spaces in blanket stitch create perfect loop holes (eyelets) for your ties—use the second row from each edge so the edges don’t over-scrunch.
- Make it in your favourite colours for the holiday season—solids, marl, or self-striping all shine.
Tools/Materials Needed
- Yarn: Worsted/aran (#4)—e.g., Lion Brand Wool-Ease (scrap-friendly)
- Hook: 5 mm (H-8) (go smaller for a neater fabric)
- Notions: Yarn needle, scissors, tape measure
- Optional: Ribbon or twine for decoration
- 80 mm plastic bauble

Abbreviations (US terms):
- sc = single crochet
- ch-1 sp = chain 1 space
- dc = double crochet
- sl st = slip stitch
- sk = skip
- st = stitch
Blanket Stitch (Worked Flat)
- Multiple of 3 + 2
Foundation: Ch 38 (adjust per sizing table; keep multiple of 3 + 2)
Row 1: Sc in 2nd ch from hook, 2 dc in same st; sk 2 ch, (sc, 2 dc) in next ch; repeat to last 3 ch, sk 2, sc in last ch. Turn.
Row 2: Ch 1, (sc, 2 dc) in first st; sk next 2 dc, (sc, 2 dc) in next sc; repeat across, sc in last sc. Turn.
Repeat Row 2 until the piece is around 3″ (7.5–8 cm) tall (see “Variations by Bauble Size” to scale height).
Tip: For crisp edges before seaming, work 1 round sc evenly along each long edge (optional but tidy).
Video help: You can view a video tutorial showing you how to crochet the blanket stitch here.
Finishing Instructions
1. Seam
Fold the fabric so the short ends meet (right sides together).
Whipstitch or mattress-stitch the short edges to form a tube.
Turn the right side out.
2. Drawcords
Cut two lengths of yarn, approx 20 cm (8″) each.
- Thread one length through the ch-1 spaces on the second row from the top edge.
- Thread the second length through the second row from the bottom edge.
3. Assemble
Slide the tube over the bauble (cap pointing out the top).
- Top: Cinch the top cord snug around the cap base; knot and hide ends under a bow.
- Bottom: Cinch the lower cord firmly; knot and weave in.
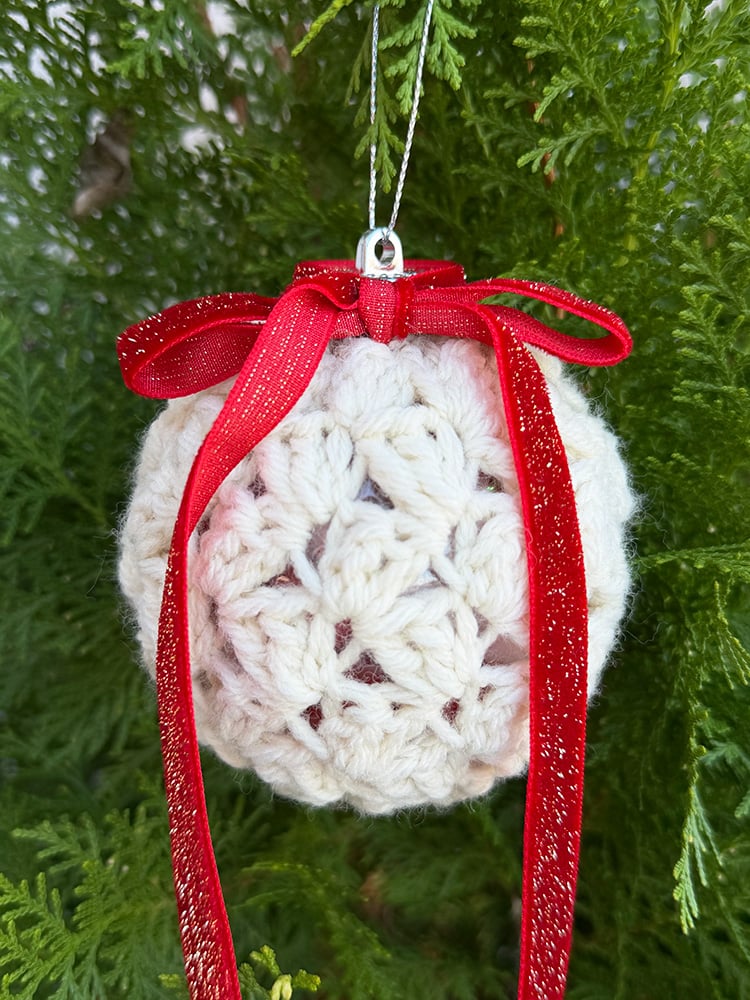
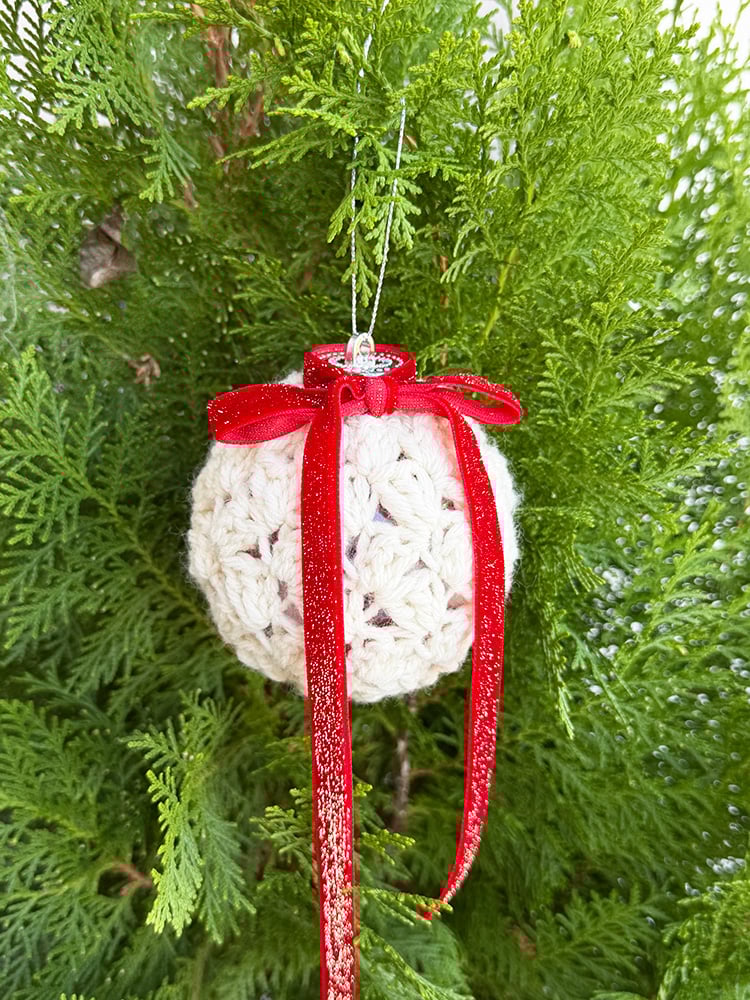
- Finish with a ribbon or twine bow around the top of the bauble.
Variations By Bauble Size
- Sizing rule: Measure your bauble’s circumference at the widest point. Your starting chain length should equal that circumference minus 0.5–1 cm (¼–⅜”) for gentle negative ease. Keep the chain a multiple of 3 + 2.
- Height guide: Work fabric height to about 45–50% of the bauble diameter (or use the suggestions below).
- Why negative ease? The drawcords and blanket stitch stretch slightly; a small reduction keeps the cover snug.
| Bauble Diameter | Circumference (cm / in) | Target Starting Chain Length* | Suggested Fabric Height |
|---|---|---|---|
| 50 mm (5 cm / 2″) | ~15.7 cm / 6.2″ | 15–15.2 cm / 5.9–6.0″ | ~2.5″ (6–6.5 cm) |
| 60 mm (6 cm / 2⅜”) | ~18.9 cm / 7.4″ | 18–18.5 cm / 7.1–7.3″ | ~3″ (7.5–8 cm) |
| 70 mm (7 cm / 2¾”) | ~22.0 cm / 8.7″ | 21–21.5 cm / 8.3–8.5″ | ~3–3.25″ (8–8.5 cm) |
| 80 mm (8 cm / 3⅛”) | ~25.1 cm / 9.9″ | 24–24.5 cm / 9.4–9.6″ | ~3.5–4″ (9–10 cm) |
| 100 mm (10 cm / 4″) | ~31.4 cm / 12.4″ | 30.5–31 cm / 12–12.2″ | ~4.5–5″ (11.5–12.5 cm) |
| 250 mm (25 cm / 9.8″) | ~78.5 cm / 30.9″ | 77.5–78 cm / 30.5–30.7″ | ~12–13″ (30–33 cm) |
Adjustments & Tips
- Too loose? Drop your hook size or remove one blanket-st repeat (subtract 3 chains from the foundation).
- Too tight? Add one repeat (+ 3 chains).
- DK option: For a daintier texture, switch to DK + 4 mm/US 6 hook and add repeats to hit the same circumference.
- Seam line tidy: That optional single-round sc along each long edge gives a clean channel before seaming.
- Drawstring ideas: Twine, velvet ribbon, or a narrow i-cord all look lovely.
FAQs & Extra Tips
Can I use different fibers?
Yes—acrylic, wool, or cotton all work.
Where do the cords thread?
Through the ch-1 eyelets on the second row from each edge (not the very edge), so the ends gather smoothly.
What if my stitch pattern looks holey?
Go down a hook size, or tighten tension on the sl st joins and seaming.
Can I sell my finished products?
Absolutely. Please credit the written pattern and link back; a quick note under your photographs helps other makers find the instructions.
Free Printable
Want to keep this tutorial handy while you crochet? Grab the free printable version of the pattern below!
Whether you’re curled up on the couch or crafting on the go, this easy-to-follow card makes it simple to work through each round at your own pace.
Crochet Christmas Bauble Cover

Wrap a flat blanket stitch rectangle around a bauble, seam, and cinch both ends with draw cords for a snug, polished crochet Christmas bauble.
Worked with worsted yarn and a 5 mm (H-8) hook, it’s quick, beginner-friendly, and easy to size—just chain to your bauble’s circumference with a touch of negative ease.
Materials
- Yarn: Worsted/aran (#4)—e.g., Lion Brand Wool-Ease (scrap-friendly)
Tools
- Hook: 5 mm (H-8) (go smaller for a neater fabric)
- Notions: yarn needle, scissors, tape measure
- Optional: ribbon or twine for decoration
- 80 mm plastic bauble
Instructions
Bauble Cover
Foundation: Ch 38 (adjust per sizing table; keep multiple of 3 + 2)
Row 1: Sc in 2nd ch from hook, 2 dc in same st; sk 2 ch, (sc, 2 dc) in next ch; repeat to last 3 ch, sk 2, sc in last ch. Turn.
Row 2: Ch 1, (sc, 2 dc) in first st; sk next 2 dc, (sc, 2 dc) in next sc; repeat across, sc in last sc. Turn.
Repeat Row 2 until the piece is around 3" (7.5–8 cm) tall (see “Variations by Bauble Size” to scale height).
Tip: For crisp edges before seaming, work 1 round sc evenly along each long edge (optional but tidy).
Finishing Instructions
*Please refer to the photograph in the blog post if you need help.
1. Seam
Fold the fabric so the short ends meet (right sides together).
Whipstitch or mattress-stitch the short edges to form a tube.
Turn the right side out.
2. Drawcords
Cut two lengths of yarn, approx 20 cm (8") each.
Thread one length through the ch-1 spaces on the second row from the top edge.
Thread the second length through the second row from the bottom edge.
3. Assemble
Slide the tube over the bauble (cap pointing out the top).
Top: Cinch the top cord snug around the cap base; knot and hide ends under a bow.
Bottom: Cinch the lower cord firmly; knot and weave in.
Finish with a ribbon or twine bow around the top of the bauble.
Notes
Abbreviations (US terms):
- sc = single crochet
- ch-1 sp = chain 1 space
- dc = double crochet
- sl st = slip stitch
- sk = skip
- st = stitch
Share Your Work
Tag me on Instagram @handylittleme or use #handylittleme to show off your makes.
Join the Handy Little Me Facebook Group to share photos, ask questions, and connect with other makers.
Happy crocheting!
More Christmas Patterns…
You may also enjoy these crochet Christmas patterns…
- Candy Cane Stripe Crochet Dishcloth (Free Printable)
- 20 Free Christmas Crochet Blanket Patterns (Easy + Festive)
- 50 Best Free Crochet Christmas Stocking Patterns
- Free Crochet Christmas Ornament Pattern – Goodie Bag
- 6 Free Crochet Gift Bag Patterns For Christmas
- 40 Free Christmas Crochet Patterns (Best For The Holiday!)
- 35 Best Christmas Amigurumi Crochet Patterns Free!
- Crochet Flat Christmas Tree Pattern (Free Appliqúe How To)
- Free Santa Crochet Pattern (Christmas Amigurumi)
- 40 Free Crochet Christmas Ornament Patterns
- 29+ Gift Ideas For Crocheters
- 10 Advent Calendar Ideas
- Free Christmas Crochet Moss Stitch Dishcloth
- Farmhouse Crochet Tree Skirt (Free Pattern)
- 15 Free Crochet Christmas Coasters – Quick Patterns
- Elf Stripes Crochet Dog Bandana (Free Pattern)