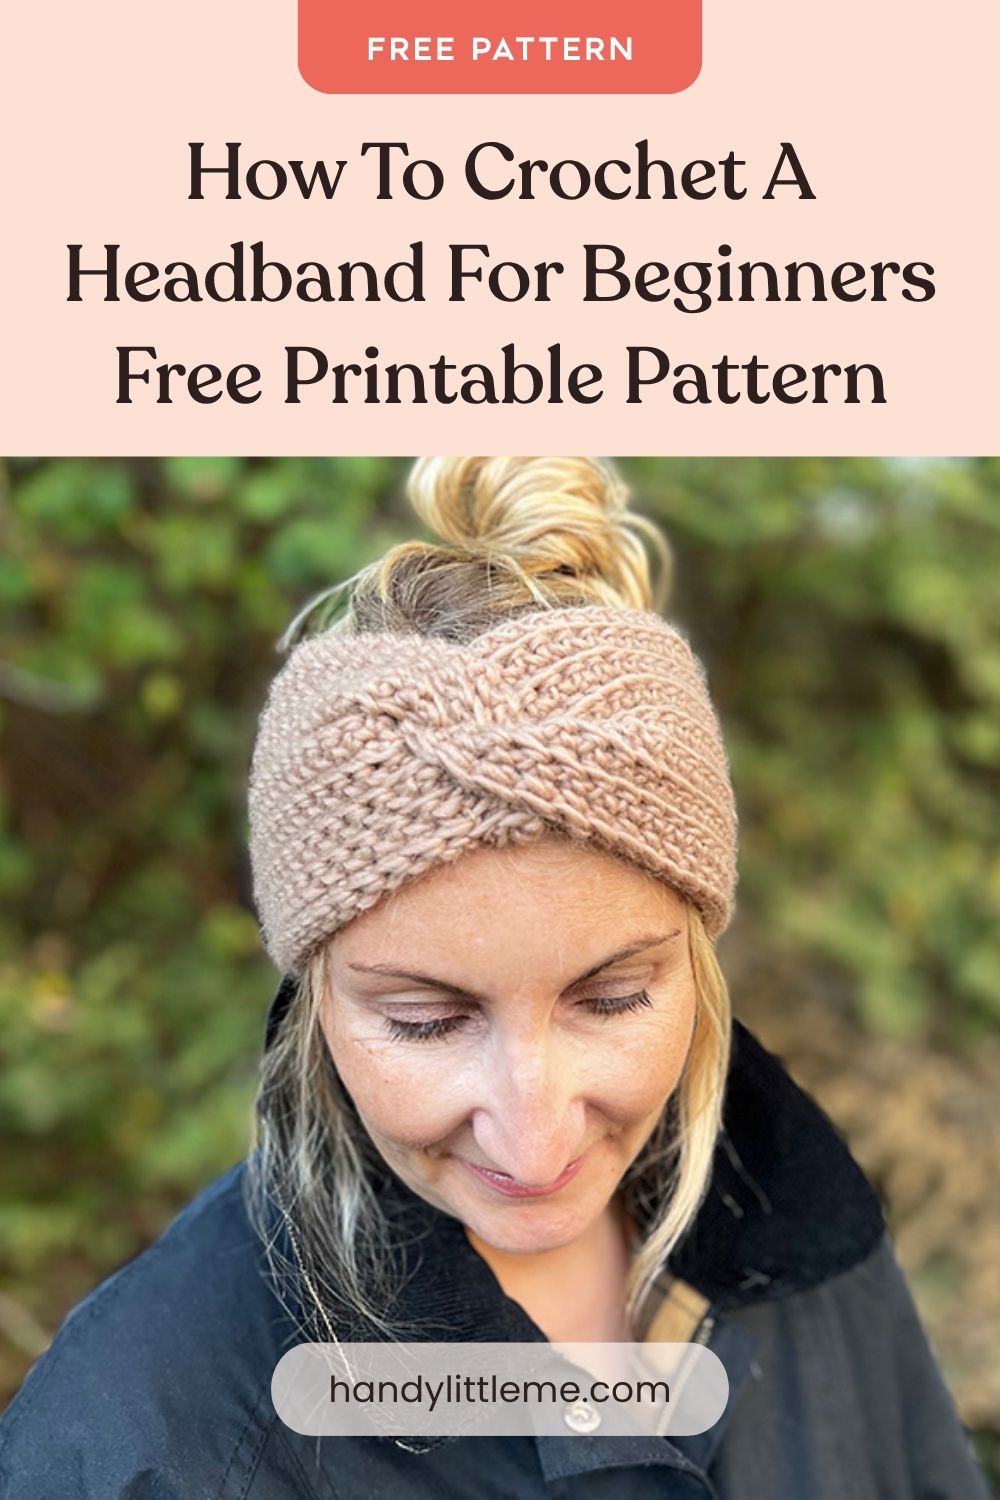
How To Crochet A Headband For Beginners – Free Printable Pattern
THIS ARTICLE CONTAINS AFFILIATE LINKS THAT SUPPORT HANDY LITTLE ME CONTENT AND FREE PATTERNS.Learn how to crochet a headband with this easy beginner-friendly pattern.
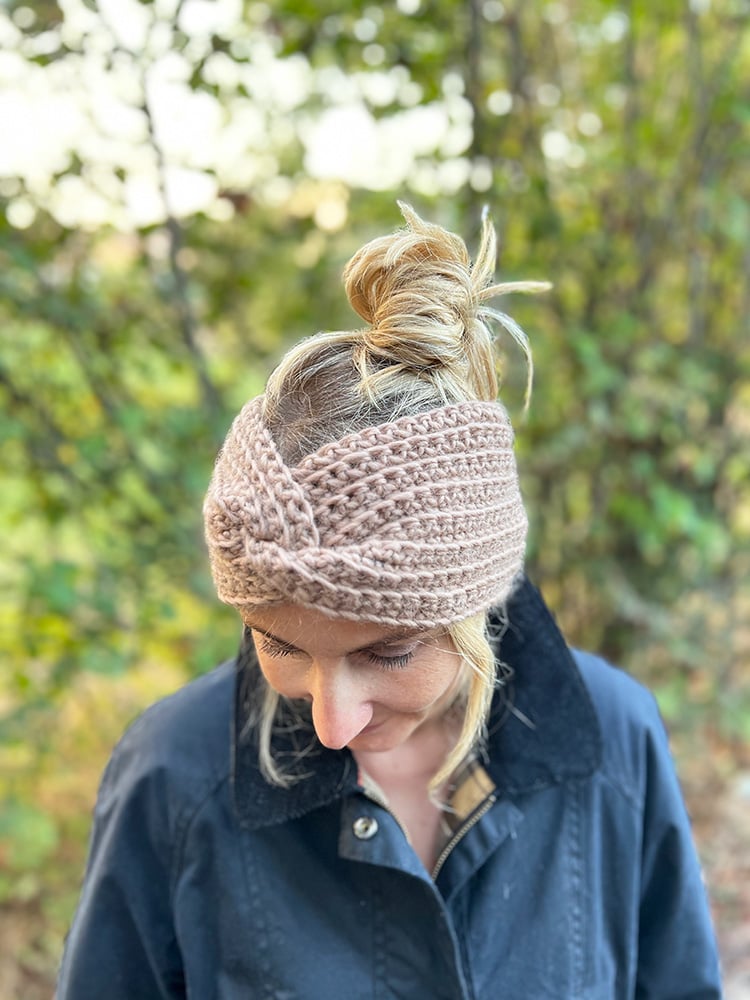
This crochet headband is worked flat using simple single crochet ribbing, then seamed with a twist at the front for a cozy, modern finish.
It uses bulky weight yarn and only one skein, making it a quick crochet project for gifts, fall outfits, winter accessories, or simply keeping your ears warm on chilly days.
The full free pattern is written out below, with step-by-step photos and a video tutorial to help you follow along.

Quick Answer: How Do You Crochet A Headband?
To crochet a headband, make a foundation chain, work rows of crochet ribbing until the piece is wide enough, then seam the short ends together.
This beginner crochet headband is worked flat, using single crochet and single crochet in the back loop only to create ribbing.
Once the rectangle is finished, the ends are folded and seamed together to create the twist at the front.
This pattern uses bulky yarn and a 6 mm / US J-10 crochet hook, so it works up quickly and creates a warm crochet ear warmer.
Quick Pattern Facts
| Pattern Detail | Information |
| Skill level | Basic / beginner |
| Yarn weight | Bulky / chunky / 12 ply |
| Yarn used | West Yorkshire Spinners Chunk Roving RE |
| Hook size | 6 mm / US J-10 |
| Finished size | Adult S/M |
| Finished length | 20 inches |
| Finished width | 5 inches |
| Head circumference | To fit around 22–24 inches |
| Gauge | 12 sts and 14 rows = 4 in / 10 cm in single crochet ribbing |
| Stitch pattern | Single crochet ribbing |
| Construction | Worked flat, then seamed with a twist |
| Includes | Free written pattern, step-by-step photos, and video tutorial |
| PDF option | Optional ad-free printable PDF available in my shop |
Free Crochet Headband Pattern
Skill Level – Basic (Beginner)
Here is an easy crochet headband pattern for you to try.
This headband is crocheted with single crochet ribbing, which creates a thick, stretchy fabric that works well for a warm headband or crochet ear warmer.
The pattern is suitable for beginners because it uses simple stitches, is worked flat, and includes a video tutorial to help you along.
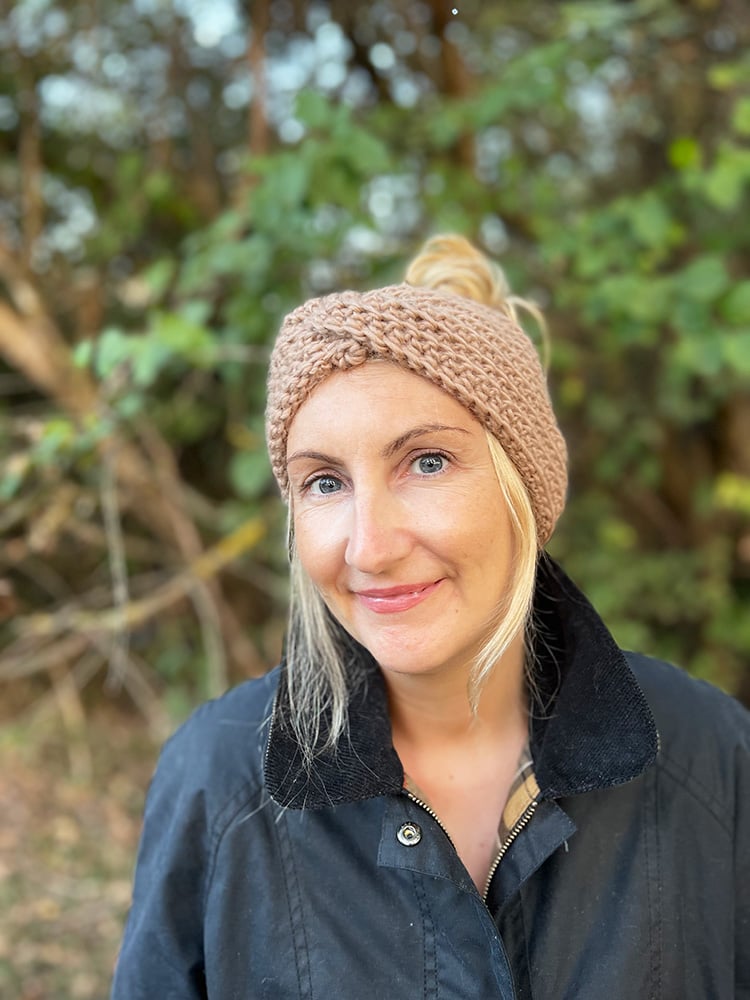
It’s the perfect accessory to wear with your favorite fall or winter outfit, and it also makes a lovely handmade gift.
The full free pattern is written below.
If you prefer a clean, ad-free version with all the necessary photographs, you can grab the printable PDF pattern in my shop.
Copyright Info
- Please do not copy, sell, redistribute, or republish this pattern.
- If you wish to share this pattern, please link to the pattern page only.
- You may sell finished items produced using this pattern.
- You must give pattern credit to Louise Bollanos / Handy Little Me as the designer.
- Please do not use copyrighted photos for your product listing.
- For the copyright terms and conditions, please read my Terms of Use.

Measurements/Sizes
This pattern is written for an adult S/M size.
- Finished length: 20 inches.
- Finished width: 5 inches.
- To fit a head circumference of around 22–24 inches.
You can adjust the length easily by working fewer or more rows, depending on your head size.
The crochet fabric has some stretch, so the finished headband can be slightly smaller than the head circumference for a snug fit.
Gauge
12 sts and 14 rows = 4 in / 10 cm in single crochet ribbing.
Gauge is helpful for this pattern because it affects the finished size and stretch of your headband.
If your headband is coming out too short or too long, you can adjust the number of rows before seaming.

Crochet Headband Size Guide
Use this size guide as a starting point if you want to adjust the headband for another size.
| Size | Head Circumference | Suggested Headband Length |
| Child | 19–21 in | 17–18 in |
| Teen / Adult Small | 21–22 in | 18–19 in |
| Adult Medium | 22–23 in | 19–20 in |
| Adult Large | 23–24 in | 20–21 in |
Crochet fabric stretches, so the finished headband is usually slightly smaller than the head circumference.
For a snug ear warmer, make the headband about 1–2 inches smaller than the head circumference.
If you prefer a looser fit, add a little extra length before seaming.
How Do I Know My Headband Size?
To determine your headband size, measure the circumference of your head.
You’ll need:
- a flexible measuring tape,
- a mirror, if helpful.
Place the measuring tape around your head where the headband will sit.
The tape should go across your forehead, just above your ears, and around the widest part of the back of your head.
Make sure the tape is level and sits comfortably. It should be snug but not too tight.
Take the measurement in inches or centimeters, then use that number to adjust the finished length of your headband.
If you are making the headband for someone else or as a gift, you can either measure their head or use a general head circumference chart as a guide.
Supplies You Need
Yarn
- Bulky Yarn 05 / chunky / 12 ply.
- I used 1 ball of West Yorkshire Spinners Chunk Roving RE in the color Peace 1655.
- One ball is 100g / 153 yards / 140m.
- Around half a ball will be enough to make one headband.
- Approximate yarn needed: 50g / 76.5 yds / 70m.
You can substitute another bulky or chunky yarn if you can match the gauge.
If you use a different yarn weight, the size, stretch, and look of the headband may change.
Crochet Hook
Notions
- Tape measure.
- Darning needle / tapestry needle / yarn needle.
- Scissors.
Abbreviations
This crochet headband pattern is written using US terms and abbreviations.
- BLO – Back loop only
- CH – Chain
- Cont – Continue
- HDC – Half double crochet
- Rem – Remaining
- Rep – Repeat
- SC – Single crochet
- SL ST – Slip stitch
- St(s) – Stitch(es)
New to crochet abbreviations? You only need a few basic terms for this pattern, including chain, single crochet, back loop only, and slip stitch.
Related Post: Crochet Abbreviations And Terms (US + UK)
Video Tutorial
Watch the video tutorial on my YouTube channel if you would like to follow along step by step.
How To Crochet A Headband Step By Step
The step-by-step photo tutorial below will show you how to crochet the headband and create the twist at the front.
Time needed: around 2–3 hours, depending on your crochet speed.
Time needed: 2 hours and 30 minutes
How To Crochet A Headband
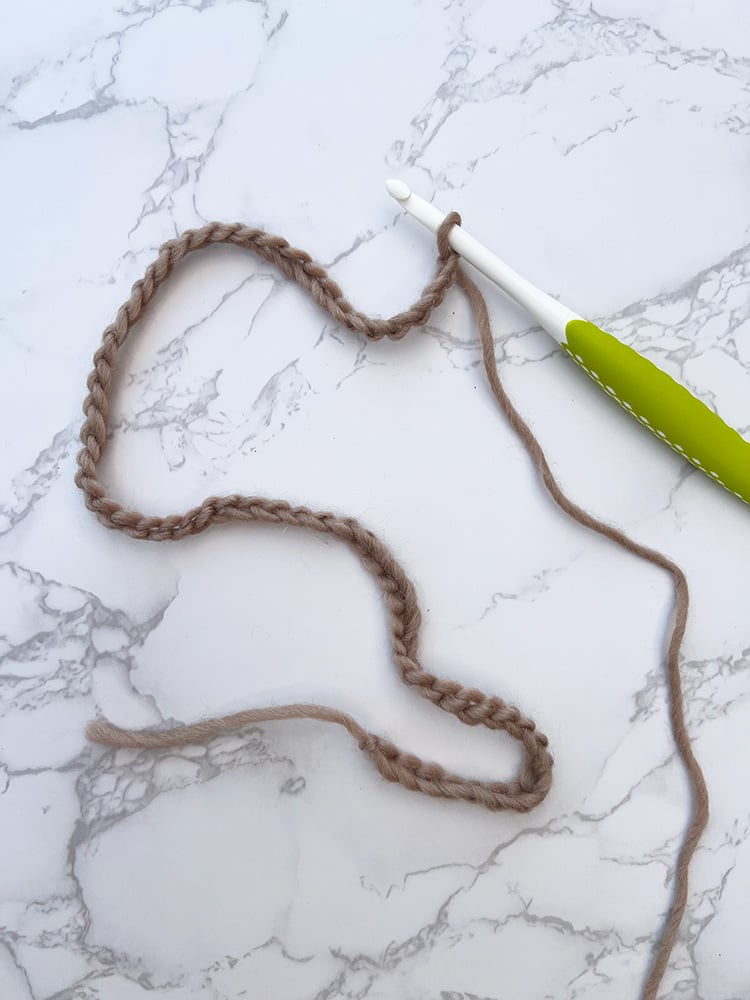
- Step 1 – Create The Foundation Chain
To begin your crochet headband, make a slipknot and create a starting chain.
This chain is the foundation row of your project, which you will build on.
With your hook and yarn, chain 60.
- Step 2 – Row 1
Row 1: For the first row, work 1 single crochet (SC) into the 2nd chain (CH) from the hook and in each chain (CH) to the end of the row. Turn the work ready for row 2.
- Step 3 – Row 2
Row 2: To begin, you will chain (CH) 1 stitch, then work 1 single crochet (SC) in the back loop only (BLO) of the next stitch and each stitch to the end of the row. Turn to continue.
- Step 4 – Row 3
Row 3: You will chain (CH) 1 stitch, then work 1 single crochet (SC) into each chain (CH) to the end of the row. Turn the work.
- Step 5 – Repeat The Pattern
Repeat rows 2 and 3 until you have worked around 5 inches.
Finish with a sl-st (slip stitch) into the last st and leave a long tail of yarn for seaming. - Step 6 – Prepare For Making Up
Lie the headband out flat with the right side facing up.
Fold the ends into the middle. - Step 7 – Prepare For The Twist
Offset the ends so that half of one side is touching the other half at an angle – like in the photo below. This folded placement will create the twist at the front of the headband.
- Step 8 – Hold The Edges Together
Hold the folded ends together, making sure all layers are lined up.
- Step 9 – Fold The Edges
Fold the top section over onto the right side of the fold.
Then fold the bottom section over and hold it in place.
You should now have all four layers stacked together. - Step 10 – Four Layers Together
The four layers are shown together below.
- Step 11 – Seaming The Twist
Thread your yarn tail onto a yarn needle.
Push your needle through all four sections, catching every layer as you sew.
Seam across the edge until secure, then tie a knot and weave in any loose ends. - Step 12 – Turn The Right Side Out
Turn the headband right side out and lay it flat.
The twist should sit at the front of the headband.
Your crochet headband is now ready to wear or gift.


Free Printable Crochet Headband Pattern
Want to print the pattern? Use the free printable pattern card below for the written instructions.
If you’d like a clean, ad-free PDF version with the step-by-step photos included, you can purchase the printable PDF in my shop.
How To Crochet A Headband For Beginners

Learn how to crochet a headband with this easy beginner-friendly pattern. This ribbed crochet ear warmer is worked flat using simple single crochet stitches, then seamed with a twist at the front. It uses bulky yarn and one skein, making it a quick and cozy project for gifts, winter accessories, or everyday wear.
Materials
- Bulky Yarn 05/Chunky/12-Ply
- I used 1 ball of West Yorkshire Spinners Chunk Roving RE: TREAT in the color Peace 1655.
- One ball is 100g/153 yards/140m.
- Around half will be enough to make one headband (50g/76.5yds/70m).
Tools
- 6 mm (US J/10) Hook.
- Scissors.
- Darning needle/yarn needle.
- Tape measure.
Instructions
Headband Instructions
To begin your crochet headband, make a slipknot and create a chain (CH). This chain is the foundation row of your project, which you will build on. With your hook and yarn, chain 60.
Row 1: For the first row, work 1 single crochet (SC) into the 2nd chain (CH) from the hook and in each chain (CH) to the end of the row. Turn the work ready for row 2.
Row 2: To begin, chain (CH) 1 stitch, then work 1 single crochet (SC) in the back loop only (BLO) of each stitch to the end of the row. Turn to continue.
Row 3: You will chain (CH) 1 stitch, then work 1 single crochet (SC) into each chain (CH) to the end of the row. Turn the work.
Repeat rows 2 and 3 until you have worked around 5 inches.
Finish with a sl-st and leave a length of yarn for seaming.
Making Up
For a step-by-step tutorial, please refer to the blog post or the video tutorial for help.
- Lie the headband out flat with the right side facing up.
- Fold the ends into the middle.
- Then offset them so that half of one side is touching the other half at an angle.
- Hold the ends together.
- Fold the top section over onto the right side of the fold.
- Fold the bottom section over and hold it into place.
- Then, push your needle through, catching all four sections, seaming until the end, and securing with a knot.
- Weave in any loose ends.
- Turn the right side out and lay flat.
- Your headband is now ready to wear.
Notes
Size Information
- Adult S/M = Length - 20 inches.
- Width = 5 inches.
- To fit a head with a circumference size of around 22-24 inches.
- You can adjust the length easily by working fewer or more rows, depending on your head circumference size.
Gauge
12 sts and 14 rows = 4in/10cm in single crochet ribbing.
Abbreviations
This pattern is written using US terms and abbreviations.
- BLO - Back loop only
- CH - Chain
- Cont - Continue
- HDC - Half double crochet
- SC - Single crochet
- Rem - Remaining
- Rep - Repeat
- St(s) - Stitches
- SL-ST - slip stitch
What Is The Best Crochet Stitch For A Headband?
The best crochet stitch for a headband depends on the style, stretch, warmth, and texture you want.
For this pattern, single crochet ribbing works really well because it creates a thick, stretchy fabric that sits comfortably around the head.
Here are a few popular crochet stitches that work well for headbands.
Single Crochet
Single crochet is a tight, dense stitch that gives the headband good structure.
It helps the headband stay in place and creates a warm fabric, especially when worked in ribbing.
Half Double Crochet
Half double crochet is slightly taller than single crochet, so it can offer a little more flexibility and stretch.
It’s a good choice if you want a balance between density and softness.
Double Crochet
Double crochet is taller and creates a more open fabric.
It can be useful for lightweight headbands, but it may not be as warm or firm as single crochet.
Ribbing
Crochet ribbing can be created in different ways, including working into the back loop only or using front post and back post stitches.
Ribbing adds stretch and texture, which makes it a great choice for headbands, ear warmers, hats, and cuffs.
Star Stitch
Star stitch creates a more decorative and lacy fabric.
It’s a lovely option if you want a pretty, lightweight headband rather than a thick winter ear warmer.
Seed Stitch
Seed stitch alternates stitches to create a textured fabric.
It can add visual interest and works well if you want a simple but textured headband design.
Ultimately, the best stitch depends on your yarn, your style, and how warm or stretchy you want the finished headband to be.

How Thick Should A Crochet Headband Be?
The thickness of a crochet headband depends on personal preference, the yarn, the stitch pattern, and how you plan to wear it.
As a general guide:
- Narrow headbands are usually around 1–2 inches wide.
- Medium-width headbands are usually around 2–3 inches wide.
- Wide headbands are usually 3 inches or wider.
This pattern makes a wider headband, around 5 inches, which works well as a cozy crochet ear warmer.
A wider headband gives more coverage and warmth, especially in colder weather.
A narrower headband can be better if you want a lighter accessory or a more delicate look.
Before committing to a width, it can be helpful to make a small gauge swatch.
This lets you see how the yarn and stitch pattern behave before making the full headband.

Crochet Headband FAQs
Is This Crochet Headband Good For Beginners?
Yes, this crochet headband is a good beginner project.
It is worked flat, uses simple stitches, and has a step-by-step tutorial to help you follow along.
You’ll use chain stitches, single crochet, single crochet in the back loop only, and slip stitch.
How Do You Crochet A Headband?
To crochet a headband, make a foundation chain, work rows until the fabric reaches the size you need, then seam the short ends together.
For this pattern, you’ll work flat in single crochet ribbing, then seam the ends in a special folded way to create the twist at the front.
What Is The Best Stitch For A Crochet Headband?
Single crochet ribbing is a great stitch for a crochet headband because it creates a warm, stretchy fabric.
Other good stitches include half double crochet, ribbing, seed stitch, shell stitch, and front post / back post stitches.
How Wide Should A Crochet Headband Be?
A crochet headband can be anywhere from 1 inch to 5 inches wide, depending on the style.
For a warm ear warmer, 4–5 inches wide is a good choice.
For a lighter fashion headband, 1–3 inches may be enough.
How Long Should A Crochet Headband Be?
A crochet headband is usually made slightly smaller than the head circumference because crochet fabric stretches.
For an adult head circumference of 22–24 inches, a finished length of around 20 inches works well for this pattern.
You can adjust the length by working fewer or more rows before seaming.
Can I Make This As A Crochet Ear Warmer?
Yes, this headband can also be worn as a crochet ear warmer.
The 5-inch width gives good coverage over the ears, and the bulky yarn makes it warm and cozy.
How Much Yarn Do I Need For A Crochet Headband?
This pattern uses around half a ball of bulky yarn.
Approximate yarn needed: 50g / 76.5 yds / 70m.
If you use a different yarn, check the yardage on the label and make a gauge swatch if needed.
Can I Use A Different Yarn Weight?
Yes, but the finished size and texture may change.
If you use a thinner yarn, your headband may come out smaller and lighter.
If you use a thicker yarn, it may come out larger and bulkier.
To adjust the pattern, make a gauge swatch and change the number of chains or rows as needed.
How Do You Make The Twist In A Crochet Headband?
To make the twist, fold the two short ends of the headband together in an offset stack, then seam through all four layers.
When you turn the headband right side out, the folded seam creates the twist at the front.
Is There A Printable PDF Version?
Yes, the full free pattern is written out on this page.
If you would like a clean, ad-free version with all the necessary photographs, you can grab the printable PDF pattern in my shop.

More Free Crochet Patterns
You may also like these free patterns that use basic crochet stitches:
- Crochet Headband Pattern (Beginner Friendly!)
- How To Crochet A Blanket
- 25 Free Crochet Cardigan Patterns To Make For Fall
- Crochet Dishcloth Pattern Set (Quick Designs For Beginners)
- How To Crochet The Linen Stitch
- 30 Free Crochet Headband Patterns (Easy+Cute)
- 50 Best Crochet Stitches For Blankets And Afghans
- Crochet Round Rug Pattern
- Crochet Washcloth Pattern
- 50 Stash Busting Crochet Patterns
- 40 Free Granny Square Crochet Patterns
- Crochet Blanket Sizes And How Much Yarn
- Outlander Shawl Crochet Pattern
- How To Crochet A Hat (Chunky Beanie For Beginners)
Share Your Work With Us
I love seeing your finished projects on social media.
If you enjoyed making this crochet headband, I’d love to see yours on Instagram.
Tag me @handylittleme or use #handylittleme so I can take a look.
If you are on Facebook, stop over to the Handy Little Me Facebook group and share a photo.
You can also find me on Pinterest, Etsy, and Ravelry.
Happy crocheting!