KFB Knitting: How To Knit Front And Back
THIS ARTICLE CONTAINS AFFILIATE LINKS THAT SUPPORT HANDY LITTLE ME CONTENT AND FREE PATTERNS.Learn KFB knitting, also known as knit front and back, with this easy beginner-friendly tutorial.
KFB is one of the simplest knitting increases to learn because it creates one new stitch by working into the front and back of the same stitch.
It is often used in knitting patterns for shaping shawls, sleeves, hats, cardigans, sweaters, baby knits, and other projects where you need to increase your stitch count.
In this tutorial, you’ll learn what KFB means in knitting, how to work the stitch step by step, what it looks like, and how it compares to other knitting increases like yarn over and M1.

Save this article
Enter your email address and we'll send it to your inbox.
By entering your email, you agree to receive patterns, tutorials, and updates from Handy Little Me. Unsubscribe at any time.
Quick Answer: What Does KFB Mean In Knitting?
KFB means knit front and back.
To work a KFB increase, you knit into the front of a stitch first, then knit into the back of the same stitch before sliding it off the left-hand needle.
This turns one stitch into two stitches, increasing your stitch count by one.
KFB is a beginner-friendly knitting increase and is also sometimes called a bar increase because it creates a small horizontal bar or bump in the fabric.
KFB At A Glance
| Detail | Information |
| Abbreviation | KFB |
| Meaning | Knit front and back |
| Type of stitch | Increase |
| Stitch count | Increases by 1 stitch |
| Difficulty | Beginner-friendly |
| Also known as | Bar increase |
| Visible effect | Small bar or bump in the fabric |
| Common uses | Shawls, sleeves, hats, garments, shaping, and baby knits |
Before You Start
Before learning KFB, it helps if you already know how to:
- Cast on
- Knit the knit stitch
- Hold your needles and yarn
- Recognize the front and back loop of a stitch
You can practice KFB on a small swatch before using it in a pattern.
Cast on a few stitches and knit a couple of rows first, then try working KFB into one stitch to see how the increase is formed.
What Is KFB Knitting?
KFB knitting is a simple increase method where you knit into the same stitch twice.
First, you knit into the front loop of the stitch as normal.
Then, without dropping the stitch from the left-hand needle, you knit into the back loop of the same stitch.
Once both parts of the increase have been worked, you slide the original stitch off the left-hand needle.
This creates two stitches from one stitch.
KFB is useful because it is easy to remember and does not require lifting strands between stitches or wrapping the yarn in a special way.
Is KFB An Increase?
Yes, KFB is an increase.
It adds one stitch to your knitting.
For example, if you have 10 stitches on your needle and work one KFB, you will have 11 stitches after the increase.
This makes KFB useful for shaping knitted items such as sleeves, raglan lines, shawls, hats, cardigans, and sweaters.
How To KFB In Knitting
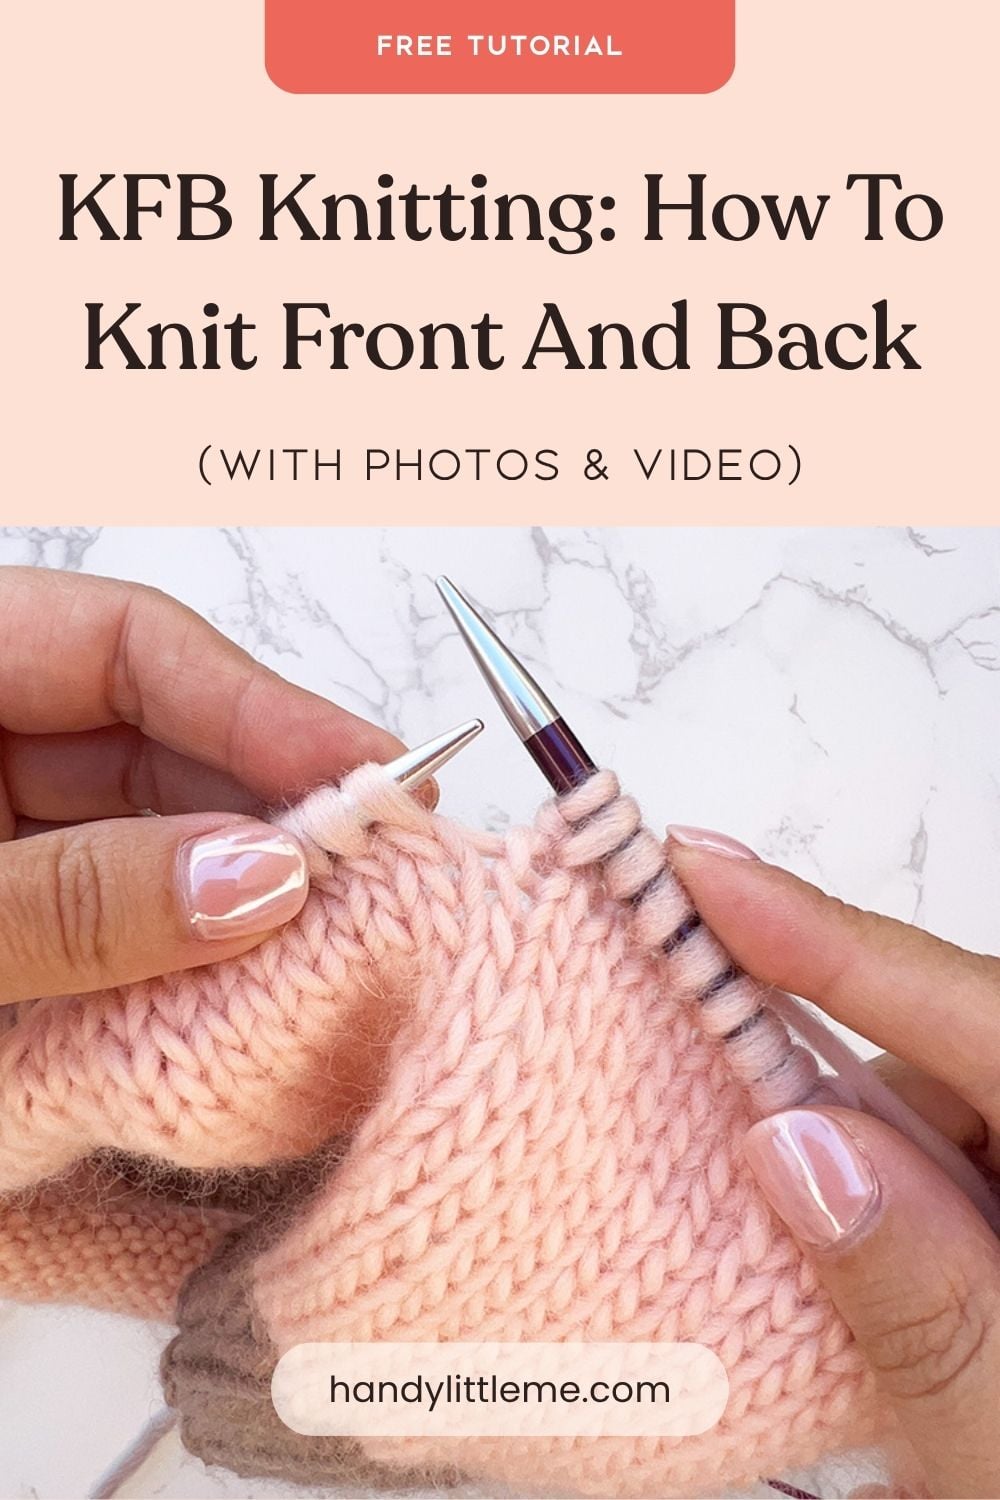
To work KFB, you will knit into the front and back of the same stitch.
Here is the basic method:
- Insert the right-hand needle into the front of the next stitch as if to knit.
- Wrap the yarn around the needle and knit the stitch, but do not slide it off the left-hand needle.
- Insert the right-hand needle into the back loop of the same stitch.
- Wrap the yarn around the needle again and knit into the back loop.
- Slide the original stitch off the left-hand needle.
You have now increased by one stitch.
Video Tutorial
Watch the video tutorial below to see how to work the KFB increase step by step.
Step 1 – Knit Into The Front Of The Stitch
Insert the right-hand needle into the front of the next stitch on the left-hand needle as if you are going to knit.
Wrap the yarn around the right-hand needle and pull it through to make a knit stitch.
Do not slide the stitch off the left-hand needle yet.
This is the first part of the KFB increase.

Step 2 – Leave The Stitch On The Left Needle
After knitting into the front of the stitch, keep the original stitch on the left-hand needle.
This is important because you still need to work into the back of the same stitch.
If you accidentally slide it off too soon, you will only have made a normal knit stitch instead of an increase.

Step 3 – Knit Into The Back Of The Same Stitch
Now insert the right-hand needle into the back loop of the same stitch.
This may feel a little awkward at first because the stitch has already been worked once.
Wrap the yarn around the right-hand needle and knit into the back loop.
This creates the second stitch of the increase.

Step 4 – Slide The Original Stitch Off The Needle
Once you have knitted into both the front and back of the same stitch, slide the original stitch off the left-hand needle.
You should now have two stitches on the right-hand needle where there was previously one.
That is your completed KFB increase.

Step 5 – Check Your Increase
After working KFB, you may notice a small horizontal bar or bump at the base of the new stitch.
This is normal.
KFB is often called a bar increase because of this visible little bar.
If your stitch count has increased by one, you have worked the increase correctly.

What Does KFB Look Like?
KFB creates a small bar or bump in your knitting.
This bar usually appears just below the new stitch and can be more visible in smooth stockinette stitch.
In textured stitch patterns, garter stitch, ribbing, or busy yarns, the bar may be less noticeable.
The small bar is not a mistake; it is part of how this increase is formed.
Does KFB Leave A Bar?
Yes, KFB usually leaves a small horizontal bar in the fabric.
This is why it is sometimes called a bar increase.
The bar is often subtle, but it may be visible depending on your yarn, tension, and stitch pattern.
If you want a more invisible increase, a make one increase such as M1L or M1R may be a better choice.
If you want a decorative eyelet increase, a yarn over may be used instead.
KFB Vs Yarn Over
KFB and yarn over are both increases, but they look very different.
A KFB increase adds one stitch and creates a small bar or bump.
A yarn over adds one stitch and creates a decorative hole or eyelet.
| Increase | What It Does | What It Looks Like |
| KFB | Adds 1 stitch | Small bar or bump |
| Yarn over | Adds 1 stitch | Decorative eyelet or hole |
Use KFB when you want a simple increase without a large hole.
Use yarn over when your pattern wants an open, lacy effect.
KFB Vs M1 Increase
KFB and M1 are both increases, but they are worked in different ways.
KFB is worked into an existing stitch.
M1 is usually worked into the strand between two stitches.
KFB is often easier for beginners because you do not need to lift the strand between stitches.
M1 increases can look more invisible, but they can also feel tighter to work.
| Increase | Worked Into | Appearance |
| KFB | Existing stitch | Small bar |
| M1 | Strand between stitches | More invisible |
If you are new to knitting increases, KFB is a great place to start.
Can You KFB On A Purl Row?
KFB is normally worked on the knit side of the fabric, but some patterns may ask you to increase on the wrong side.
If a pattern specifically wants a purl-side increase, it may use PFB, which means purl front and back.
PFB is the purl version of KFB.
If your pattern says KFB, work the stitch as a knit increase unless the instructions say otherwise.
Common KFB Mistakes
Sliding the stitch off too soon
The most common mistake is sliding the stitch off the left-hand needle after knitting into the front loop.
Remember, you need to knit into the back of the same stitch before sliding it off.
If you slide it off too soon, you will not increase.
Forgetting to knit into the back loop
KFB has two parts: knit into the front, then knit into the back.
If you only knit into the front, you are just making a normal knit stitch.
Pulling the stitch too tight
The second part of KFB can feel tight because you are working into the same stitch twice.
Try not to pull the yarn too tightly after the first knit stitch.
Keeping your tension relaxed will make it easier to knit into the back loop.
Losing track of your stitch count
Because KFB increases by one stitch, your stitch count should go up each time you work it.
If your count is wrong, check that you worked both parts of the increase before moving on.
Confusing KFB with K2tog
KFB and K2tog are opposites in terms of stitch count.
KFB increases by one stitch.
K2tog decreases by one stitch.
If your pattern says KFB, you are adding a stitch, not reducing stitches.
Which Patterns Use KFB?
KFB is used in many knitting patterns where shaping is needed.
You may see KFB in:
It is especially useful in beginner knitting patterns because it is easy to learn and does not require any advanced techniques.
How To Practice KFB
The best way to learn KFB is to practice on a small swatch.
Try this simple practice exercise:
Cast on 10 stitches.
- Row 1: Knit all stitches.
- Row 2: K1, KFB, knit to end.
- Row 3: Knit all stitches.
- Row 4: K1, KFB, knit to end.
Continue repeating these rows for a few more rows.
You should see the fabric begin to grow wider on one side.
You can also practice working KFB at both ends of a row:
- Row 1: K1, KFB, knit to last 2 stitches, KFB, K1.
- Row 2: Knit all stitches.
This is a helpful way to understand how KFB can be used for shaping.
KFB Knitting FAQs
What does KFB mean in knitting?
KFB means knit front and back.
It is a knitting increase where you knit into the front and back of the same stitch to make one extra stitch.
How do you KFB in knitting?
To KFB, knit into the front of the stitch, leave it on the left-hand needle, then knit into the back of the same stitch before sliding it off.
Does KFB leave a hole?
No, KFB does not create a hole like a yarn over. It usually creates a small bar or bump in the fabric instead.
Why does KFB make a bar?
KFB makes a bar because you are working into the front and back of the same stitch. This twists part of the stitch and creates a small horizontal bump.
Is KFB good for beginners?
Yes, KFB is one of the easiest knitting increases for beginners to learn. It only uses the knit stitch and is worked into an existing stitch.
Is KFB the same as M1?
No, KFB and M1 are different increases. KFB is worked into an existing stitch, while M1 is worked into the strand between two stitches.
What is the purl version of KFB?
The purl version of KFB is PFB, which means purl front and back.
Does KFB lean left or right?
KFB does not create a strong directional lean like some other increases. It is usually used as a simple bar increase rather than a paired left- or right-leaning increase.
When should I use KFB?
Use KFB when your pattern tells you to increase one stitch, or when you want an easy beginner-friendly increase that does not create an eyelet.
More Knitting Increase And Decrease Tutorials
If you found this KFB knitting tutorial helpful, you may also like these knitting guides:
- How To Increase Stitches In Knitting
- M1L and M1R Knitting Increases: Make One Left and Right
- How To Yarn Over In Knitting
- How To Knit Lifted Increases: RLI and LLI
- How To Decrease Knitting
- How To Knit 2 Together (K2tog)
- SSK Knitting Tutorial: How To Slip Slip Knit
- P2tog Knitting: How To Purl Two Together
- SSP Knitting: How To Slip Slip Purl
- PSSO Knitting: How To Pass Slipped Stitch Over
- How To Knit CDD: Centered Double Decrease
- Knitting Abbreviations
- How To Read Knitting Patterns
KFB is a simple but useful knitting increase that you will see in many patterns.
Once you understand how to knit into the front and back of the same stitch, it becomes a quick and easy way to shape your knitting.
The. Pattern indicates the squares re to be knitted separately. Does this mean each square is to be bin off and then sewn together? Thanks for your help.
Hello Thelma,
If your pattern doesn’t say if the squares should be continued in some way – then I would think that they should be cast off and joined later.
In the making up section of your pattern, it may give further instruction on how to do this…
I hope that helps!
Louise