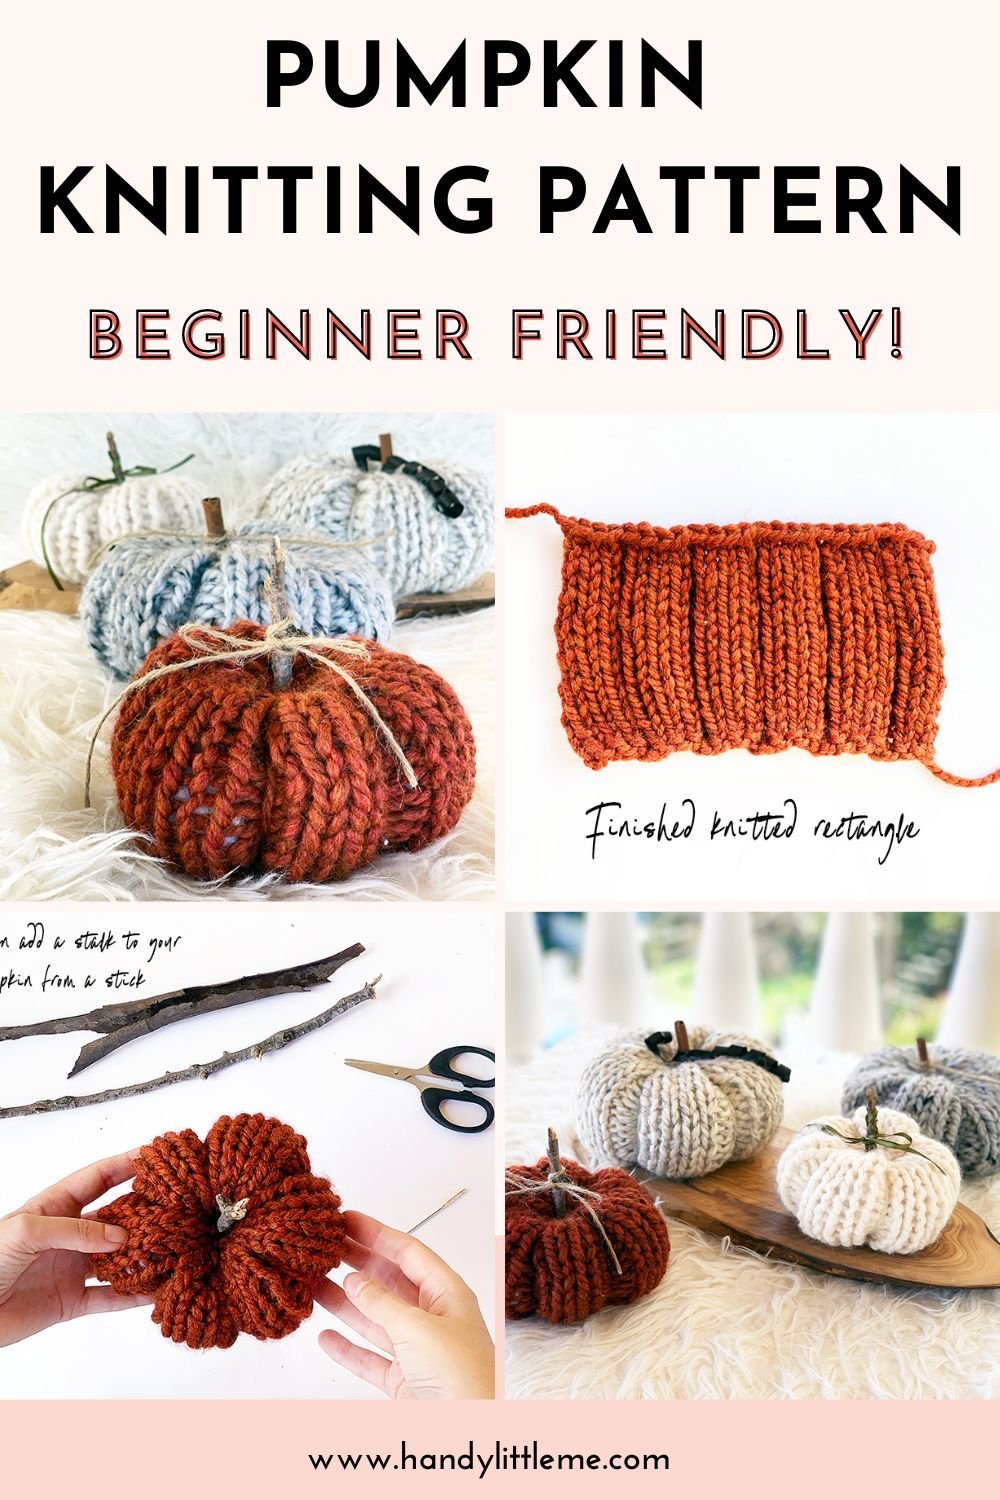
How To Knit A Pumpkin Easy + Quick! (Free Printable)
THIS ARTICLE CONTAINS AFFILIATE LINKS THAT SUPPORT HANDY LITTLE ME CONTENT AND FREE PATTERNS.In this post, you’ll learn how to knit a pumpkin with a beginner-friendly pumpkin knitting pattern that’s perfect for fall.
With a step-by-step photo tutorial and a video tutorial, you’ll be able to make knit pumpkins in no time at all!
Scroll down to view the free printable pattern, photo tutorial, and video.

The Farmhouse Pumpkin Inspiration
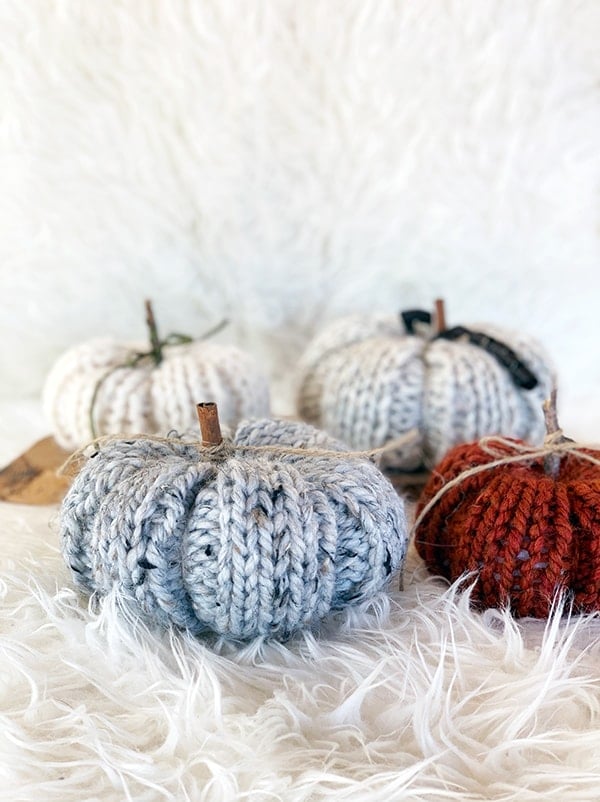
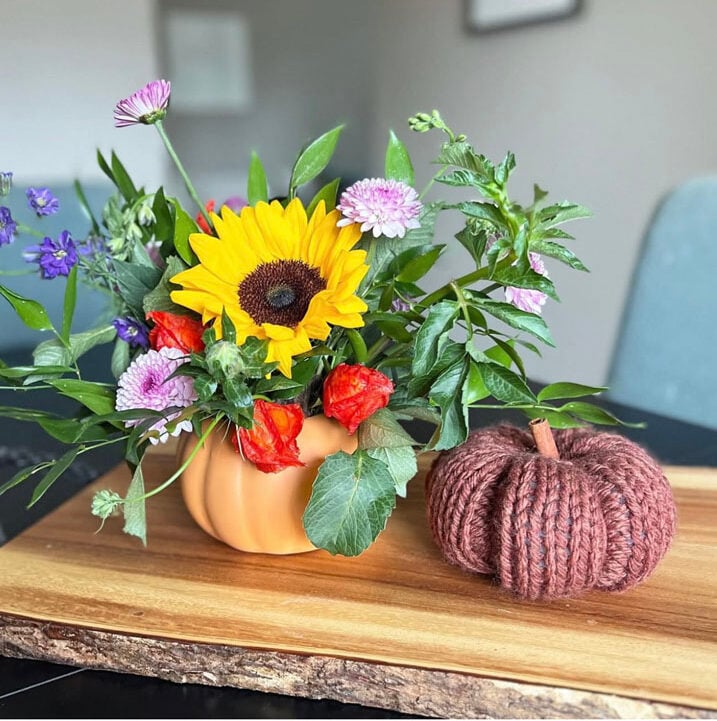
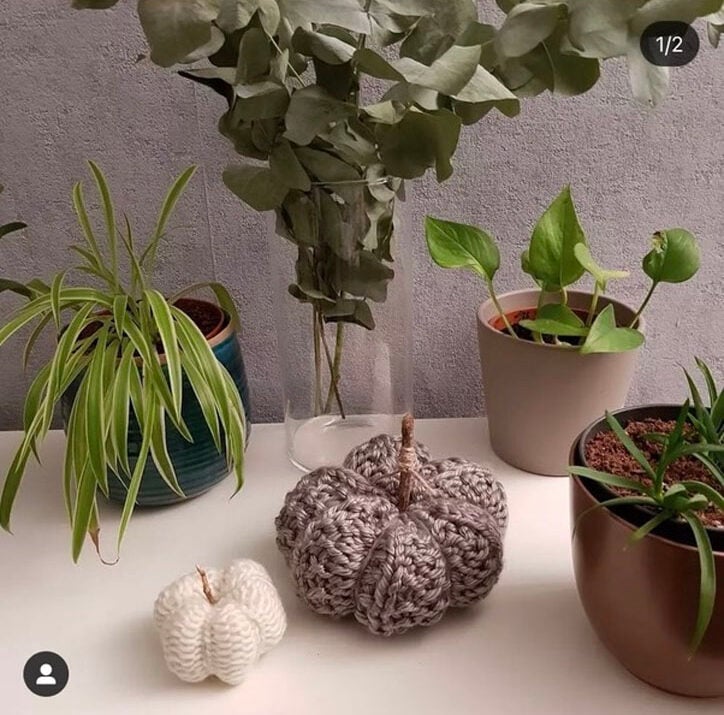
Knitted pumpkins are everywhere right now and make the perfect fall decor.
- Place them around your home for a cozy autumn look.
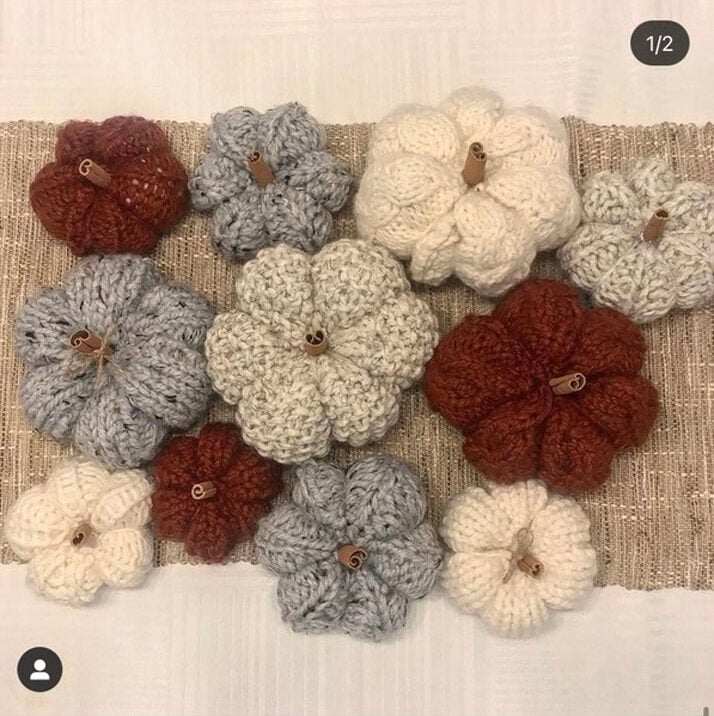
- Group them in a pumpkin patch display.
- Use them as table decorations with cinnamon sticks, twine, or leaves for rustic stems.
I keep mine in the living room with fairy lights, and they look so pretty!
Easy Knit Pumpkins
This pumpkin pattern is quick because it uses super bulky yarn (super chunky/14-ply yarn).
- I knit five pumpkins in just two hours and used another hour to seam, stuff, and decorate them.
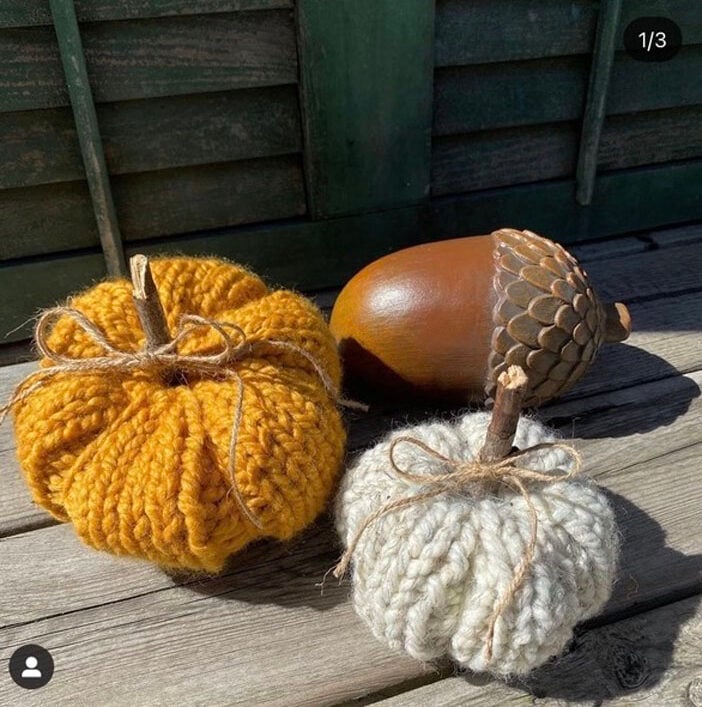
- The pumpkin stems are made from sticks or cinnamon sticks, secured with a hot glue gun, and finished with a bow or rustic twine.
- These pumpkins are knit flat on straight knitting needles and then seamed into a tube-knit shape.

The Yarn
- I used Lion Brand Wool-Ease Thick & Quick yarn (super bulky 06) in a mix of fall shades.
- Large pumpkins – Oatmeal + Grey Marble
- Medium pumpkins – Fisherman + Spice
- Small pumpkins – Spice
- Each skein of yarn makes at least three pumpkins. This is also a great stash-busting knitting project if you have leftover yarn.
- You can easily adapt the knitting pattern to different sizes by casting on more stitches and knitting additional rows.

Pumpkin Knitting Pattern Straight Needles
These pumpkins are knitted flat using 10 mm (US 15) straight knitting needles or circulars if you prefer knitting flat (back and forth, not in the round).
- The pattern uses simple knit and purl stitches to create a rectangle.
- After seaming, you’ll gather the bottom of the tube with a running stitch, add stuffing, and then shape the top of the pumpkin.
- The middle of the pumpkin is pulled in with a long yarn tail and a tapestry needle to create those beautiful pumpkin ridges.
For beginners, this is a great alternative to a crocheted pumpkin pattern, and you can use the magic loop method or stitch markers if you prefer working in the round.

Pattern Notes
Skill Level: Beginner
Size Information
Gauge – 10 sts and 15 rows = 4 in/10 cm
Pumpkin sizes
- Small – Circumference – 13″/33 cm / Height – 4″/10 cm
- Medium – Circumference – 16″/43 cm / Height – 5″/13 cm
- Large – Circumference – 20″/51 cm / Height – 6″/16 cm
Please scroll down to print your free pattern, or support my work and grab the ad-free printable PDF from my shop here.
Copyright Info
- Please do not copy, sell, redistribute, or republish this pattern.
- Please ask for permission to use it in classes.
- If you wish to share this pattern, please provide a link to the pattern page only.
- You may sell items produced using this pattern.
- Do NOT use copyrighted photos for your product listing.
- For the copyright T&C, please read my Terms of Use.

Materials + Tools
Yarn
Super Bulky/Super Chunky/14 Ply (Yarn Weight Guide (+ Conversion Chart)
Lion Brand Wool-Ease Thick and Quick in the following colors:
You can make three or more pumpkins with one skein of yarn.
Needle Size
- 10 mm (US size 15) knitting needles
- You can use straight knitting needles or circulars to knit flat (back and forth – not in the round).
Notions
- Tape measure
- Darning needle or tapestry needle
- Scissors
Other Materials
- Polyfil/toy stuffing – to fill the pumpkin
- Sticks or cinnamon sticks for the stalks
- Hot glue gun to secure the stalks
- Ribbon or twine to decorate the stalks
Knitting Abbreviations
- CO – Cast on
- K – Knit
- P – Purl
- Rep – Repeat
- St(s) – Stitch(es)
Print + Stitch
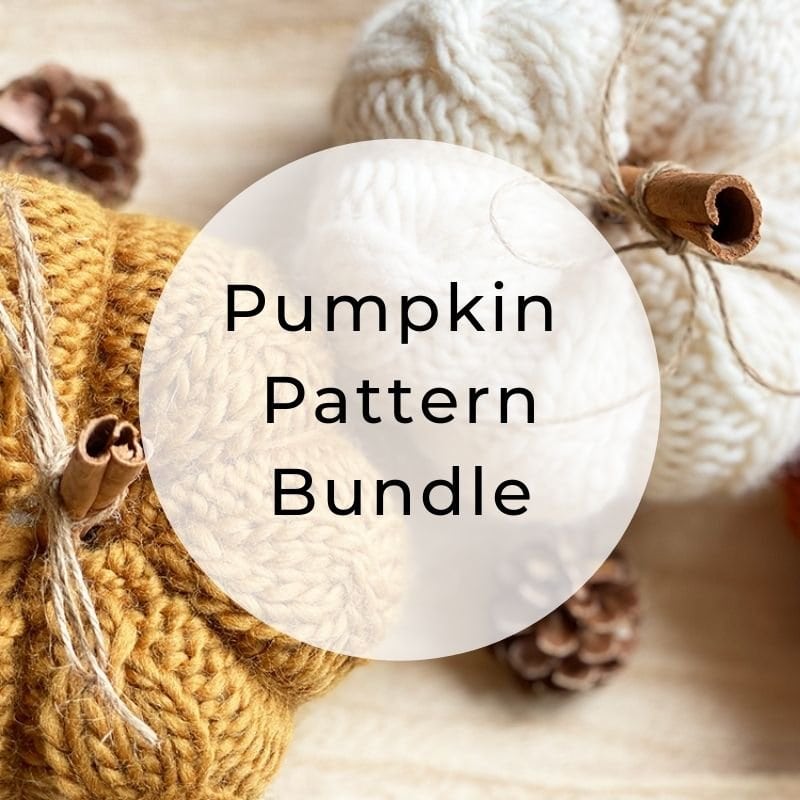
Purchase the ad-free PDF bundle
Get this pattern and more! You can purchase the ad-free PDF bundle in my shop. It’s perfect for printing, saving to your device, and making whenever you’re ready.
Free Pumpkin Knitting Pattern
This is a quick knit project with three sizes: small pumpkin, medium pumpkin, and large pumpkin.
Large Pumpkin
CO 36 sts, leaving a tail length of around 15 inches/39 cm
- Row 1: K4, P2, rep to the end of the row.
- Row 2: K2, P4, rep to the end of the row.
Rep rows 1 and 2 until the piece measures 6 inches/16 cm
Cast off in pattern.
Cut yarn and leave a long tail for seaming (around 30+ inches).
Medium Pumpkin
Cast on 24 sts, leaving a tail length of around 15 inches/39 cm
- Row 1: K3, P1, rep to the end of the row.
- Row 2: K1, P3, rep to the end of the row.
Rep rows 1 and 2 until the piece measures 5 inches/13 cm
Cast off in pattern.
Cut yarn and leave a long tail for seaming (around 25+ inches).

Small Pumpkin
Cast on 18 sts, leaving a tail length of around 15 inches/39 cm
- Row 1: K2, P1, rep to the end of the row.
- Row 2: K1, P2, rep to the end of the row.
Rep rows 1 and 2 until the piece measures 4 inches/11 cm
Cast off in pattern.
Cut yarn and leave a long tail for seaming (around 20+ inches).
Making Up The Pumpkins
Step 1 – Get your finished ribbed rectangle
You have your finished rectangle, looking something like this (this is the smaller pumpkin).
The yarn tails will be needed for seaming and finishing the pumpkin.

Step 2 – You seam the rectangle to create a tube
Start by seaming with the right side facing you, then turn it inside out.

Step 3 – Thread a yarn end through your tapestry or yarn needle
Sew a running stitch around one end of the pumpkin, then cinch it together and secure it.
Turn the pumpkin on the right side out.
The bottom of the pumpkin should look like the fourth picture.

Step 4 – Stuff the pumpkin
Stuff the pumpkin with polyfill/toy stuffing to make it nice and round.
Then, stitch through the top and cinch together to close and secure.

Step 5 – Create the pumpkin shape
The long yarn tail is needed to create the pumpkin shape.
Push the needle through the bottom hole in the center of the pumpkin, then out through the top hole.
The needle is passing through the middle of the pumpkin.
Catch the yarn over the side (the purl stitches) and repeat this step all the way around the ridges.

Step 6 – Add a pumpkin stem and some ribbon to finish
Add a stalk or pumpkin stem using a cinnamon stick or twig, and hot glue it into place.
You can add ribbons, bows, leaves, or twine to decorate.

Video Tutorial
There is a video tutorial to help you see how you can finish the pumpkin.
Free Printable
If you prefer to work from a printed pattern or just want a version you can take on the go, I’ve got you covered!
You can print the pattern below to keep it handy while you knit.
It’s a simple, easy-to-follow design that’s perfect for relaxing with a project you’ll actually use.
Pumpkin Knitting Pattern Free Printable

Print this free How to Knit a Pumpkin card – a printable knitting pattern with step-by-step instructions.
Perfect for beginners, this easy pumpkin knitting pattern uses bulky yarn, straight needles, and simple stitches to create cozy fall knit pumpkins with stems and stuffing.
Materials
- Super Bulky/Super Chunky/14 Ply (Yarn Weight Guide (+ Conversion Chart)
- Lion Brand Wool-Ease Thick and Quick in the following colors:
- Fisherman 099
- Spice 135
- Grey Marble 154
- Oatmeal 123
- You can make three or more pumpkins with one skein of yarn.
Tools
- 10 mm (US 15) knitting needles / You can use straight knitting needles or circulars to knit flat (back and forth – not in the round).
- Tape measure
- Darning needle or tapestry needle
- Scissors
- Polyfil/toy stuffing – to fill the pumpkin
- Sticks or cinnamon sticks for the stalks
- Hot glue gun to secure the stalks
- Ribbon or twine to decorate the stalks
Instructions
Small Pumpkin
Cast on 18 sts, leaving a tail length of around 15 inches/39 cm
- Row 1: K2, P1, rep to the end of the row.
- Row 2: K1, P2, rep to the end of the row.
Rep rows 1 and 2 until the piece measures 4 inches/11 cm
Cast off in pattern.
Cut yarn and leave a long tail for seaming (around 20+ inches).
Medium Pumpkin
Cast on 24 sts, leaving a tail length of around 15 inches/39 cm
- Row 1: K3, P1, rep to the end of the row.
- Row 2: K1, P3, rep to the end of the row.
Rep rows 1 and 2 until the piece measures 5 inches/13 cm
Cast off in pattern.
Cut yarn and leave a long tail for seaming (around 25+ inches).
Large Pumpkin
CO 36 sts, leaving a tail length of around 15 inches/39 cm
- Row 1: K4, P2, rep to the end of the row.
- Row 2: K2, P4, rep to the end of the row.
Rep rows 1 and 2 until the piece measures 6 inches/16 cm
Cast off in pattern.
Cut yarn and leave a long tail for seaming (around 30+ inches).
Making Up The Pumpkins
Step 1 – Get your finished ribbed rectangle
You have your finished rectangle, looking something like this (this is the smaller pumpkin).
The yarn tails will be needed for seaming and finishing the pumpkin.
Step 2 – You seam the rectangle to create a tube
Start by seaming with the right side facing you, then turn it inside out.
Step 3 – Thread a yarn end through your tapestry or yarn needle
Sew a running stitch around one end of the pumpkin, then cinch it together and secure it.
Turn the pumpkin on the right side out.
The bottom of the pumpkin should look like the fourth picture.
Step 4 – Stuff the pumpkin
Stuff the pumpkin with polyfill/toy stuffing to make it nice and round.
Then, stitch through the top and cinch together to close and secure.
Step 5 – Create the pumpkin shape
The long yarn tail is needed to create the pumpkin shape.
Push the needle through the bottom hole, then out through the top hole.
The needle is passing through the middle of the pumpkin.
Catch the yarn over the side (the purl stitches) and repeat this step all the way around the ridges.
Step 6 – Add a pumpkin stem and some ribbon to finish
Add a stalk or stem using a stick or twig and glue it into place.
You can add ribbon or twine to decorate.
Notes
Knitting Abbreviations
- CO – Cast on
- K – Knit
- P – Purl
- Rep – Repeat
- St(s) – Stitch(es)
Size Information
Gauge – 10 sts and 15 rows = 4 in/10 cm
Sizes
- Small – Circumference – 13″/33 cm / Height – 4″/10 cm
- Medium – Circumference – 16″/43 cm / Height – 5″/13 cm
- Large – Circumference – 20″/51 cm / Height – 6″/16 cm
Recommended Products
As an Amazon Associate and member of other affiliate programs, I earn from qualifying purchases.

Knitted by Our Community
See how knitters have brought this pattern to life with their own yarn choices and style.


Could you share your work with us…
I love seeing your finished projects on social media.
If you enjoyed making your own pumpkins, I’d love to see yours on Instagram, tag me @handylittleme.
If you are on Facebook, stop over to the Handylittleme Facebook group and share a photo,
You can also check out the Handylittleme Facebook page here.
I’d love to see your work.
You can also find us on Pinterest, Ravelry, and Twitter.
Happy Knitting!

Helpful Resources
- Knitting cast-on methods.
- Knitting For Beginners -The Complete Guide Step-By-Step
- How to knit – a complete beginner’s guide
- How to cast on knitting
- How to cast off knitting for total beginners (step by step)
- How to knit garter stitch
- How to knit the purl stitch (for beginners + a video tutorial)
- How to knit stockinette stitch (for beginners)
- How to read knitting patterns for beginners
- Knitting abbreviations and terms (US and UK)
- How To Knit Rib Stitch Patterns (1×1 and 2×2 ribbing)
More Knitted Pumpkins
For more free pumpkin patterns, please take a look at these posts:

More patterns + tutorials
- How To Knit A Hat For Complete Beginners (+ Video Tutorial)
- 20 Temperature Blanket Patterns (The Ultimate Guide)
- How To Knit A Hat With Circular Needles (Step-By-Step)
- 31 Free Baby Blanket Knitting Patterns (Easy Knit Blankets)
- How To Knit Baby Booties (Step-By-Step)
- Knitted Dog Sweater Pattern (3 Sizes)
- 12 Simple Knitting Stitches For Beginners
- Free Knitted Dishcloth Patterns
- 37+ Patterns To Use Up Your Yarn Stash (Small Projects)
- Free Dog Sweater Knitting Pattern (Straight Needles)
- Super Easy Corner To Corner Baby Blanket Pattern (Knit)
- Easy Baby Sweater Knitting Pattern For Beginners
- How To Knit A Baby Hat (Straight Needles)
- 8 Cable Stitch Knitting Patterns
- 35 Free Home Knitting Patterns (Beautiful Decor)
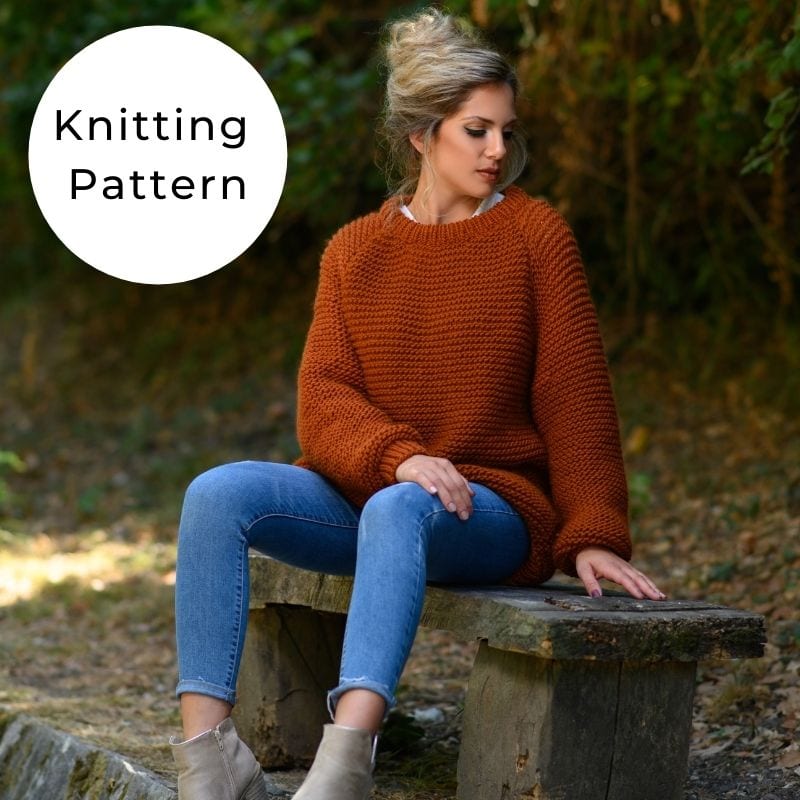
- 20+ Fall Oversized Knits (Sweater Knitting Patterns)
- Ribbed Beanie Knitting Pattern (Unisex Mariner’s Hat)
- 15 Quick Knits To Cast On Today! (Free Patterns)

Quick & easy knit ! Love theses pumpkins 🎃 ! Thank you for patterns .
Hello Geraldine, thank you so much for your kind words, I’m so happy you like the pumpkin patterns.
Happy Knitting!
Louise 🙂
Loved these pumpkins and so easy made five sets of three for gifts. Thanks for the pattern
Hello Diane,
Wow, you have been busy!
I’m so happy you enjoyed the pattern,
Happy knitting!
Louise 🙂
Love making these! I’ve now had requests from family to make some for them! Thank you!
Hello Heather, I’m so happy you like the pattern 🙂
Happy knitting!
Louise
Had so much fun making these! Thank you for the easy to follow directions.
Hello Connie,
I’m so happy you enjoyed the pattern!
Louise
Why wouldn’t you knit these in the round? That would be one less step
Hello Andrea,
You can knit these in the round if you wish.
Many people ask for patterns that are knit flat, which are easier for beginner knitters.
So the pattern is geared more towards people who are new to knitting and want a simple project, step by step.
But anyone can give it a go!
Happy knitting!
Louise
Thank you so much for this pattern. Rented a cabin will knit these while there for myself and friends and family
Hello Diane,
I hope you enjoy the pattern 🙂
Louise
Louise,
I have made 20 sets of your adorable pumpkins to give as gifts. The recipients are thrilled and think I’m very talented!
I have also used your winter hat patterns for needy school kids. I add snap-on faux fur poms for the girls. I hear the kids love the hats. I have made 300 so far.
Thank you for your wonderful and easy to follow patterns.
Hello Janelle,
Thank you so much for your kind words and wow! That’s amazing that you have been so generous in making hats and pumpkins for others to enjoy.
I love that the hat patterns have come in handy for others and have been useful.
You are awesome!
Happy knitting 🙂
Louise
Great pattern, very easy to follow. Thank you!
Hi!
Just wanted to thank you for such a lovely, creative project. I’m working on a couple right now, and the yarn colors and stitch really lend themselves well to the project. It’s practically shaping up right before my eyes.
Hello Ida,
I’m so happy you are enjoying the pattern!
Happy knitting 🙂
Louise