Free Pumpkin Knitting Patterns (3 Sizes)
THIS ARTICLE CONTAINS AFFILIATE LINKS THAT SUPPORT HANDY LITTLE ME CONTENT AND FREE PATTERNS.Take a look at these free pumpkin knitting patterns and make your own this autumn.
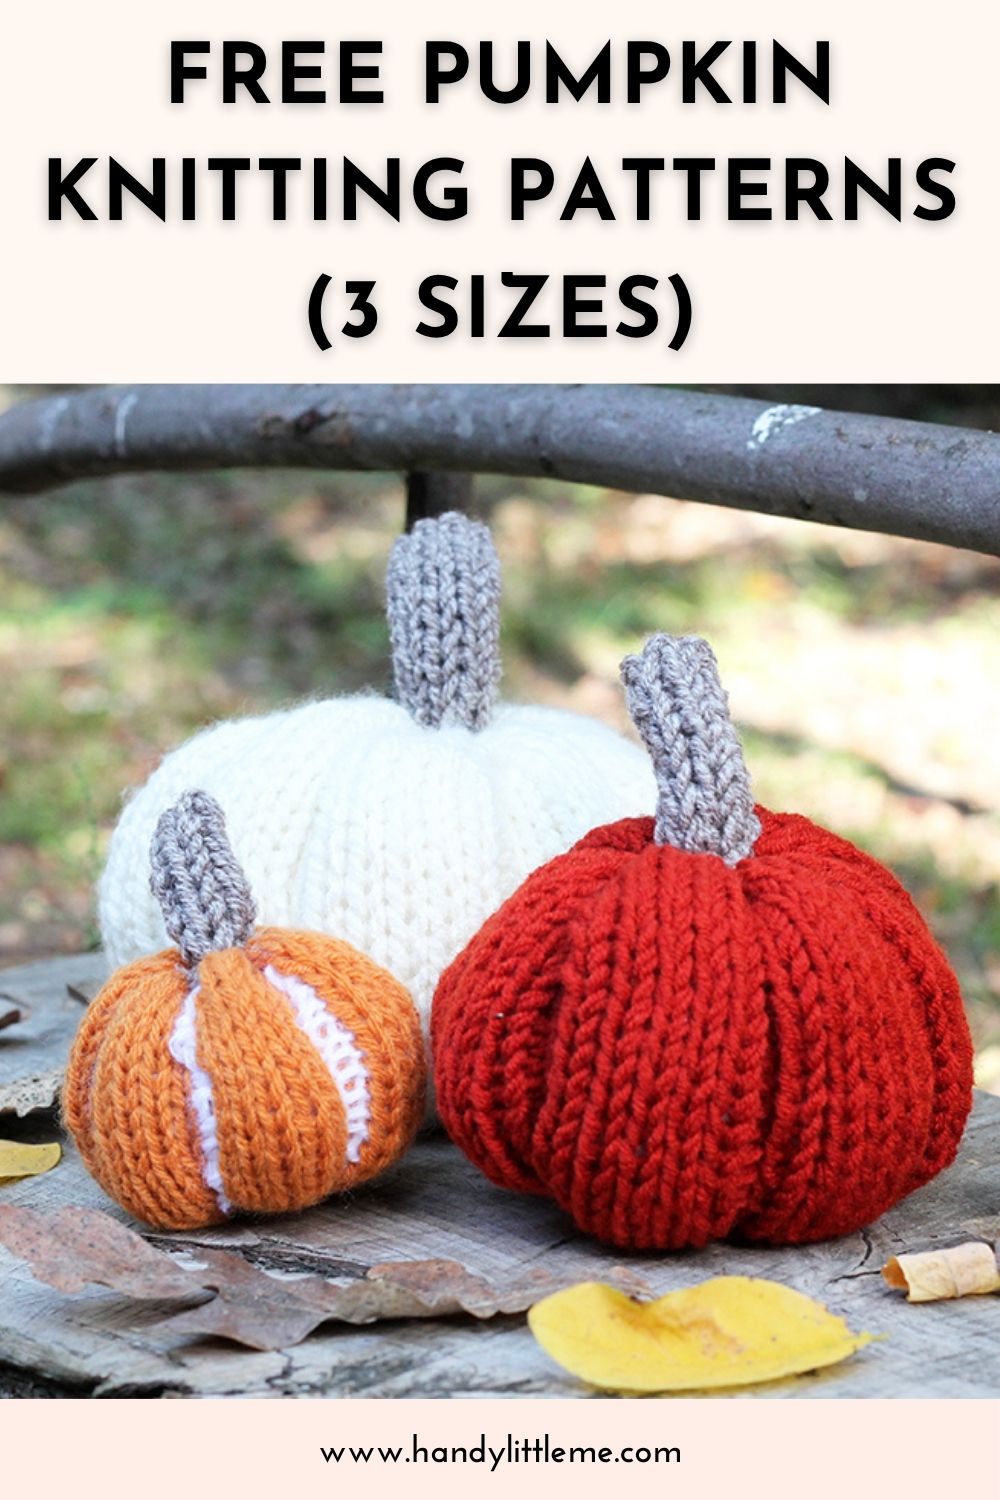
They would look great for Halloween, as table or party decor, or for Thanksgiving.
There are 3 sizes to make, including small, medium, and large.
Scroll down for the free pattern, or grab your printer-friendly, ad-free PDF here.

Before You Get Started
- These quick, stash-busting knitted pumpkins are perfect for advanced beginners and experienced knitters alike.
- Gather a few fall-toned yarn scraps (bulky/aran for a plump large pumpkin and DK/worsted for the smaller pumpkin), needles to match, some stuffing, and your preferred stem finish.
- Each pumpkin takes about 1–2 hours with simple shaping and easy, step-by-step instructions.
- Make a trio in white, rust, and speckled orange/white to style your mantel or Thanksgiving table, or knit a set as thoughtful handmade gifts.
*Don’t forget to pin and share!*
A note on the yarn + needles
The pumpkin patterns are easy to follow, knit in the round on circular needles.
If you are using DK yarn with the 8 mm (US 11) 16″ circular needles, you will need to knit with two strands together.
You can use up leftover yarns in your stash and make lots of pumpkins in different colors.
I think they would also look great in green, grey, and cream, but whatever color you want to use will look great!
Related Post: How To Knit With Two Strands Of Yarn Together

Pumpkin Knitting Patterns
Grab the inexpensive, ad-free, PDF printable pattern in my shop here.
Notes
Skill Level – Easy (advanced beginner)
The pumpkins knit up quickly, and the simple design makes for a relaxing and enjoyable knit.
Copyright Info
- Please do not copy, sell, redistribute, or republish this pattern.
- If you wish to share this pattern, link to the pattern page only.
- You may sell items produced using this pattern.
- Do NOT use copyrighted photos for your product listing.
- For the copyright T&C, please read my Terms of Use.
Video Tutorial
You can see a video tutorial showing you how to finish the pumpkins on my YouTube channel here.
Size Information
- Small – Circumference – 11″ / 28 cm / Height – 4″ / 10 cm
- Medium – Circumference – 17″ / 44cm / Height – 6″ / 15cm / Gauge – 4 sts/4 rows in 1″
- Large – Circumference – 22″ / 56cm / Height – 6″ / 15cm / Gauge – 4 sts/4 rows in 1″
Gauge – 10 x 10 cm /4 x 4 inches = 10 sts and 15 rounds in stocking stitch.

The Supplies You Need
Yarn
Scrap yarn in the following colors:
- White yarn (1 skein of bulky yarn/chunky yarn)
- Rust yarn – (less than 50g DK yarn)
- Orange yarn (less than 50g DK yarn)
- White yarn (less than 50g DK yarn)
- Brown yarn – for the stalk – DK yarn
Needles
8mm (US 11) double-pointed (or 16″ circular) knitting needles.
Notions
- Darning/yarn needle for seaming
- Scissors
- Tape measure
Other Materials
Fiberfill/Polyfill/toy stuffing – to fill the pumpkin

Abbreviations
- Approx = Approximately
- Beg = Begin(ning)
- Cont = Continue(ing)
- K = Knit
- K2tog = Knit next 2 stitches together
- P = Purl
- M1 = Make 1 stitch
- Rem = Remaining
- Rep = Repeat
- Rnd(s) = Round(s)
- SKPO = Slip one, knit one
- St(s) = Stitch(es)
- Stocking stitch = (knit one row, purl one row)
Large Pumpkin
Made using bulky yarn
Cast on 59 stitches, leaving a tail length of about 15″
Divide the stitches onto your two needles (use the 8mm (US 11) circular needles) and join, being careful not to twist.
*K5, P1* repeat until the knitting is about 8″ long.
Finishing
Break off the yarn, thread the yarn tail through the remaining stitches, pull them together tightly, and secure them with a knot.
Turn the right side out.
Then stuff the pumpkin with the fiberfill until it is nice and round.
On the open end, thread your yarn through and pull it together to close the opening.
Make a knot to hold it in place.
Push the tail from the end through so you have two lengths of yarn coming from one end.
Tie the two tails together, then wrap them around and around to form the pumpkin shape.
Then knot to keep the shape.
Weave the ends in.
Stem
For the stalk/stem – use the 8mm (US 11) needles and brown DK yarn.
Work with two strands of yarn together.
- Cast on 8 stitches
- Start with a knit row, then work st st (stocking stitch) until the piece measures 2.5 inches (longer if you want!)
- Cast off.
- Stitch the stalk into place on the top of the pumpkin.

Medium Pumpkin
If using DK yarn, knit two strands together.
Cast on 48 stitches, leaving a tail length of about 15″
Divide the stitches onto your two needles (use the 8mm (US 11) circular needles) and join, being careful not to twist.
*K5, P1* repeat until the knitting is about 6″ long.
Finishing
Break off the yarn, thread it through the remaining stitches, pull them together tightly, and secure them with a knot.
Turn the right side out.
Then stuff the pumpkin with the fiberfill until it is nice and round.
On the open end, thread your yarn through and pull it together to close the opening.
Make a knot to hold it in place.
Push the tail from the end through so you have two lengths of yarn coming from one end.
Tie the two tails together, then wrap them around and around to form the pumpkin shape.
Then knot to keep the shape.
Weave the ends in.
Stem
For the stalk/stem – use the 8mm (US 11) needles and brown DK yarn.
Work with two strands of yarn together.
- Cast on 6 stitches
- Start with a knit row, then work st st (stocking stitch) until the piece measures 2 inches (longer if you want!)
- Cast off.
- Stitch the stalk into place on the top of the pumpkin.
Small Pumpkin
If using DK yarn, knit two strands together.
Cast on 36 stitches, leaving a tail length of about 15″
Divide the stitches onto your two needles (use the 8mm (US 11) circular needles) and join, being careful not to twist.
*K5, P1* to end of 1st round.
Add in the white yarn and K5 orange, P1 white to the end of the row.
Repeat the above round 4 times until the knitting is about 4″ long.
Finishing
Break off the yarn, thread it through the remaining stitches, pull them together tightly, and secure them with a knot.
Turn the right side out.
Then stuff the pumpkin with the fiberfill until it is nice and round.
On the open end, thread your yarn through and pull it together to close the opening.
Make a knot to hold it in place.
Push the tail from the end through so you have two lengths of yarn coming from one end.
Tie the two tails together, then wrap them around and around to form the pumpkin shape.
Then knot to keep the shape.
Weave the ends in.
Stem
For the stalk/stem – use the 8mm (US 11) needles and brown DK yarn.
Work with two strands of yarn together.
- Cast on 4 stitches
- Start with a knit row, then work st st (stocking stitch) until the piece measures 1.5 inches (longer if you want!)
- Cast off.
- Stitch the stalk into place on the top of the pumpkin.
Could you share your work with us…
I love seeing your finished projects on social media.
If you enjoyed making the large, medium, and small-sized knitted pumpkins, I’d love to see yours on Instagram tag me @handylittleme.
I’d love to see your work.
Happy knitting!
More Knitted Pumpkin Patterns
For more free pumpkin patterns, please take a look at these posts:
- Cable Knit Pumpkin Pattern
- Knitted Pumpkin Pattern (Small + Quick)
- Pumpkin Crochet Pattern (Free, Easy + Adorable)
- Pumpkin Knitting Pattern (Beginner Friendly!) (Lion Brand Wool-Ease Thick and Quick)
You can also buy a pattern bundle with all of my pumpkin patterns here – Pumpkin Knitting Pattern Bundle
And crochet pumpkins here – Crochet Pumpkin Pattern Bundle

Helpful Resources
- Knitting cast-on methods
- Knitting Lessons
- How to cast on knitting
- How to cast off knitting for total beginners (step by step)
- How to knit garter stitch
- How to knit the purl stitch (for beginners + a video tutorial)
- How to knit stockinette stitch (for beginners)
- How to read knitting patterns for beginners
- Knitting abbreviations and terms (US and UK)
- How to knit rib stitch patterns (1×1 and 2×2 ribbing)
- How to join knitting in the round with circular knitting needles

More Patterns You May Be Interested In…
- 21 Must-Have Yarn Bags For Your Knitting Projects
- 12 Beginner Pumpkin Knitting Patterns
- Celtic Cable Dishcloth Knitting Pattern
- Diagonal Knit Dishcloth Pattern
- Chunky Cable Knit Blanket Pattern
- Celtic Cable Fingerless Gloves Pattern
- Baby Blanket Pattern (Patchwork + 4 Stitch Patterns)
- Dishcloth Knitting Patterns
- How To Knit The Linen Stitch
- Magic Loop Knitting
- Irish Moss Stitch Dishcloth Knitting Pattern
- How To Knit A Twist Headband For Absolute Beginners
- How to Knit – A Complete Beginner’s Guide
Used these patterns a couple of years ago. Want to try them again. Love them
Hello Nancy,
I hope you enjoy making more pumpkins!
Louise
Could you not knit on ordinary needles and sew up the seam. They are adorable
Hello Wendy,
If you mean knit the pumpkins on straight needles instead of circulars?
Yes, you could if you wanted to.
I have a pattern for pumpkins that are knit flat here – https://www.handylittleme.com/how-to-knit-a-pumpkin-easy-and-quick/
I hope that helps!
Louise