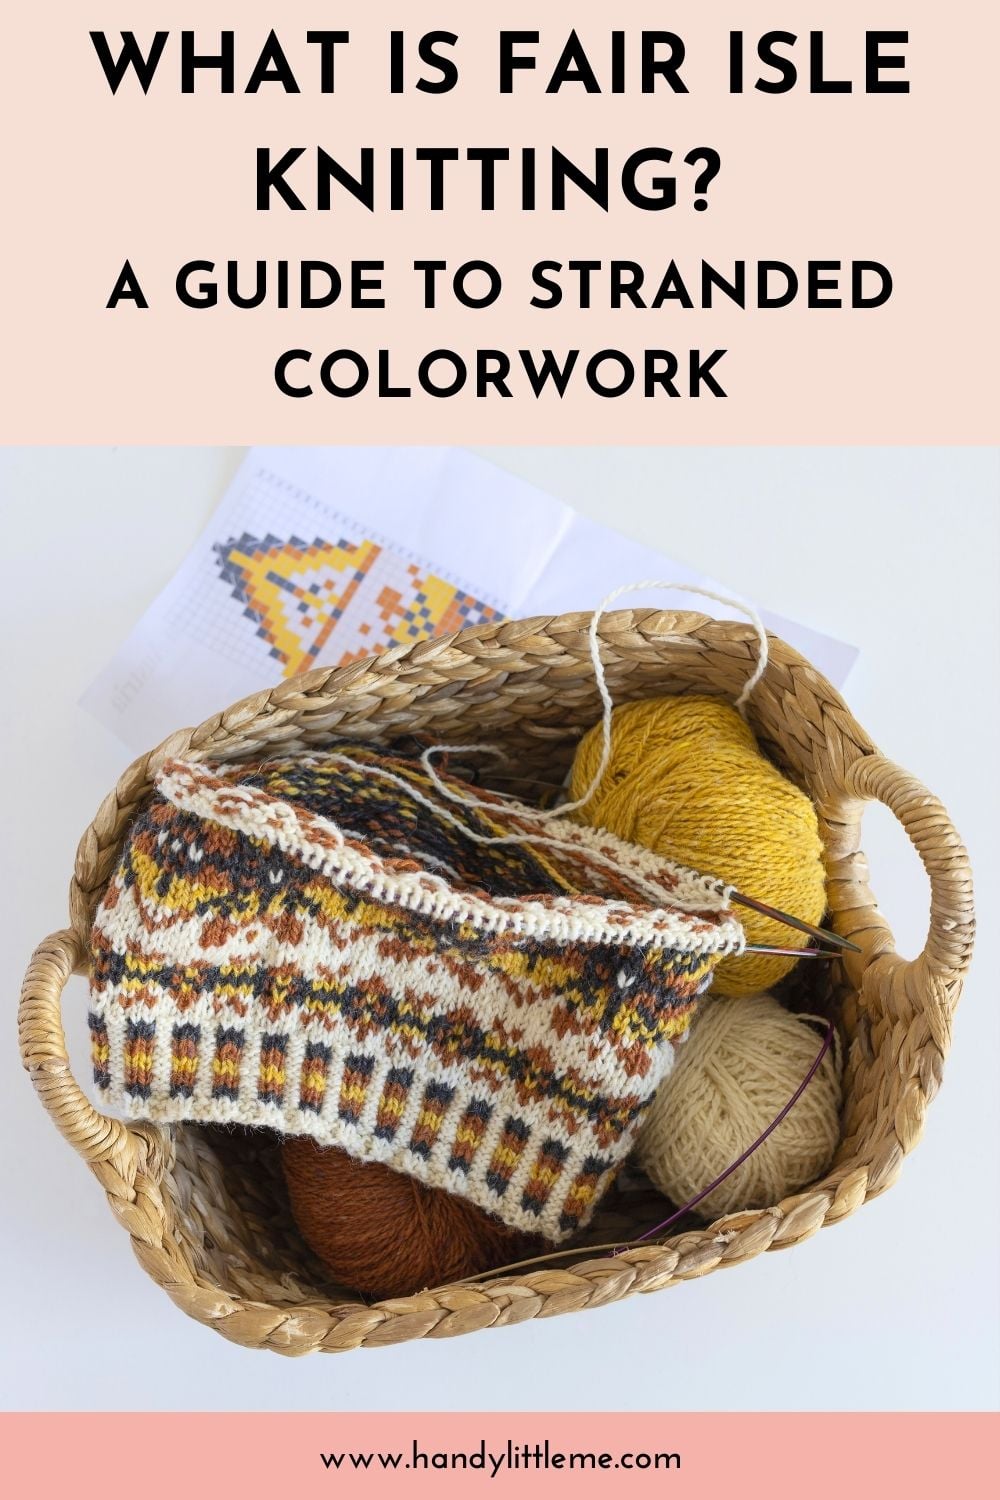
What Is Fair Isle Knitting? A Guide To Stranded Colorwork
THIS ARTICLE CONTAINS AFFILIATE LINKS THAT SUPPORT HANDY LITTLE ME CONTENT AND FREE PATTERNS.In this blog post, you will learn answers to the question: What is Fair Isle knitting? A guide to stranded colorwork.
Fair Isle knitting looks wonderfully intricate, but with the right techniques, it’s much easier than it seems.
If you’ve ever admired the beautiful motifs, colorful yarns, and cozy texture of traditional Fair Isle knitwear, this tutorial will guide you through everything you need to get started.
From understanding color dominance to catching floats neatly at the back of the work, you’ll learn how to hold your yarn, manage your tension, and read a simple Fair Isle chart.
Throughout this guide, I’ll refer to real examples from my own Fair Isle hat patterns so you can see exactly how these techniques work in practice, whether you’re knitting hats, mittens, socks, or planning your first Fair Isle sweater.
What Is Fair Isle Knitting?
Fair Isle knitting (or stranded colorwork knitting) is a technique where you knit with two or more colors in a single row or round.
You work one knit stitch at a time with your working yarn.
The unused color is carried loosely across the back of the work as a strand (float).
These floats create a warm fabric because there are strands of yarn on both the front and back.
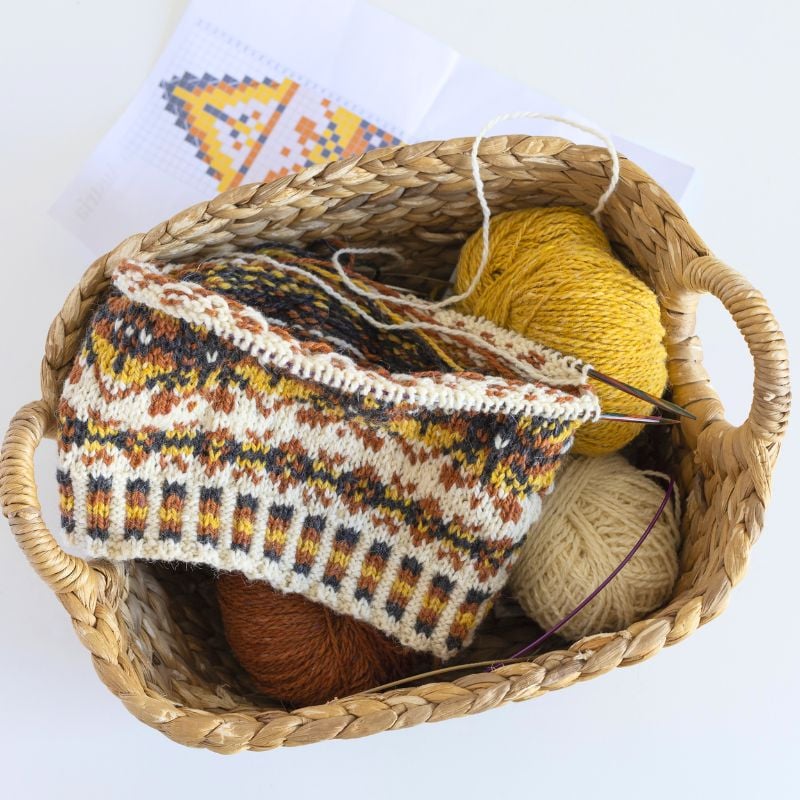
Traditional Fair Isle comes from a tiny island in the Shetland Islands, and the classic look features repeated motifs, small patterns, and limited color changes in each round.
You can see this style in simple hat patterns where you only change color every stitch or every few stitches; perfect for beginners who want to try a simple project before moving on to large motifs and advanced techniques.
What Is Fair Isle Knitting?
Curious about Fair Isle knitting but not sure where to start?
Take a look at these video tutorials to learn more and see some techniques in action!

What Is Fair Isle Knitting - Knit Picks
A clear beginner-friendly overview from Knit Picks that breaks down what Fair Isle knitting is and why it’s different from other stranded colorwork techniques.

How To Knit Fair Isle For Beginners - Nimble Needles
A super clear beginner tutorial from Nimble Needles that walks you through Fair Isle knitting step by step, with tips for holding two yarns, managing floats, and getting even tension.

Catching Floats In Stranded Knitting - Knitting With Suzanne Bryan
A helpful video from Suzanne Bryan explaining when and how to catch floats in stranded knitting; great for preventing snags while avoiding extra bulk and “peek-through” on the right side.
Materials & Setup For Fair Isle Knitting
You don’t need anything special to get started:
Yarn: Choose two or more contrasting colors of yarn.
It’s easier to see your motifs when the main color and contrast color are very different (for example, red and white, or charcoal and neon pink).
Yarn Weight Guide (+ Yarn Conversion Chart)
Needles: Circular knitting needles work well for hats and sweaters knitted in the round.
For small circumferences, like mittens or socks, you can use DPNs, the magic loop method, or a small circular needle.
Knitting Needle Sizes + Conversion Chart (Free Printable)
Simple pattern: For your first colorwork project, pick a Fair Isle pattern with short repeats and only a couple of colors in each round.
Before you start a whole hat or pair of mittens, it’s worth knitting a small swatch in the round to practice your tension and floats.
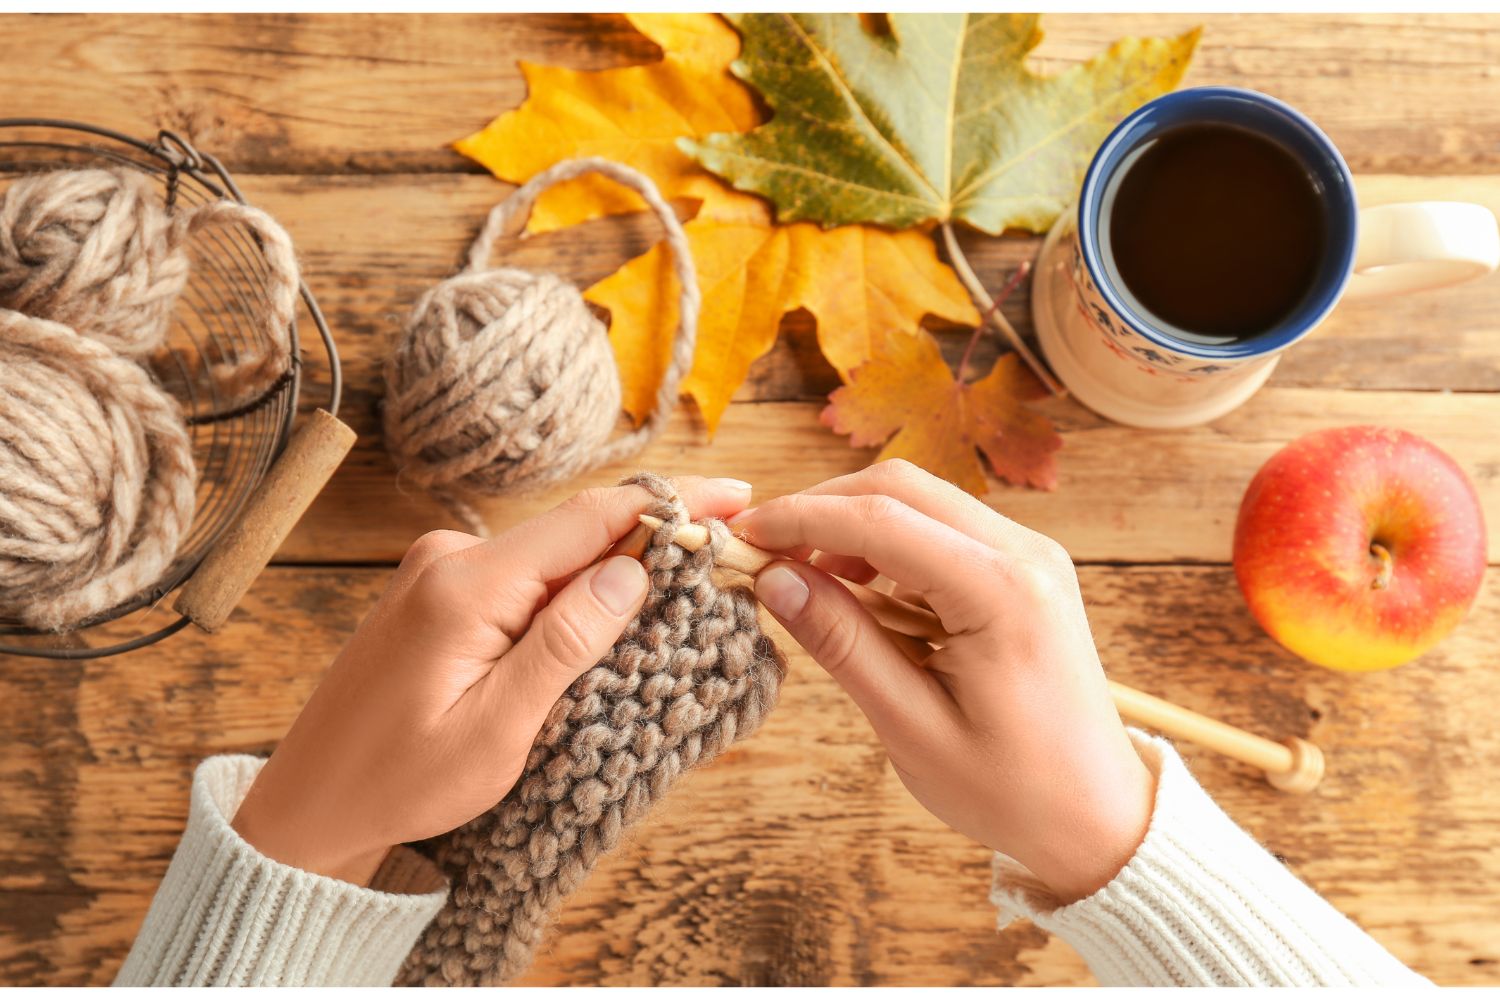
How To Hold Your Yarn (Right Hand, Left Hand, Or Both)
The way you hold your yarns affects both your tension and color dominance.
You can knit Fair Isle in a few different styles:
1. One color in each hand (two-handed stranding)
Left hand: Often used for Continental knitting (picking).
Right hand: Often used for English (throwing).
Many knitters find this the easiest way to see what each strand is doing.
For example: Knit with the main colour in your left hand.
Knit with the contrast colour in your right hand.
You’ll always see which yarn is doing which job, and it’s easier to keep the strands of yarn from tangling.
2. Both colors in the right hand
If you usually knit English style, you can carry both yarns in your right hand, laid across different fingers, or stacked so one yarn feeds slightly above the other.
This works well for small, simple patterns and short color changes.
3. Both colors in the left hand (Continental style)
If you knit Continental style, you can:
Hold both yarns in your left hand, with the dominant color slightly closer to the tip of the finger.
Use your index finger to flick whichever yarn is needed for the next stitch.
Try each method and see which one gives you the most even fabric and the easiest control.
Related post: Continental VS English Knitting (A Beginner’s Guide)
Understanding Color Dominance (The Most Important Thing!)
Color dominance is a big part of the reason your motifs either pop beautifully or look like they’re fading into the background.
In stranded knitting:
The yarn that is carried below (closer to the edge of the fabric) becomes the dominant color.
The yarn that is carried above becomes the non-dominant color.
This happens because the strand underneath has a slightly longer float, which makes its stitches look a tiny bit bigger on the front of the work.
Which yarn should be dominant?
Most of the time:
The motif color (hearts, stripes, etc.) should be the dominant color.
The background color should be non-dominant.
So if you’re knitting a Fair Isle hat with white hearts on a red background:
- White = motif color → dominant color
- Red = background color
If you accidentally swap them halfway through the hat, you’ll see a line where the motif suddenly looks smaller or “sunken” into the fabric.
How to keep color dominance consistent
No matter how you hold your yarn, the rule is: Always keep the dominant yarn in the same position relative to the non-dominant yarn.
Two-handed:
- Left hand = dominant color
- Right hand = background color
One hand (stacked):
- Lower strand = dominant color
- Upper strand = background color
Picking up and dropping yarn:
- Always bring the dominant color under the other strand.
- Always bring the background color over the dominant color.
Once you choose a system, stick with it for the whole project – hat, mittens, socks, or sweater.

What Are Floats And Long Floats?
As you work a Fair Isle pattern, you will sometimes knit several stitches in one color before using the other again.
The yarn that isn’t used travels across the back of your knitting as a float.
A short float might stretch across 2–3 stitches.
A long float might run behind 5, 7, or more stitches in a single row or round.
Short floats usually behave well on their own; long floats can:
Catch on fingers when you put the hat or mitten on, pull too tight, and pucker the fabric.
Look messy if they’re not trapped.
That’s why we trap/catch long floats.
How To Catch Floats Neatly (Without Messing Up Your Tension)
You’ll often see patterns tell you to catch the float every 3–5 stitches. Here’s a simple, repeatable way to do it.
We’ll assume:
You’re working in the round, on the right side of the fabric.
Knitting mostly with Yarn A (main color), while Yarn B (contrast color) is floating behind.
Basic float-catching method (two colors, right side)
Knit with the working yarn as usual for a couple of stitches.
When you reach the point where the float is getting long, do this on the next stitch:
Bring the unused color (the one creating the float) over the working yarn, between the needles.
Knit the next stitch with your working yarn (main color).
Then move the unused color back to its original side (usually to lie loosely behind the work).
The unused color will cross over the working yarn at the back of the work, effectively trapping the float without showing on the front of the fabric.
Repeat this every few stitches for long floats.

Keeping A Nice, Even Tension In Colourwork
Good Fair Isle knitting is all about relaxed, consistent tension.
Here are a few tricks:
1. Spread your stitches on the right needle
Before you carry the unused color across several stitches, slide your stitches out along the right-hand needle and spread them slightly.
This gives the float enough length.
If you keep them bunched up while the float travels, the strand will be too tight, and you’ll see puckering on the front of the fabric.
2. Stay relaxed with super bulky yarn
When using large gauge yarns (like the super bulky hats in your patterns), it’s easy to pull too tight, especially on single row color changes (for example, K1 main color, K1 contrast color repeated).
Focus on:
Keeping your hands soft and letting each float have a little extra slack.
Not tugging the first stitch after a color change.
3. Watch the first stitch after a color change
The first stitch in a new color or a new yarn can easily become snug, especially if you’re twisting yarns at the side of the work.
Make sure the first stitch in the new color isn’t tighter than the next stitches. If needed, give that stitch a tiny, gentle tug outward with the tip of the needle to loosen it before you move on.
4. Check the inside of your fabric
Turn your hat or mitten inside out every now and then:
Floats should lie smoothly across the back side of the fabric.
You shouldn’t see big loops hanging or gathered puckers where floats are too tight.
The back of your knitting tells you a lot about your tension and how well your floats are behaving.

Reading A Fair Isle Knitting Chart
Most Fair Isle patterns are written using a knitting chart rather than long written instructions. Each square in the chart represents one stitch in a specific color.
Basic rules:
- In the round, you read each chart row from right to left.
- Each row is a single round of knitting.
- The number of stitches in the chart repeat tells you how often to repeat it around the hat or sleeve.
Simple example
Let’s say your chart has:
- 1 white stitch
- 1 green stitch
- Repeated across the row.
That means you’ll:
Knit 1 stitch in the first color, knit 1 stitch in the second color around the round.
For your first Fair Isle knitting project, look for:
- Short repeats
- Only 2 colors per row
- No very long floats
- Once you’re confident, you can move on to large motifs and more colors in each row of the chart.
Related post: How To Read A Knitting Chart

Step-By-Step: Working A Color Change
Here’s a simple mini-tutorial for changing from one color to another while keeping everything tidy.
Imagine you’re knitting a hat and the pattern tells you to switch from Yarn A (main colour) to Yarn B (contrast colour) at the next stitch:
- Knit to the last stitch in the old color.
- Drop the old yarn to the back of the work.
- Pick up the new color from underneath (if you want it to be the dominant color).
- Knit the first stitch in the new color (don’t pull too tight).
- Continue with the new color as instructed, following the chart or written pattern.
- Over time, this will feel natural – you’ll simply drop one strand of yarn and pick up the next, remembering your dominant color always comes from the same position.
Applying These Techniques To Real Projects
You can use the exact same principles for:
- Fair Isle hats with hearts and stripes
- Chunky colourwork hats with alternating single stitches in two colors
- Mittens and socks with small repeated motifs
- Sweaters with yokes full of traditional Fair Isle designs
On your first colorwork project, try:
A simple pattern with just two colors in each round.
Short repeats so you don’t have to worry about very long floats
Try practicing on a small swatch or a hat before tackling a sweater.

Troubleshooting Common Fair Isle Problems
1. Motifs look fuzzy or faded.
Check your color dominance – is the background color accidentally becoming dominant?
2. Fabric is tight and puckered.
Your floats are too tight; spread your stitches on the right needle and relax your tension.
Catch long floats regularly, but don’t pull them snug.
3. Contrast color peeks through on the front.
You might be catching floats too often or too tightly.
Try spacing out float traps and using a gentle, loose catch.
4. Edges look messy.
Check how you’re carrying yarn up the side of the work.
Make sure the strand of yarn isn’t pulled too tight at the first stitch of a new round.
Knitting Lessons
If you are new to the craft and need help with the knitting basics, or want more tips and tricks, check out these helpful tutorials: Knitting Lessons (With Video Tutorials).
You can also check out this step-by-step guide on how to knit for beginners. – How To Knit – A Complete Beginner’s Guide
If you need more video tutorials, check out my YouTube channel here. – Handy Little Me – YouTube.
For extra help and to connect with more makers from the crafting community, check out the Handylittleme Facebook group.
If you also love to crochet, check out easy patterns here. – Free Crochet Patterns
You can also find us on social media, Ravelry, Pinterest, Instagram, Twitter, Etsy, and TikTok.
Fair Isle & Stranded Colorwork Projects To Try Out
- 21 Fair Isle Knitting Patterns
- Fair Isle Hat Pattern | The Fir
- Fair Isle Knit Hat Pattern (With Chart)
- Fair Isle Hat Free Knitting Pattern (Hearts Design)
- Christmas Baby Hat Knitting Pattern
- Bobble Hat Knitting Pattern | The Demetra
- Chunky Knit Hat Free Pattern | The Larisa
- Stranded Knitting Hat Pattern | The Willow
- The Bernie Sanders Mittens Pattern (Quick Knit)
- Snow Mountain Mittens Pattern