Swimsuit Cover Up Crochet Pattern (Atlantis)
THIS ARTICLE CONTAINS AFFILIATE LINKS THAT SUPPORT HANDY LITTLE ME CONTENT AND FREE PATTERNS.Looking for a stylish and breathable swimsuit cover up crochet pattern?
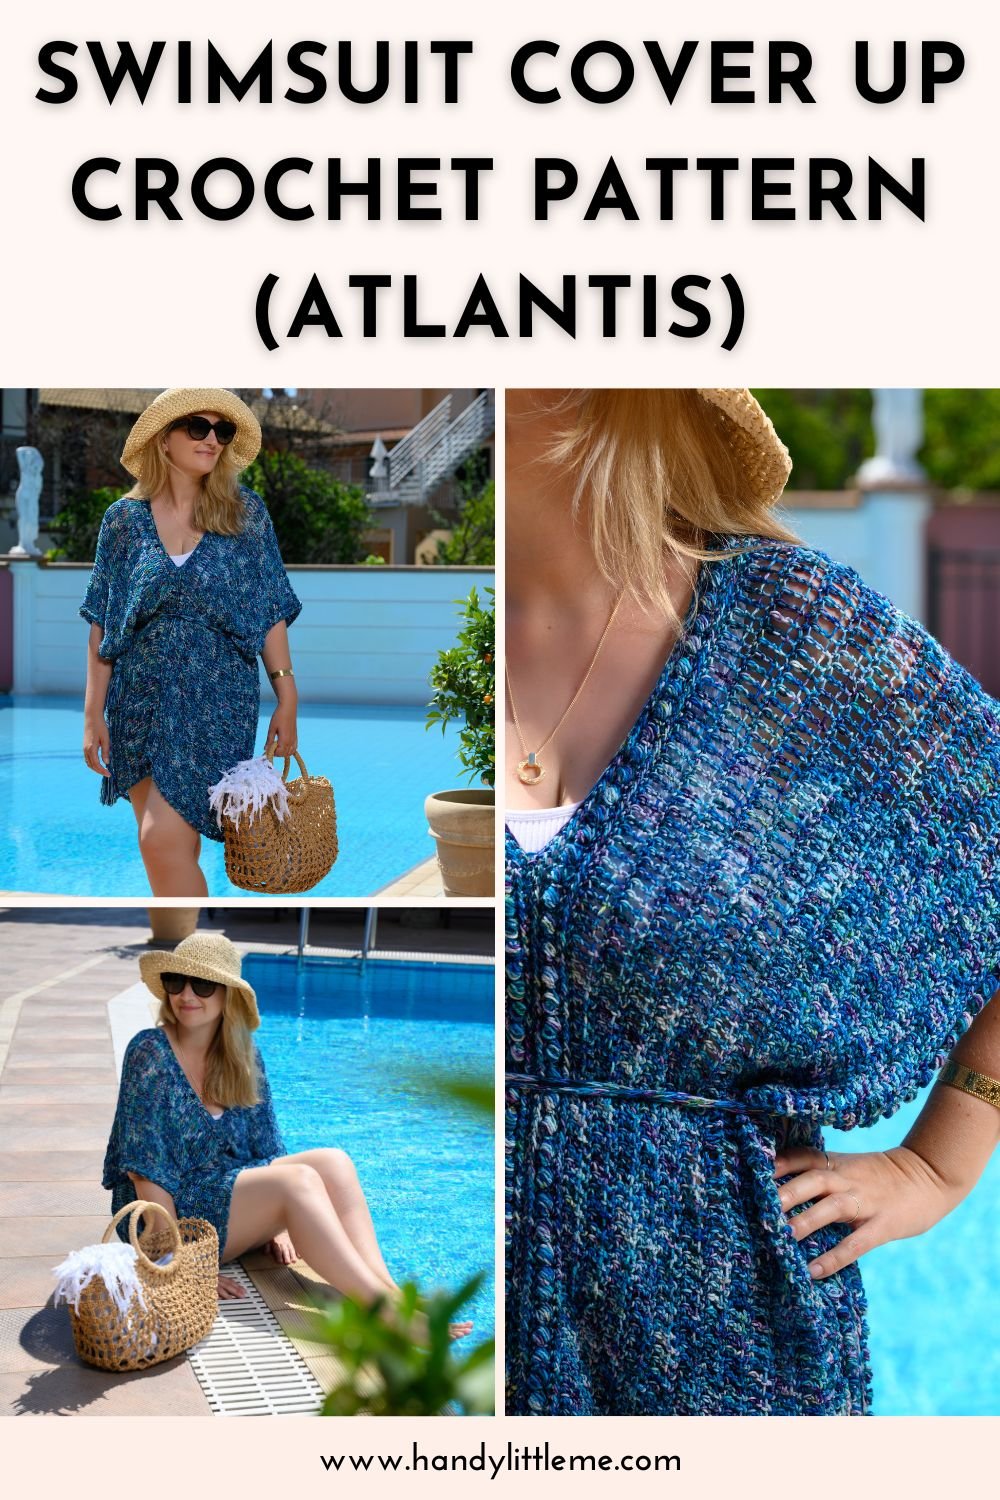
This beginner-friendly swimsuit cover up is perfect for beach days, poolside lounging, or layering over your summer outfits.
Made with light fingering yarn and a beautiful bobble edge, this cover-up adds the perfect handmade touch to your warm-weather wardrobe.
Scroll down to view the free pattern or purchase the inexpensive ad-free PDF in my shop here.
Before You Get Started
Here are a few helpful things to know before diving in:
Perfect for advanced beginners who want to expand their skills!
This pattern uses basic crochet stitches (US terms), including treble crochet, half double crochet, and bobbles.
The cover-up is crocheted in two long panels, seamed together with space for your head and arms.
You’ll finish the look with an I-cord belt and tassels for easy styling.

Tools & Materials
Yarn
- 4 x Martin’s Lab Yarn (Color: Atlantis – fingering weight)
- Alternative: Any fingering, DK, cotton, or lightweight yarn
Hooks
- 4.5 mm (US 7) crochet hook
- 7 mm (No US Size) hook (for looser bobble border and optional I-cord)
- Pym Ergonomics Set.
Notions
- Scissors
- Tape measure
- Darning needle
- Stitch holder or cable needle (for I-cord)
Tassels
- View the Tassel Tutorial here
- Yarn for 2 tassels

How To Crochet The Swimsuit Cover-Up
This swimsuit cover up crochet pattern works in two mirrored panels using a repeat stitch pattern.
It features a textured bobble border and airy mesh fabric.
Skill Level – Easy (Advanced Beginner)
1️⃣ Make 2 Identical Panels
Start with the bobble border:
- Ch 220, ch 1, turn
- Rows 1–3: HDC across, ch 1, turn
- Row 4 (RS): Sc, bobble, sc, repeat to end, ch 1, turn
- Rows 5–7: HDC across, ch 1, turn (last row: ch 4, turn)
Main Panel Pattern:
- Row 1: TR across, ch 1, turn
- Row 2: HDC across, ch 4, turn
- Repeat Rows 1 and 2 for 13 more times, ending on Row 2
Finish with the same bobble border as the start:
- Repeat Rows 1–7 as above with bobble edge at the end
Tip: Count your rows as you go to keep the panels symmetrical.

2️⃣ Add Bobble Borders to Short Ends
- Work the bobble stitch border on the short ends of each panel
- Row 1: HDC across, ch 1, turn
- Row 2 (RS): Sc, bobble, sc, repeat to end, slip stitch to finish and secure
You’ll have a bobble edge on all four short sides when complete.
Video Tutorial
You can view a video tutorial showing you how to crochet the bobble st on my YouTube channel here.

3️⃣ Seam the Cover-Up
With wrong sides facing:
- Seam panels together (center seam): SC 20 inches (51 cm) on both sides
- Leave the center unseamed for the neckline
Side Seams:
- SC the sides together for 16 inches (41 cm), leaving large armholes
Adjust seaming length to customize your neckline depth or armhole size.
4️⃣ Make the I-Cord Belt
Belt length: ~82 inches (208 cm)
Add tassels to both ends.
I-Cord Instructions (crochet version):
- With 3 loops on your 4.5 mm hook:
- *Pull up a loop through 2nd and 3rd ch from hook (3 loops total)
- Slip 2 loops onto needle, ch 1
- Return loops to hook one at a time, ch 1 after each*
- Repeat until desired length
- Add tassels
- You can watch this video here to see how I created the I-cord.
5️⃣ Finish and Block
- Weave in all loose ends
- Gently wet block the cover-up to shape
- Use a wool wash, towel roll to squeeze out water, and lay flat to dry
- To seam your swimsuit cover-up to have a front panel and a back panel – lie flat on a large surface to begin.
- With the wrong sides facing, sc the edges together for 20 inches/51 cm.
- Turn the work and repeat – sc the edges together for 20 inches/51 cm.
- This will leave a long opening in the center of the work – for your head to fit through.
- After that, you will need to sc the sides of the piece together – with the wrong sides facing sc the edges together for 16 inches/41 cm.
- Rep on the other side.
- This leaves long open armholes.
- *Please note – you can seam shorter or longer lengths than I have shown depending on your own preferences – if you want the neck to be less or more open.
- If it is more open (a shorter seam), you will have a better view of your cleavage and back! The V will be larger.

Size Information
- Finished Length: 32 inches / 82 cm
- Width: 24 inches / 62 cm
- Fit: Oversized (One Size – adjustable)
- Gauge: 12 sts and 9 rows = 4” in pattern (tr + hdc rows)
- Gauge is not critical for this project
Abbreviations
All terms are in US crochet terms.
- BO – Bobble
- CH – Chain
- HDC – Half double crochet
- TR – Treble crochet
- SC – Single crochet
- SS – Slip stitch
- RS/WS – Right/Wrong Side
- Patt – Pattern
- Rep – Repeat

FAQs & Styling Tips
→ Can I use a different yarn?
Yes! Cotton, DK, or light worsted yarns work well. Choose breathable fibers for warm weather wear.
→ How should I wear a crochet cover up?
Style it over swimsuits, tanks, or summer dresses. Belt it for shape or wear it loose and breezy.
→ Can I make it longer or shorter?
Absolutely. Adjust the number of chains for length or add/remove pattern repeats for body height.
→ Is this beginner-friendly?
Yes — ideal for advanced beginners familiar with basic stitches and pattern reading.
Share Your Work
Tag your cover-up on Instagram: @handylittleme or use #handylittleme
Join our Facebook Group to post your project photos and chat with other makers!
Copyright
- This pattern is for personal use only.
- You may sell finished items with credit to @handylittleme.
- Do not copy, republish, or use pattern photos for resale listings.