Crochet Crossbody Bag (Beginner Friendly)
THIS ARTICLE CONTAINS AFFILIATE LINKS THAT SUPPORT HANDY LITTLE ME CONTENT AND FREE PATTERNS.Learn how to make a crochet crossbody bag — perfect for summer holidays, gifting, or adding a handmade touch to your wardrobe.
This easy step-by-step tutorial is ideal for beginners and includes a printable pattern, simple stitches, and a fun tassel charm option.
Please scroll down to view the free pattern or purchase the printer-friendly ad-free PDF in my shop here.

Before You Get Started
Here’s what to know before beginning this easy crochet bag:
Use raffia yarn for a summer-ready vibe, or swap for cotton if preferred.
It’s made entirely using single crochet stitches.
Great for beginners learning the basics.
You’ll crochet one large piece, then add a fabric lining, magnetic clasp, and strap.

Tools & Materials
Yarn
- 1 x King Cole Raffia in Carousel – 1457 (or substitute with cotton yarn)
Hook
- 5.5 mm (US I/9) crochet hook
Notions
- Scissors
- Darning needle
- Measuring tape
Other Materials
- 2 x Gold rings – 1-inch diameter
- Chain strap – 42 inches / 107 cm
- Magnetic snaps (for closure)
- Key ring clips (for strap and tassel)
- Leather thong/suede – ¼ meter in red
- Red yarn (for pom pom)
- Beads – gold and red
- Pom pom maker (1 ⅝ inch)
For Lining
- ½ meter of fabric
- Sewing needle + thread
- Pins
- Scissors
Crochet Crossbody Bag Pattern
This crochet crossbody bag is made in one rectangle piece and folded to shape.
Follow along to build your beginner bag step by step!
1️⃣ Crochet the Body of the Bag
- Ch 33, ch 1, turn,
- Row 1: Sc into every chain, ch 1, turn,
- Repeat Row 1 until the piece measures 38 cm / 15 inches high.
- Fasten off and secure the yarn.
Your flat piece should measure:
- Height: 38 cm / 15 inches
- Width: 25 cm / 9.5 inches
Tip: Keep your stitches loose for easier shaping.

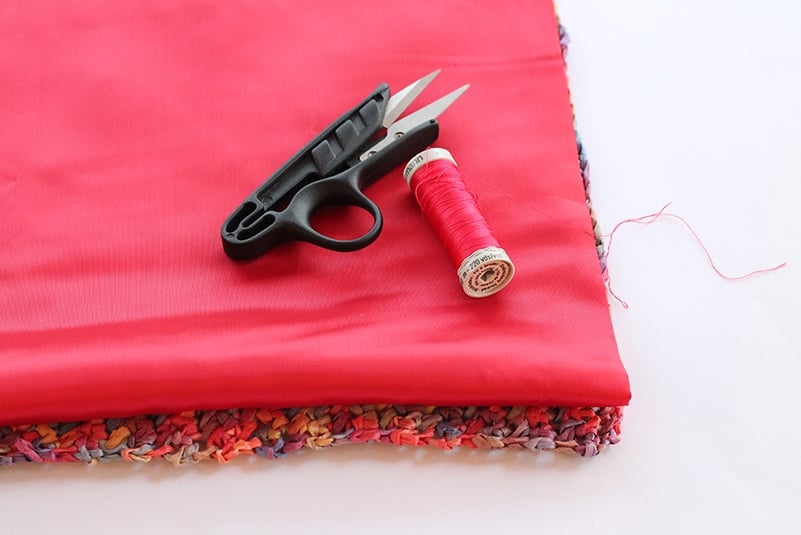
2️⃣ Prepare the Lining
- Cut your fabric: 41 cm x 27 cm (16″ x 10.5″).
- Turn over a 1-inch seam all around to create neat edges.
Add the magnetic snaps before sewing:
- Place 4 cm / 1.5 inches from top and bottom.
- Carefully cut slits for the snaps and secure them to both fabric and raffia.
3️⃣ Stitch in the Lining
- Lay the folded fabric inside the bag.
- Decide where you want the bag magnetic snaps to go – I placed mine – 4 cm / 1.5 inches from the top of the bag and 4 cm / 1.5 inches from the bottom of the bag. They need to be in place before you stitch the lining down.
- Hand stitch using small, neat running stitches.
- Catch the inside loops of the raffia so the stitches don’t show on the right side.


4️⃣ Seam the Bag Sides
- Fold the bag (right sides together).
- Single crochet along each side seam for 13 cm / 5 inches.
- Fasten off and weave in ends.


5️⃣ Add the Chain Strap
- Attach gold rings to each top corner of the bag.
- Use keyring clips to attach the 42-inch chain strap to each side.


6️⃣ Make an Optional Tassel Charm
Want to personalize your bag? Add a tassel!
- Follow this Tassel Tutorial with Video
- Use leather thong, yarn pom pom, and beads.
- Thread through a ring clip and hide the ends with a bead.
Size Information
- Flat before seaming: 38 cm (H) x 25 cm (W) / 15″ x 9.5″
- Finished bag: 15 cm (H) x 25 cm (W) / 6″ x 9.5″
- Strap length: 107 cm / 42 inches
- Tassel length: 31 cm / 12 inches
- Gauge: 15 sts x 19 rows = 10 cm / 4″
Abbreviations
- CH – Chain
- SC – Single Crochet
- RS – Right Side
- WS – Wrong Side
Pattern uses US terms. Print the US/UK abbreviation guide here.
FAQs & Tips
→ Can I use a different yarn?
Yes! Cotton yarn works great, just check gauge and feel.
→ Is the lining necessary?
It helps support the bag’s shape and allows you to install the magnetic clasp.
→ What’s a good beginner substitute for raffia?
Try a DK or aran cotton yarn for similar structure with easier handling.
→ Can I machine sew the lining?
Yes, if preferred, but hand-stitching lets you align it with the crochet more precisely.
Share Your Work
I love seeing your finished bags on social!
Tag @handylittleme or use #handylittleme so I can see and share your makes.
Copyright
This pattern is for personal use only.
Do not republish, copy, or distribute the pattern or images.
You may sell finished items made using this pattern — just credit @handylittleme in your listing.
More Crochet Bag Patterns
For more crochet bag patterns, check out these posts below:
- Crochet bag pattern {raffia circle bag}
- Raffia crochet bag pattern (step by step)
- Crochet drawstring bag pattern
- Large beach bag crochet pattern
- Crochet circle bag pattern {with fringe}
- Crochet fringe clutch pattern
- Fringe crossbody bag pattern {crochet}
- Crochet clutch pattern (beginner friendly!)
- 19 free crochet beach bags (summer perfect patterns)
Where do you find your raffia? Do you ever get paper cuts crocheting with this material?
Hello Melissa, the raffia I used was from the Love Crafts website – Search for King Cole Raffia.
There are other substitutes out there – Wool and The Gangs Ra Ra Raffia is one.
This is really fun to work with and not sharp at all so no fear of getting any papercuts.
Perfect for summer crossbody bags and beach bags!
I hope that helps 🙂
Louise