Crochet Ghost (Free Printable)
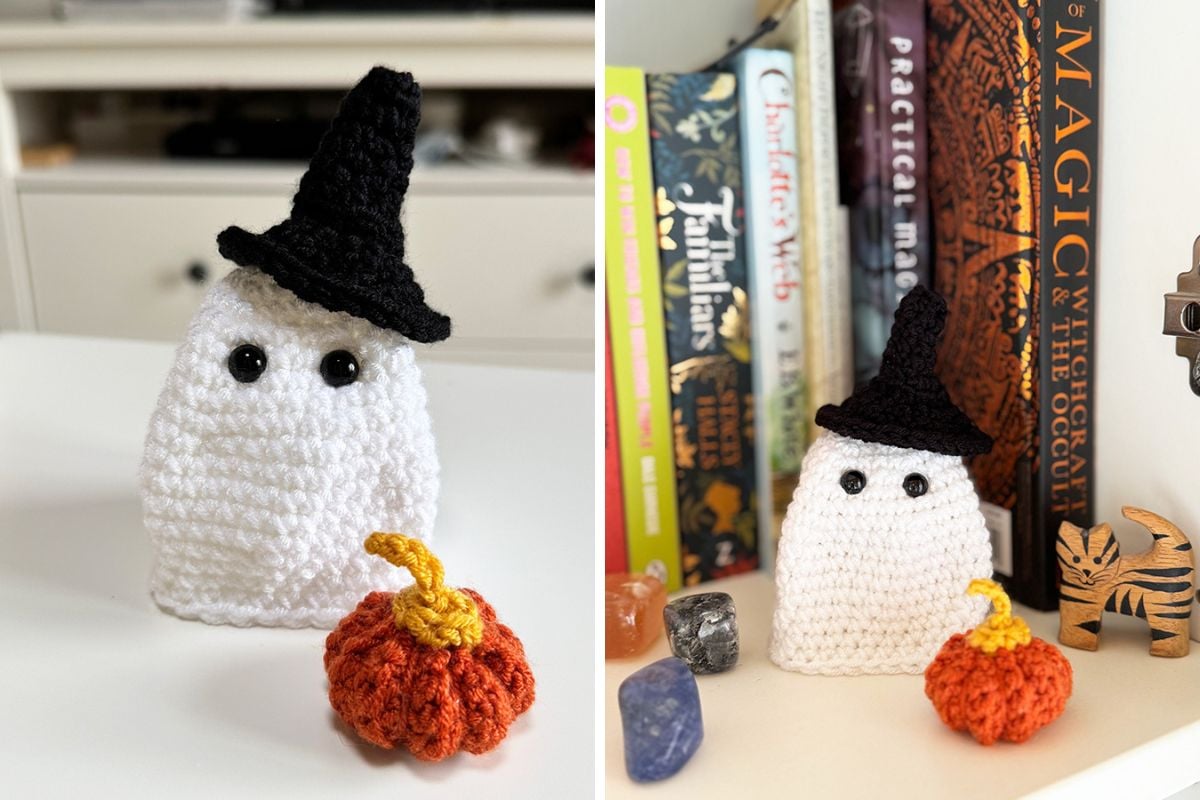
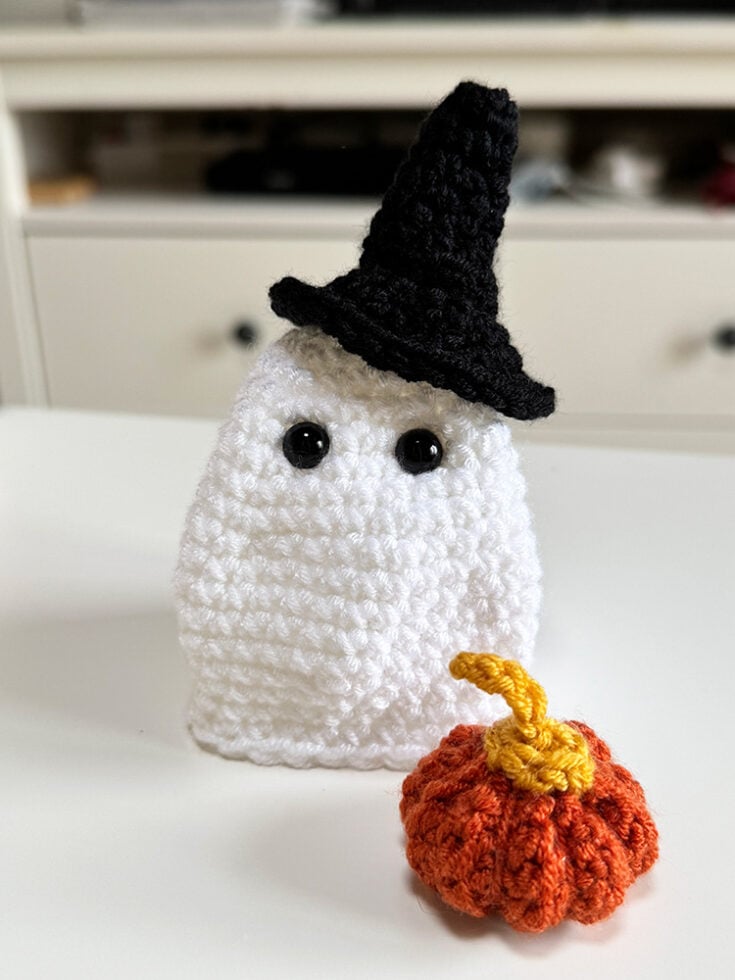
THIS ARTICLE CONTAINS AFFILIATE LINKS THAT SUPPORT HANDY LITTLE ME CONTENT AND FREE PATTERNS.Boo! It’s spooky season, which means it’s the perfect time to make a tiny crochet ghost, plus a mini witch hat and pumpkin to match.
This trio is quick, beginner-friendly, and a great way to use up DK yarns from your stash.
The shapes are worked in continuous rounds with simple stitches (mostly sc/single crochets), so you can whip up a charming haunt in an evening.
In this post, you’ll find clear instructions, a single set of abbreviations (US terms with UK notes in brackets), and printable formatting so you can craft offline.
Add safety eyes, embroider a sweet smile, and perch a little hat or pumpkin beside your ghost—ideal for desk décor, gifts, or lightweight garlands.
Before You Get Started
A few tips for tidy amigurumi:
- Work with a firm gauge so there are no gaps between sts—tighten your yarn over slightly and keep tension even.
- Use a stitch marker in the first st of each round and move it up as you go.
- For a smooth ghost head and silhouette, keep the increases gentle and the hem flare minimal (details below).
- When making toys for children, consider embroidering eyes instead of using safety eyes.
- Many steps use BLO (back loop only) and FLO (front loops). Read the round carefully so you place your hook in the right part of the stitch.
- You’ll need small notions like scissors, tapestry needle, stuffing, and a 4 mm hook (G-6).
Tools / Materials Needed
- Small amounts of DK weight yarn in white (ghost), black (hat), orange + ochre (pumpkin & stem)
- 4 mm crochet hook (G-6)
- Stuffing/fiberfill
- Safety eyes 6 mm (or embroider)
- Tapestry needle, stitch marker, scissors

Abbreviations (US terms; UK in [brackets])
- MR – magic ring
- ch – chain
- sl st – slip stitch
- sc – single crochet [UK dc]
- hdc – half double crochet [UK htr]
- dc – double crochet [UK tr]
- inc – increase (2 sts in next st)
- dec – invisible sc2tog (single crochet decrease)
- st(s) – stitch(es)
- FLO/BLO – front/back loop only
- cont. rnds – work in continuous rounds (do not join unless stated)
Worked in continuous rounds unless noted. Place a stitch marker in the first stitch and move it up each round.

Pattern Overview
There are three parts to crochet:
- A small ghost (worked top-down),
- A mini witch hat (cone + brim), and
- A mini pumpkin (flat panel seamed into a tube, then cinched).
Crochet Ghost (Top-Down)
- Finished size: ~8–9 cm (3–3.5 in) tall
- Yarn: DK white (cotton or acrylic)
- Hook: 4 mm (G-6)
- Notions: scissors, tapestry needle, stitch marker.
- Other: 6 mm safety eyes (or embroider);
- Gauge: Firm—no gaps between sts
Body (worked in continuous rounds)
- Rnd 1: MR, 6 sc (6)
- Rnd 2: inc around (12)
- Rnd 3: (sc, inc) × 6 (18)
- Rnd 4: (2 sc, inc) × 6 (24)
- Rnd 5: (3 sc, inc) × 6 (30)
- Rnds 6–8: sc around (30) — Place eyes between Rnds 7–8, ~5–6 sts apart.
- Rnd 9: (4 sc, inc) × 6 (36) — gently widen
- Rnds 10–14: sc around (36)
- Rnd 15: (4 sc, dec) × 6 (30) — subtle taper to avoid bulbous base
- Rnds 16–18: sc around; sl st in next st and fasten off (30)
To finish, pinch and mold into shape.
Face
Attach safety eyes (or embroider small ovals).

Mini Witch Hat
- Yarn: DK black (~20–30 g)
- Hook: 4 mm/US G-6 /
- Notions: tapestry needle, stitch marker
Cone (Crown)
Worked in continuous rounds.
- R1: MR, 6 sc in ring (6)
- R2: [sc, inc] × 3 (9)
- R3: sc around (9)
- R4: [2 sc, inc] × 3 (12)
- R5: sc around (12)
- R6: [3 sc, inc] × 3 (15)
- R7: BLO sc around (15)
Brim (worked in joined rounds into the FLO of R7)
Join black to any front loop of R7.
Join each round with sl st; ch 1 does not count as a st.
- Brim R1 (FLO of R7): *sc 3, inc* × 3, sc 3; join — 18 sts
- Brim R2: *sc 4, inc* × 3, sc 3; join — 21 sts
- Brim R3 (switch to hdc): *hdc 5, inc* × 3, hdc 3; join, sl st in next st, fasten off — 24 sts
Weave in all ends and place jauntily on top of the ghost’s head.

Mini Pumpkin
- Yarn: DK orange + ochre for stalk
- Hook: 4 mm
- Notions: tapestry needle, stitch marker
- Other: Stuffing/polyfil
Pumpkin Body
- Foundation: ch 8.
- Row 1: 1 sc in 2nd ch from hook, sc across; ch 1, turn.
- Row 2: BLO sc to end; ch 1, turn.
- Repeat Row 2 until piece measures ~4 in (≈10 cm).
Making Up
- Join the ends: Fold in half; sc across through both layers to form a tube (or seam with mattress stitch).
- Bottom gather: Break yarn, leave a long tail. With needle, run a gathering stitch around one open edge; pull tight to close and secure. Turn right side out.
- Stuff.
- Top gather: With a new tail, run stitches around the top opening; pull tight to close and secure.
- Shape segments: With a long strand, enter at top, exit bottom, wrap around the pumpkin 4–6 times to form grooves; knot, adjust spacing, weave in ends.
Stem Base (ochre)
- Ch 2, turn.
- Row 1: 6 sc in 2nd ch from hook, sl st to close; fasten off and secure.
Stem (ochre)
ch 4, fasten off (a cute nubby stem).
Finishing
- Crochet Ghost: Mold the ghost into your preferred shape (see photos for reference).
- Witch hat: Stitch the hat to the top of the ghost or leave it removable.
- Pumpkin: Stitch stem base to center top; stitch stem onto base.
- Hide all tails at the back of the work.
- Lightly steam block the hat brim if needed (avoid melting acrylic).

FAQs & Extra Tips
Can I sell my finished products?
Yes—small-batch, personal use sales only.
Please credit “Handy Little Me – Crochet Ghost (Free Printable)” and link back here.
No mass production or pattern redistribution.
Do I have to use safety eyes?
For under-threes, embroider eyes on the crochet ghost.
If you use safety eyes, insert and lock them firmly between Rnds 7–8 before closing up.
What if my stitch counts drift?
Use your stitch marker religiously.
If you’re off by 1–2 at the last sts, simply dec or inc discreetly to correct.
Yarn choices?
Smooth DK cotton gives crisp stitches and definition; acrylic is springy and forgiving.
Both work beautifully for this ghost crochet pattern.
Where are the UK terms?
All UK equivalents are shown in [brackets] in the abbreviations list (e.g., sc [dc], hdc [htr]).
Will there be a video?
A video tutorial may be added later—pin this page on Pinterest or follow on Instagram to catch updates.
Grab all 7 of my Halloween Crochet Patterns here…
Free Printable
Want to keep this tutorial handy while you crochet? Grab the free printable version of the pattern below!
Whether you’re curled up on the couch or crafting on the go, this easy-to-follow card makes it simple to work through each round at your own pace.
Crochet Ghost Pattern
Make a palm-size crochet ghost—perfect for ornaments, garlands, keychains, gift toppers, or party favors.
This quick-reference card guides you from magic ring to finish with simple stitches (sc, inc, dec), plus options for safety eyes or embroidery and a mini witch hat/pumpkin add-on.
Print, tuck in your project bag, and craft anywhere!
Materials
- Small amounts of DK weight yarn in white (ghost), black (hat), orange + ochre (pumpkin & stem)
Tools
- 4 mm crochet hook (G-6)
- scissors, tapestry needle, stitch marker.
- 6 mm safety eyes (or embroider);
Instructions
Pattern Overview
There are three parts to crochet:
- A small ghost (worked top-down),
- A mini witch hat (cone + brim), and
- A mini pumpkin (flat panel seamed into a tube, then cinched).
*Please note that if you need photos for reference/help, please refer to the main blog post.
Ghost (Top-Down)
Worked in continuous rounds unless noted. Place a stitch marker in the first stitch and move it up each round.
- Finished size: ~8–9 cm (3–3.5 in) tall
- Yarn: DK white (cotton or acrylic)
- Hook: 4 mm (G-6)
- Notions: stuffing; 6 mm safety eyes (or embroider); tapestry needle.
- Gauge: Firm—no gaps between sts
Body (worked in continuous rounds)
- Rnd 1: MR, 6 sc (6)
- Rnd 2: inc around (12)
- Rnd 3: (sc, inc) × 6 (18)
- Rnd 4: (2 sc, inc) × 6 (24)
- Rnd 5: (3 sc, inc) × 6 (30)
- Rnds 6–8: sc around (30) — Place eyes between Rnds 7–8, ~5–6 sts apart.
- Rnd 9: (4 sc, inc) × 6 (36) — gently widen
- Rnds 10–14: sc around (36)
- Rnd 15: (4 sc, dec) × 6 (30) — subtle taper to avoid bulbous base
- Rnds 16–18: sc around; sl st in next st and fasten off (30)
To finish, pinch and mold into shape.
Face
Attach safety eyes (or embroider small ovals).
Mini Witch Hat
- Yarn: DK black (~20–30 g)
- Hook: 4 mm/US G-6 /
- Notions: tapestry needle, stitch marker
Cone (Crown)
Worked in continuous rounds.
- R1: MR, 6 sc in ring (6)
- R2: [sc, inc] × 3 (9)
- R3: sc around (9)
- R4: [2 sc, inc] × 3 (12)
- R5: sc around (12)
- R6: [3 sc, inc] × 3 (15)
- R7: BLO sc around (15)
Brim (worked in joined rounds into the FLO of R7)
Join black to any front loop of R7.
Join each round with sl st; ch 1 does not count as a st.
- Brim R1 (FLO of R7): *sc 3, inc* × 3, sc 3; join — 18 sts
- Brim R2: *sc 4, inc* × 3, sc 3; join — 21 sts
- Brim R3 (switch to hdc): *hdc 5, inc* × 3, hdc 3; join, sl st in next st, fasten off — 24 sts
Mini Pumpkin
- Yarn: DK orange + ochre for stalk
- Hook: 4 mm
- Notions: tapestry needle, stitch marker
- Other: Stuffing/polyfil
Pumpkin Body
- Foundation: ch 8.
- Row 1: 1 sc in 2nd ch from hook, sc across; ch 1, turn.
- Row 2: BLO sc to end; ch 1, turn.
- Repeat Row 2 until piece measures ~4 in (≈10 cm).
Making Up
- Join the ends: Fold in half; sc across through both layers to form a tube (or seam with mattress stitch).
- Bottom gather: Break yarn, leave a long tail. With needle, run a gathering stitch around one open edge; pull tight to close and secure. Turn right side out.
- Stuff.
- Top gather: With a new tail, run stitches around the top opening; pull tight to close and secure.
- Shape segments: With a long strand, enter at top, exit bottom, wrap around the pumpkin 4–6 times to form grooves; knot, adjust spacing, weave in ends.
Stem Base (ochre)
- Ch 2, turn.
- Row 1: 6 sc in 2nd ch from hook, sl st to close; fasten off and secure.
Stem (ochre)
ch 4, fasten off (a cute nubby stem).
Finishing
- Ghost: Mold the ghost into your preferred shape (see photos for reference).
- Witch hat: Stitch the hat to the top of the ghost or leave it removable.
- Pumpkin: Stitch stem base to center top; stitch stem onto base.
- Hide all tails at the back of the work.
- Lightly steam block the hat brim if needed (avoid melting acrylic).
Notes
Abbreviations (US terms; UK in [brackets])
- MR – magic ring
- ch – chain
- sl st – slip stitch
- sc – single crochet [UK dc]
- hdc – half double crochet [UK htr]
- dc – double crochet [UK tr]
- inc – increase (2 sts in next st)
- dec – invisible sc2tog (single crochet decrease)
- st(s) – stitch(es)
- FLO/BLO – front/back loop only
- cont. rnds – work in continuous rounds (do not join unless stated)
Recommended Products
As an Amazon Associate and member of other affiliate programs, I earn from qualifying purchases.


Share & Use
This free pattern is for personal use only.
Please do not copy the full text elsewhere; copyright remains with the designer.
You may sell a few finished items locally—credit and link back are appreciated.
Tag me on Instagram @handylittleme or use #handylittleme to show off your makes.
Join the Handy Little Me Facebook Group to share photos, ask questions, and connect with other makers.
Happy crocheting!
Want More Free Crochet Patterns?
- Crochet Mini Witch Hat Pattern (Free Printable)
- Crochet Cauldron Pattern (Free Printable)
- Crochet Witch Hat (Free Pattern)
- Eyeball Crochet Coaster Pattern (Free Printable)
- Crochet Halloween Garland (Free Printable)
- Crochet Pumpkin Coaster (Free Printable)
- The Best Crochet Halloween Costumes For Babies
- Crochet Ribbing Tutorial
- Pumpkin Crochet Pattern (Free, Easy + Adorable)
- Free Crochet Pumpkin Pattern For Beginners
- Crochet Pumpkin {Single Crochet Ribbing}
- Crochet Acorn Garland Free Pattern (Fall Decor)
- 41 Free Halloween Crochet Patterns (Cute + Spooky)
