How To Knit Slip Stitch Rib (Tutorial)
THIS ARTICLE CONTAINS AFFILIATE LINKS THAT SUPPORT HANDY LITTLE ME CONTENT AND FREE PATTERNS.In this tutorial, you will learn how to knit slip stitch rib, a simple textured stitch pattern that creates a structured, ribbed fabric.
Slip stitch rib is a great stitch to use when you want a fabric with extra texture and durability.
The slipped stitches create vertical lines that give the knitting a modern look while also helping the fabric hold its shape.
This stitch pattern works well for many knitting projects, including bags, scarves, and textured accessories.

Before You Get Started
- Slip stitch rib is created by combining knit, purl, and slipped stitches in a repeating pattern.
- When you slip stitches in knitting, you simply move the stitch from the left needle to the right needle without knitting or purling it.
- In this pattern, the stitch is slipped with the yarn held in the back of the work, which creates the textured rib effect.
- This stitch pattern is suitable for advanced beginners, as it only requires basic knitting skills.
Materials
To practice this stitch pattern, you will need:
- Any yarn weight
- Knitting needles suitable for your yarn
- Scissors
- Tapestry needle (optional)
Because this is a stitch tutorial, you can use any yarn and needle size to make a practice swatch.

Abbreviations
- CO – Cast on
- Cont – Continue
- K – Knit
- Patt – Pattern
- P – Purl
- Sl 1 WYIB – Slip one stitch with the yarn in the back
- St(s) – Stitch(es)
- Rep – Repeat
- RS – Right side
- WS – Wrong side
Pattern Instructions
Please note: Worked over a multiple of 3 stitches, plus 2 extra stitches; 3+2 st (for example, 3×5=15+2=17sts.
Worked flat knitting back and forth on two needles:
Cast on 17 sts.
- Row 1 (RS): *P2, Sl 1 WYIB* – Rep from * to the end of the row, ending with P2.
- Row 2 (WS): K2, *P1, K2* – Rep from * to * to the end of the row.
Repeat rows 1 and 2 until your sample reaches the desired length.
Video Tutorial
If you prefer to learn visually, you can watch the video tutorial below to see exactly how the slip stitch rib is worked.
Pattern Using This Stitch
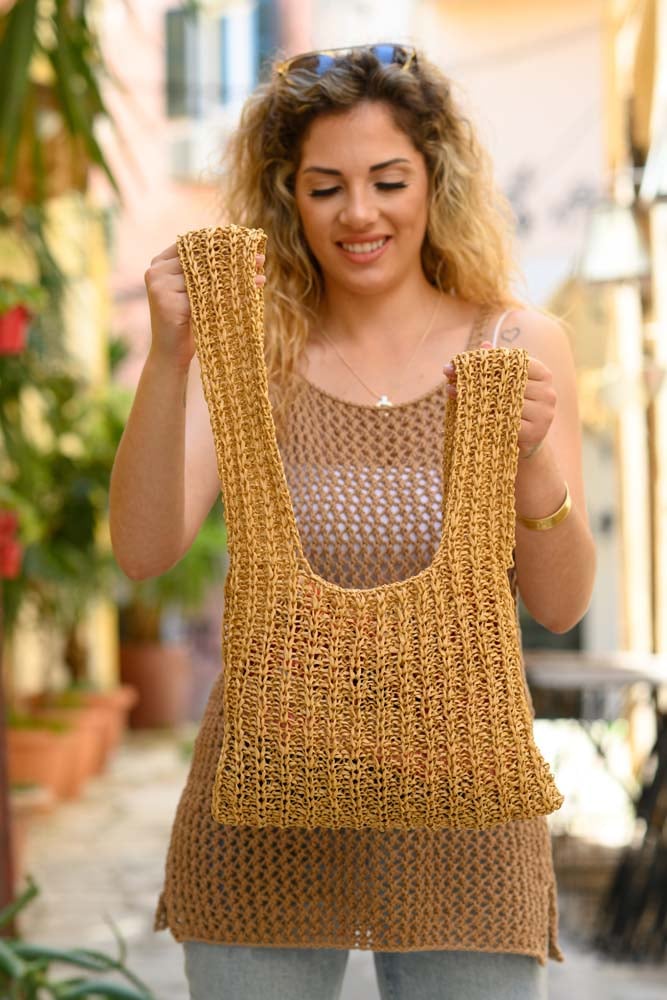
If you would like to use this stitch pattern in a project, you can try the Slip Stitch Rib Project Bag Knitting Pattern.
This textured bag uses slip stitch rib to create a sturdy fabric that works well for everyday use or carrying knitting supplies.

FAQ
What Is The Slip Stitch Rib Stitch?
The slip stitch rib stitch is a textured variation of classic ribbing that adds depth and interest to your knitting.
Combining knit, purl, and slip stitches creates a raised ribbed fabric that works beautifully for scarves, hats, sweaters, and other textured projects.
Is slip stitch rib beginner-friendly?
Yes. This stitch pattern is suitable for advanced beginners who are comfortable with knit and purl stitches.
What does “slip stitch with yarn in back” mean?
It means you move the stitch from the left needle to the right needle without knitting it, while keeping the yarn held at the back of the work.
What can I make with slip stitch rib?
This stitch works well for many projects, including:
- bags and totes
- scarves and cowls
- sweaters and cardigans
- textured accessories
Why are slip stitches used in knitting?
Slip stitches add texture, structure, and durability to knitted fabric.
They are often used in patterns where a stronger or more decorative surface is desired.
Is the slip stitch rib a reversible pattern?
The slip stitch rib stitch is not traditionally reversible in the strictest sense, as the texture on the front of the work differs from that on the wrong side.
On the right side, the slip stitches create raised ribs, while the wrong side exhibits a flatter surface with subtle indentations where the slipped stitches occurred.
Related Post: 30 Reversible Knitting Stitch Patterns You Will Love!
Share Your Make
I love seeing your finished projects on social media.
If you enjoyed this tutorial, I’d love to see yours on Instagram, tag me @handylittleme.
If you are on Facebook, stop over to the Handylittleme Facebook Group and share a photo.
You can also check out my Facebook page here.
Happy Knitting!
More Patterns
- Diamond Leaf Tank Top Knitting Pattern (Euterpe | Muses Collection)
- Ripple Stitch Tee Knitting Pattern (Calliope | Muses Collection)
- How To Knit The Ripple Stitch (Tutorial)
- Clio Tee Knitting Pattern With A Feather And Fan Panel
- Thalia Garter Stitch Tank Top Knitting Pattern
- How To Knit The Feather And Fan Stitch (Tutorial)
- Feather and Fan Wrap Knitting Pattern (Melpomene | Muses Collection)
- How To Knit An Easy Lace Stitch Pattern (Tutorial)
- Lace Tee Knitting Pattern (Erato | Muses Collection)
- How To Knit The Mesh Stitch (Tutorial)
- Lace Mesh Top Knitting Pattern (Urania | Muses Collection)
- How To Knit A Shawl For Beginners (Step-By-Step Tutorial)
- Japanese Knot Bag Knitting Pattern
- 12 Summer Knits (The Muses Collection)
More Rib Stitches
Check out these posts to try out new stitches.
- How To Knit Fisherman’s Rib Stitch (And Headband Pattern)
- How To Knit Rib Stitch Patterns (1×1 and 2×2 ribbing)
- Easy Baby Blanket Knitting Pattern (Broken Rib Stitch)
Bag Knitting Patterns
For more knitting time, check out these bag knitting patterns.