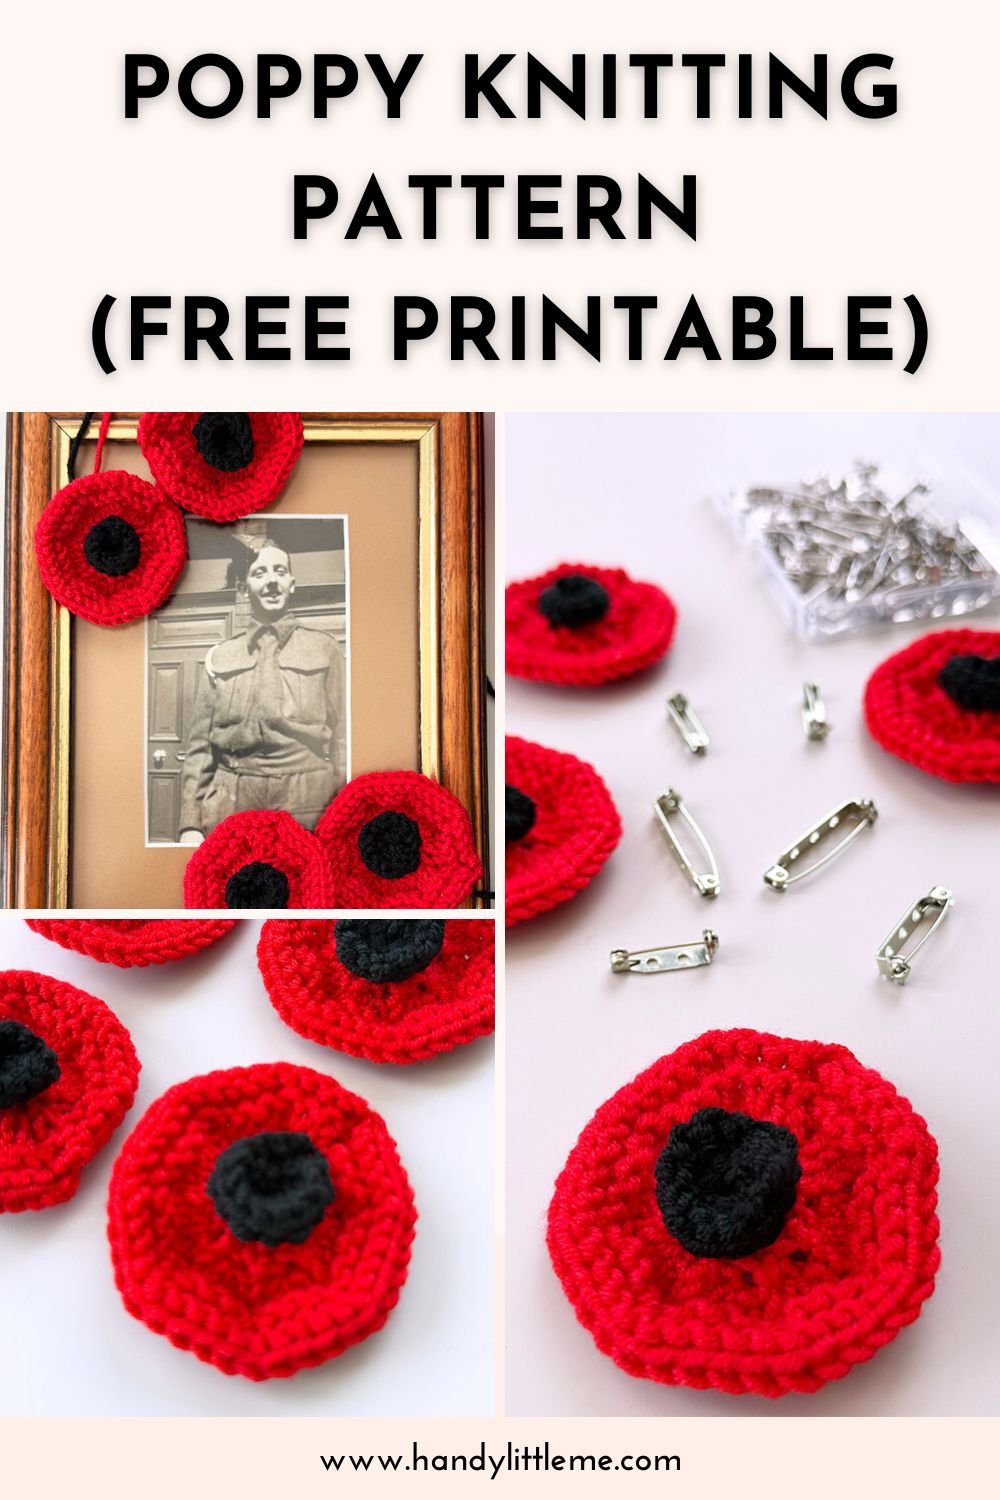
Poppy Knitting Pattern (Free Printable)
THIS ARTICLE CONTAINS AFFILIATE LINKS THAT SUPPORT HANDY LITTLE ME CONTENT AND FREE PATTERNS.Looking for a meaningful little make? This Poppy Knitting Pattern is a quick, heartfelt project you can knit in an evening.
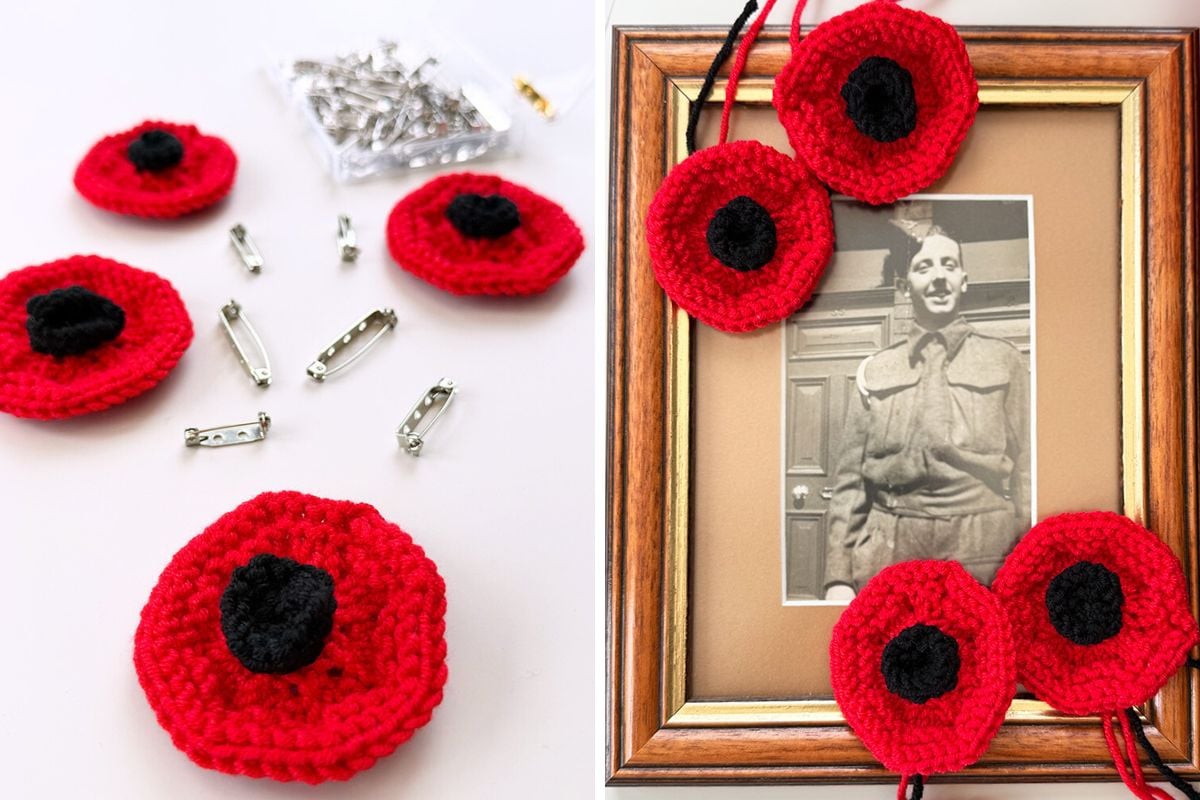
Wear it as a pin for Armistice Day, Remembrance Sunday, Veterans Day, or to honour someone special.
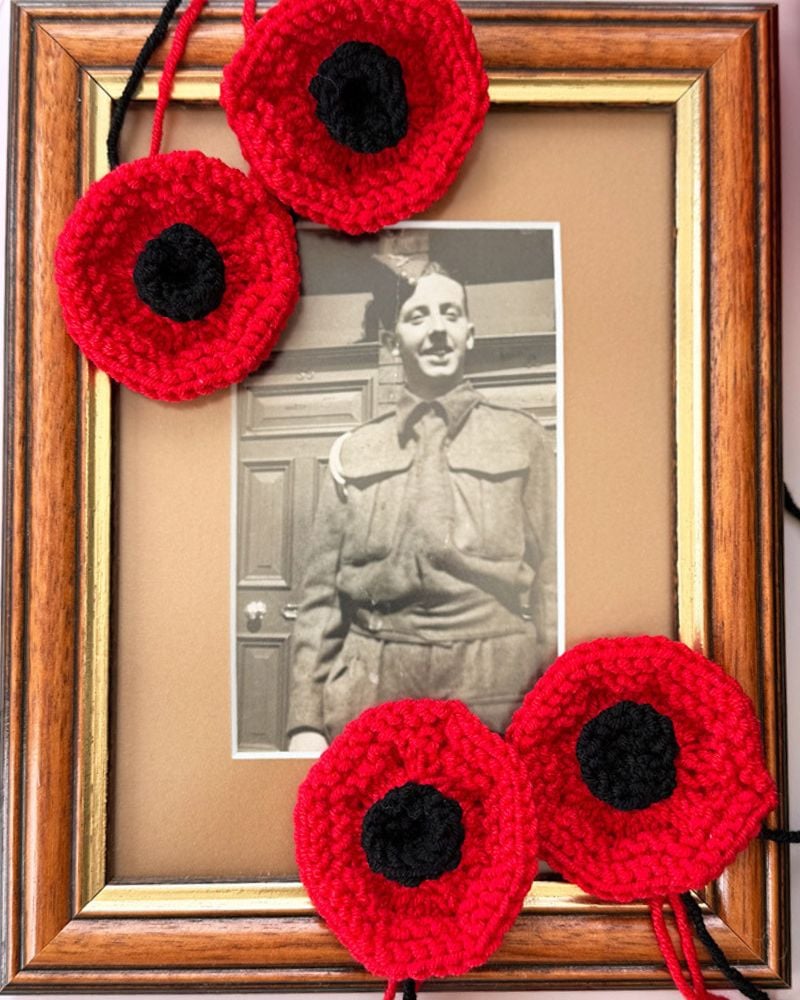
The red poppy is a symbol of remembrance—first adopted after WWI to commemorate those who served and sacrificed.
This version knits up flat in simple stitches (knit and purl), then seamed into neat circles.
It’s beginner-friendly, a true free pattern you can customize—make a slightly smaller poppy or larger one by adjusting your needles and increases, add a black button in the centre of the poppy, or keep the classic black yarn centre.
Before You Get Started
A few helpful notes:
- Gauge isn’t critical. You’re making a small accessory, so aim for a tidy fabric.
- Work the two discs flat; you’ll seam them into circles for a tidy, tight spiral look.
- Leave a long tail on both pieces—handy for seaming the edges and securing the centre of poppy.
- For invisible joins, use mattress stitch along the edges; for quick joins, a slip stitch seam works too.
- If your edge starts to ruffle, your tension might be a touch loose—light blocking will help.
Tools/Materials Needed
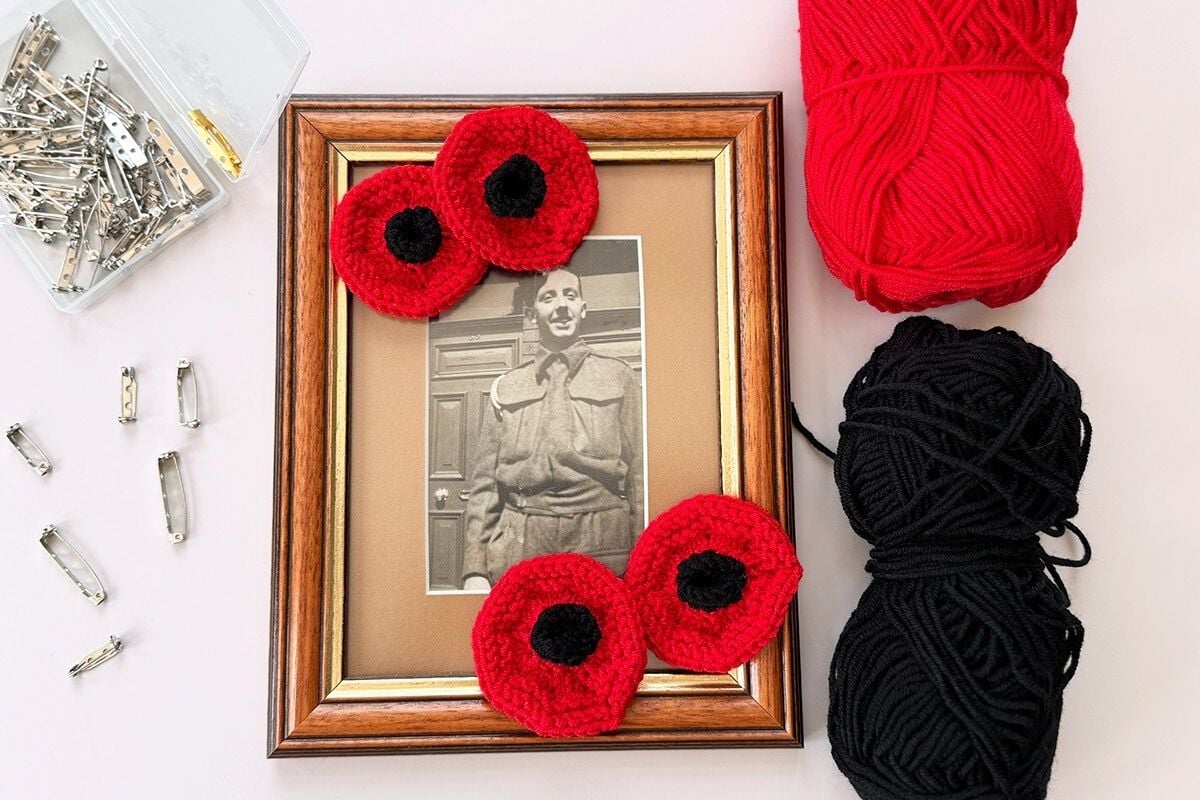
- Small amounts of red yarn and black yarn (DK or worsted — gauge isn’t critical)
- 3.25–4.5 mm needles (use smaller for firmer petals; larger for softer drape)
- Tapestry needle, scissors
Abbreviations
- CO – cast on
- k – knit
- p – purl
- kfb – knit front and back (increase 1)
- Rep – repeat
- BO – bind off
How To Knit The Poppy (Step-By-Step)
This pattern uses two flat discs: a black centre and a red outer circle.
You’ll seam each into a circle, then attach the centre to the poppy.
1) Knit the black centre
- CO 6 sts.
- Row 1: kfb to the end of the row — 12 sts.
- Row 2: k — 12 sts.
- BO loosely, leaving a long tail for sewing.
Tip: Keep your tension even so the centre forms a clean, compact ring. If you prefer a button centre, skip this knit centre and sew on a black button later.
2) Knit the red circle (Poppy)
- CO 8 sts.
- Row 1: k — 8 sts.
- Row 2: kfb in each st to the end of the row — 16 sts.
- Row 3: (k1, kfb) rep to the end of the row — 24 sts.
- Row 4 (ridge): p — 24 sts. (This creates a subtle ridge that helps the centre sit neatly.)
- Row 5: (k2, kfb) rep to the end of the row — 32 sts.
- Row 6: k — 32 sts.
- Row 7: (k3, kfb) rep to the end of the round — 40 sts.
- Row 8: k — 40 sts.
- BO loosely.
If edges ruffle: your tension is a touch loose—block lightly and they’ll even out.
3) Seaming (Forming the Circles)
You now have two flat rings.
Seam their short edges to make continuous circles:
- Black Centre:
Use the long tail and mattress stitch or a neat slip stitch seam to join the cast-on edge to the BO edge, forming a smooth small circle. - Red Circle:
Seam the cast-on edge to the BO edge the same way to make the larger circle. Aim for a tidy join so the ridge line stays continuous.
4) Finishing (Assembling the Poppy)
- Place the black centre in the centre of the poppy (on the red disc).
- Using the black long tail and your tapestry needle, secure it with small stitches around the inner purl ridge “ditch” so the sewing sinks invisibly.
- Weave in ends neatly on the back.
Optional extras:
- Add 1–2 French-knot “stamens” with the black tail.
- Swap the knit centre for a small black button sewn in the middle.
Optional: Pin/Remembrance Version
- Cut a small felt circle to cover the back for stability.
- Sew or glue a brooch pin to the felt, then attach to the back of the poppy.
- This keeps the poppy flat and wearable for services or events.
Size & Yarn Tweaks
- DK + 3.5 mm needles: about 5–6 cm (2–2.5″) across at 32–40 sts.
- Worsted + 4–4.5 mm needles: about 7–8 cm (2.75–3.25″) across.
- Want a slightly smaller poppy? Omit the last increase round (Row/Rnd 7) and its plain knit round.
- Want larger? Add (k4, kfb) around followed by a plain k round before BO.
FAQs & Extra Tips
→ Can I knit this in the round?
You can try, using DPNs. It might be a bit difficult because the piece is so small.
Work the same increase logic each whole row (round).
The purl ridge can be made by working one full round p (or by working BLO in crochet if you prefer a mixed-craft edge).
→ My edge looks wavy—what now?
A little steam or a damp block will relax ruffles.
If it persists, skip the final plain k round or try a needle 0.5 mm smaller.
→ Best seam for tidy joins?
For invisibility, mattress stitch along the edges.
For speed, a crochet slip stitch seam works and adds structure.
→ Can kids help?
Absolutely—this is mostly knit stitches with a few kfb increases.
Adults can handle seaming with a tapestry needle.
→ Can I use different colours?
Traditional remembrance poppies are red yarn with a black yarn centre, but white or purple poppies are sometimes used to convey different meanings.
Follow local guidance for commemorations.
Free Printable
If you prefer to work from a printed pattern or just want a version you can take on the go, I’ve got you covered!
You can print the pattern below to keep it handy while you knit.
It’s a simple, easy-to-follow design that’s perfect for relaxing with a project you’ll actually use.
Poppy Knitting Pattern

A simple and meaningful project for remembrance.
This easy poppy knitting pattern uses basic stitches to create a beautiful flower with a bold red circle and black centre.
Knit flat and seamed, it's perfect for Remembrance Day, Veterans Day, or Armistice Day.
Add a pin back to wear or gift it with love.
Uses small scraps of red yarn and black yarn, plus a tapestry needle for finishing.
Materials
- Small amounts of red yarn and black yarn (DK or worsted — gauge isn’t critical)
Tools
- 3.25–4.5 mm needles (use smaller for firmer petals; larger for softer drape)
- Tapestry needle, scissors
Instructions
How To Knit The Poppy
This pattern uses two flat discs: a black centre and a red outer circle.
You’ll seam each into a circle, then attach the centre to the poppy.
1) Knit the black centre
- CO 6 sts.
- Row 1: kfb to the end of the row — 12 sts.
- Row 2: k — 12 sts.
- BO loosely, leaving a long tail for sewing.
Tip: Keep your tension even so the centre forms a clean, compact ring. If you prefer a button centre, skip this knit centre and sew on a black button later.
2) Knit the red circle (Poppy)
- CO 8 sts.
- Row 1: k — 8 sts.
- Row 2: kfb in each st to the end of the row — 16 sts.
- Row 3: (k1, kfb) rep to the end of the row — 24 sts.
- Row 4 (ridge): p — 24 sts. (This creates a subtle ridge that helps the centre sit neatly.)
- Row 5: (k2, kfb) rep to the end of the row — 32 sts.
- Row 6: k — 32 sts.
- Row 7: (k3, kfb) rep to the end of the round — 40 sts.
- Row 8: k — 40 sts.
- BO loosely.
If edges ruffle: your tension is a touch loose—block lightly and they’ll even out.
3) Seaming (Forming the Circles)
You now have two flat rings.
Seam their short edges to make continuous circles:
- Black Centre:Use the long tail and mattress stitch or a neat slip stitch seam to join the cast-on edge to the BO edge, forming a smooth small circle.
- Red Circle:Seam the cast-on edge to the BO edge the same way to make the larger circle. Aim for a tidy join so the ridge line stays continuous.
4) Finishing (Assembling the Poppy)
- Place the black centre in the centre of the poppy (on the red disc).
- Using the black long tail and your tapestry needle, secure it with small stitches around the inner purl ridge “ditch” so the sewing sinks invisibly.
- Weave in ends neatly on the back.
Optional extras:
- Add 1–2 French-knot “stamens” with the black tail.
- Swap the knit centre for a small black button sewn in the middle.
Optional: Pin/Remembrance Version
- Cut a small felt circle to cover the back for stability.
- Sew or glue a brooch pin to the felt, then attach to the back of the poppy.
- This keeps the poppy flat and wearable for services or events.
Notes
Abbreviations
- CO – cast on
- k – knit
- p – purl
- kfb – knit front and back (increase 1)
- Rep – repeat
- BO – bind off
Share Your Make
If you knit this poppy, I’d love to see it! Tag your photo on Instagram and mention how you’re wearing your pin for remembrance.
More Patterns You May Be Interested In…
- How To Knit A Hat For Complete Beginners (+ Video Tutorial)
- 20 Temperature Blanket Patterns (The Ultimate Guide)
- How To Knit A Hat With Circular Needles (Step-By-Step)
- 31 Free Baby Blanket Knitting Patterns (Easy Knit Blankets)
- How To Knit Baby Booties (Step-By-Step)
- How to Knit – A Complete Beginner’s Guide
- Knitted Dog Sweater Pattern (3 Sizes)
- 12 Simple Knitting Stitches For Beginners
- Free Knitted Dishcloth Patterns
- 37+ Patterns To Use Up Your Yarn Stash (Small Projects)
- Free Dog Sweater Knitting Pattern (Straight Needles)
- Super Easy Corner To Corner Baby Blanket Pattern (Knit)
- Easy Baby Sweater Knitting Pattern For Beginners
- How To Knit A Baby Hat (Straight Needles)
- Pumpkin Knitting Pattern (Beginner Friendly!)
- 8 Cable Stitch Knitting Patterns
- Free Knitted Heart Pattern (Easy + Quick Project)
- 20+ Fall Oversized Knits (Sweater Knitting Patterns)
- Ribbed Beanie Knitting Pattern (Unisex Mariner’s Hat)