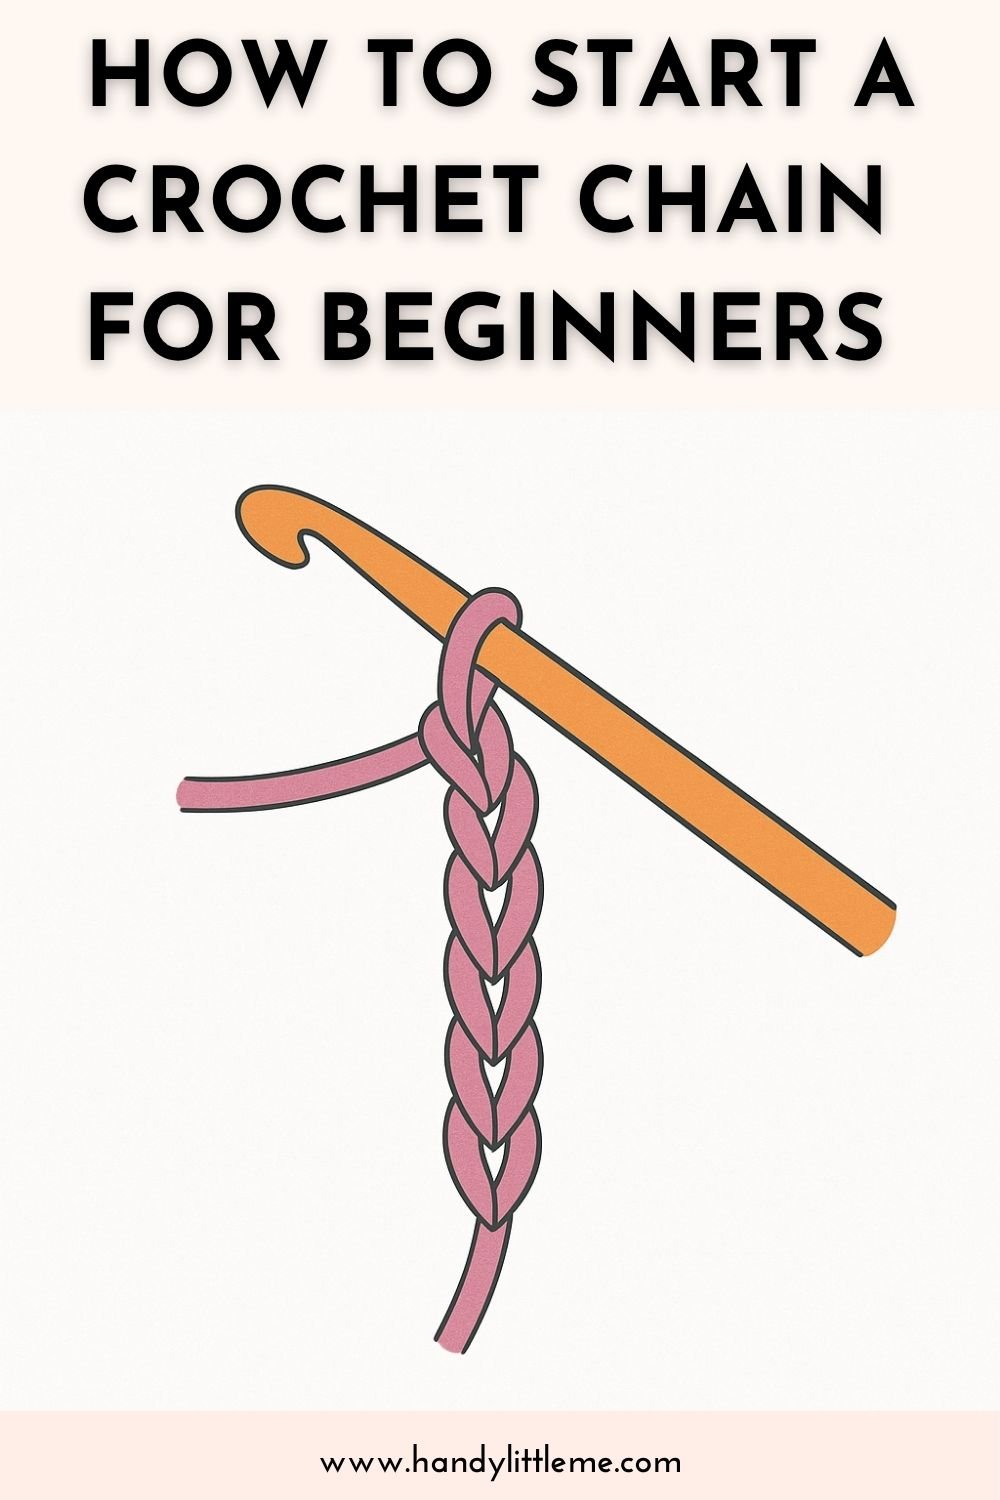
How To Start A Crochet Chain For Beginners (Tutorial)
THIS ARTICLE CONTAINS AFFILIATE LINKS THAT SUPPORT HANDY LITTLE ME CONTENT AND FREE PATTERNS.If you’re new to crochet, learning how to start a crochet chain is your very first step.
A crochet chain forms the foundation for most patterns—from scarves and blankets to granny squares and amigurumi.
In this post, you’ll learn how to crochet a chain stitch step-by-step with beginner-friendly tips, a video tutorial, and answers to common questions.
Before You Get Started
Here are a few tips before you begin chaining:
Choose a yarn you’re comfortable with: worsted, acrylic, or cotton are ideal for practice.
Start with a slip knot—this is your first loop.
Use light-colored yarn and a larger hook (like 5mm or 10mm) to make the stitches easier to see and handle.
Don’t pull too tightly—looser chains are easier to work into later.
Tools + Materials
- Yarn: Medium (worsted weight yarn), cotton, wool, or acrylic yarn
- Hook: 5 mm (US H-8) or larger (You can find the recommended hook size on the yarn label – learn how to read a label here – How To Read A Yarn Label (Step By Step))
- Optional: Stitch markers, scissors, measuring tape
For this tutorial, I’m using super bulky mixtape yarn and a (US 15) 10 mm crochet hook to make the stitches clear and easy to follow.
How to Crochet a Chain (Step-by-Step)
Learning how to crochet begins with the foundation chain.
Follow these simple steps to get started:
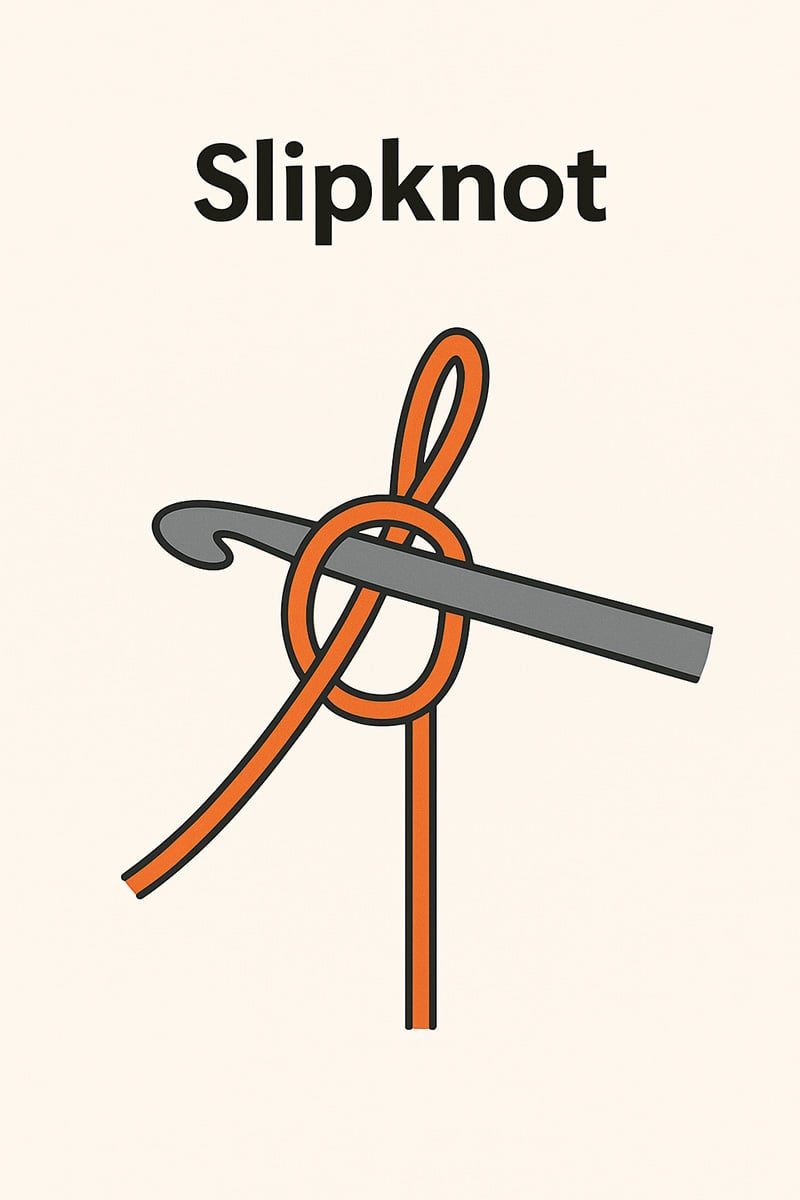
Step 1 – Make a Slip Knot
To begin crocheting, you first need to make a slip knot on your hook.
- Take the yarn and cross the right strand over the left to form a loop.
- Bring the working yarn (the strand connected to the ball) behind the loop.
- Insert your hook under the yarn at the back of the loop.
- Pull the yarn through to create a loop on your hook.
- Gently pull the short tail to tighten the loop around the hook—this is your slip knot.
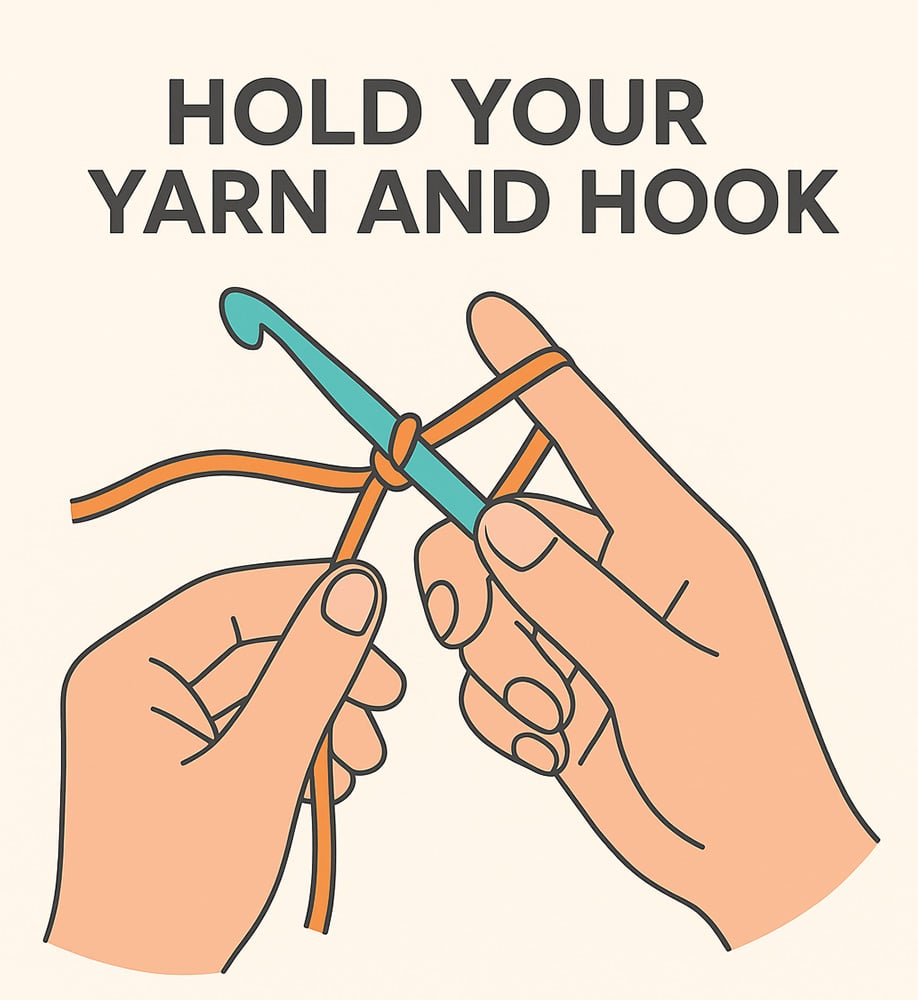
Step 2 – Hold Your Yarn and Hook
With the slip knot secured on your hook:
- Hold the hook in your right hand (if you’re right-handed).
- Use your left hand to hold the knot and guide the yarn.
- Loop the working yarn over your left index finger for tension.
- Use your thumb and middle finger to pinch just below the slip knot to steady the work.
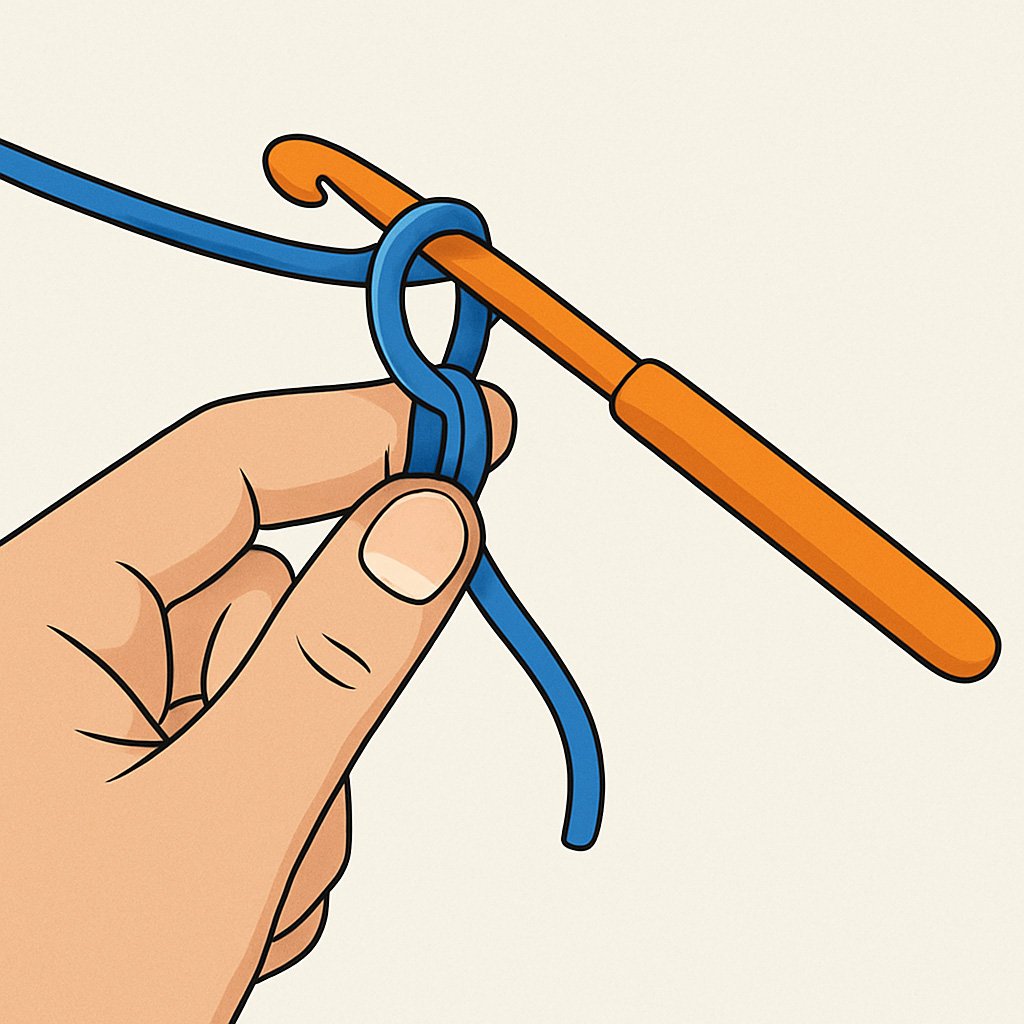
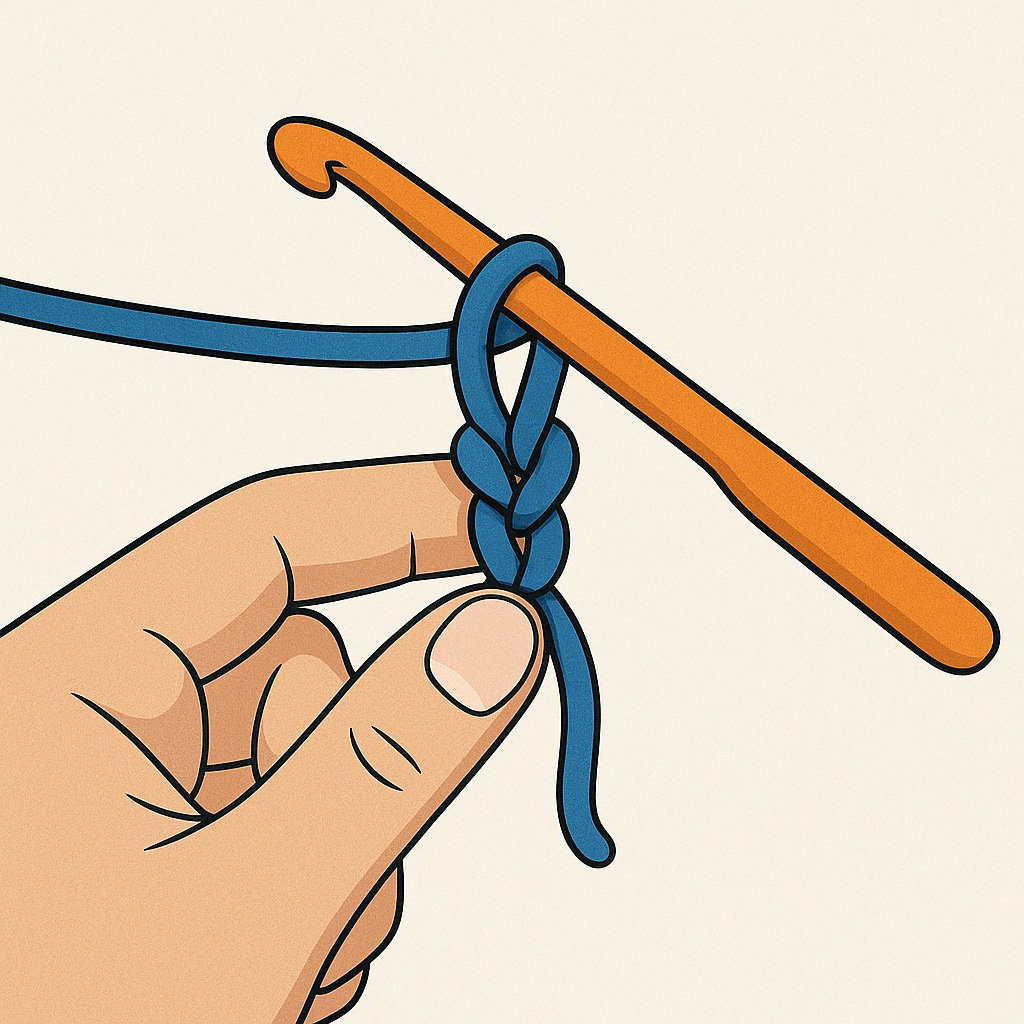
Step 3 – Yarn Over
This is the motion that creates the chain stitch:
- Rotate the hook so it’s facing up.
- Bring the yarn over the hook from back to front (this is called a yarn over or “yo”).
- Use the hook to grab the yarn.
Step 4 – Pull the Yarn Through
Now, pull the yarn over through the loop already on your hook.
- This creates your first chain stitch.
- You’ll now see one stitch formed beneath your hook.
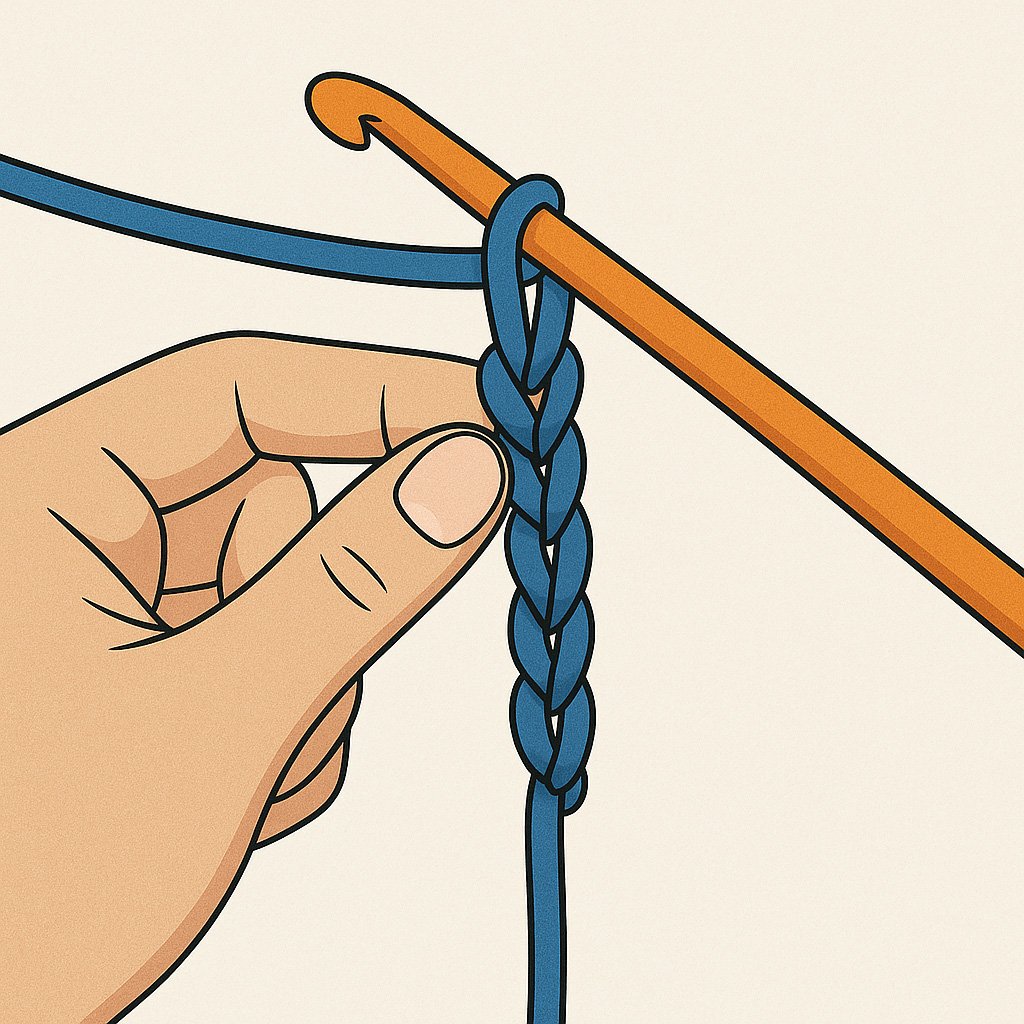
Step 5 – Continue Making Chain Stitches
To make more chains:
- Yarn over again.
- Pull through the loop on the hook.
- Repeat for each new stitch.
The chain will grow longer with each repetition.
- Keep your tension even.
- Use your left thumb and index finger to gently hold the last chain as you work.
- You’ll get faster and more confident as you go!
Step 6 – How Many Chains Should You Make?
The number of chain stitches you need will depend on your pattern.
For example, if your pattern says “ch 6”, that means you’ll make six chains before moving on to the next step.
Tip:
A video tutorial can help you follow these movements more easily.
Video Tutorial
Watch the full, step-by-step video on my YouTube channel here, or follow along with the photo tutorial for visual guidance at each stage.
FAQs + Beginner Tips
1. What is the crochet abbreviation for the crochet chain?
The crochet abbreviation for the foundation chain is written like this – ch or CH.
The number that follows are the number of chains you need for your crochet project.
Related post: Crochet Abbreviations (US + UK Terms) Free Printable
2. How do you start a crochet chain without a slip knot?
You can use a chainless start, where you drape the yarn over your hook and pull through to begin your first chain.
This creates a smoother edge, great for delicate items.
3. Can you use your non-dominant hand to crochet a chain?
Yes, you can start a crochet chain with your non-dominant hand, but it may feel awkward or challenging at first.
In crochet, the dominant hand typically holds and controls the hook, while the non-dominant hand manages the yarn and tension.
4. What is the easiest thing to crochet for beginners?
A dishcloth, scarf, or blanket square using only chain and single crochet stitches is a great place to start.
These projects use basic stitches like the chain stitch (ch) and single crochet (sc) or double crochet (dc) and allow you to practice working back and forth in rows without any shaping or complex patterns.
A scarf is especially popular because it’s practical, forgiving in terms of mistakes, and long enough to help you build muscle memory.
5. How do you turn in crochet?
At the end of a row, chain a few stitches (called a turning chain) depending on the stitch you’re using, then rotate your work and start the next row in the opposite direction.
6. Can you make a chain with two strands of yarn?
Yes! Hold the first strand and second strand together as one.
This creates a thicker foundation and is great for rugs or textured projects.
7. Why does my starting chain twist or curl?
This is usually caused by uneven tension.
Try using a larger hook or relaxing your grip slightly it will make a big difference.
8. Can I undo a chain if I mess up?
Absolutely. Just pull gently on the working yarn, and the stitches will unravel one by one.
9. What part of the chain do I crochet into?
You can insert your hook into either the top loop or the back bump of the chain.
The back bump gives a cleaner edge for certain projects.
Top Tips for Crocheting a Chain
- Count your crochet chain stitches as you go and use a stitch marker every 10 stitches to stay on track.
- Loosen your tension if the hook isn’t moving easily through the loops.
- Try different hook types (ergonomic, metal, wooden) to see what feels most comfortable.
- Practice by making a little swatch, even just the first row of stitches, to build rhythm and confidence before starting a full pattern.
- Left-handed? Flip your hook and yarn-holding hands and mirror the steps—there are many video tutorials available to help you adjust.
- Chunkier weights need a larger hook size. Learn more about crochet hook sizes here – Crochet Hook Sizes Chart (A Free Conversion Guide) Work with different weights of yarn – from medium weight to more bulky yarns. Learn more about yarn weights here – Yarn Weight Guide (+ Yarn Conversion Chart)
- Find your rhythm – Be comfortable in the way that you hold your hook and work the yarn. So experiment with the way you hold the hook with your palm and fingers, and work with the yarn. There are different ways to hold your crochet hook (pencil grip, knife grip etc). You can find more information here – How To Hold A Crochet Hook
More Crochet Tutorials + Free Patterns
- How to Single Crochet (SC)
- How to Half Double Crochet (HDC)
- How to Crochet a Blanket
- 27 Beginner Crochet Patterns with Cotton Yarn
- Crochet Cup Cozy (Free Printable)
- Granny Square Tutorials
- How to double crochet through the back loop– How To Make A Back Post Double Crochet Stitch (BPDC)
- How to double crochet through the front loop– How To Crochet A Front Post Double Crochet Stitch
- How To Half Double Crochet Stitch For Beginners (hdc)
- Half Treble Crochet Stitch (htr) For Beginners
- 50 Crochet Stitches For All Skill Levels (Free)
- 37 Easy Crochet Dishcloth Patterns (+ Free Beginner Pattern)
- 23 Crochet Lace Stitch Patterns (Free Lacy Stitches)
- Crochet Cup Cozy Pattern (Free Printable)
- Free Outlander Cowl Crochet Pattern
Join the Handy Little Me Knitting and Crochet Facebook Group for tips, tricks, project inspiration, and free pattern updates.