Bunny Ear Hat (Easy Pattern + Free Printable)
THIS ARTICLE CONTAINS AFFILIATE LINKS THAT SUPPORT HANDY LITTLE ME CONTENT AND FREE PATTERNS.If you’re looking for a sweet and simple project, this knit bunny ear hat is the perfect pattern for you.
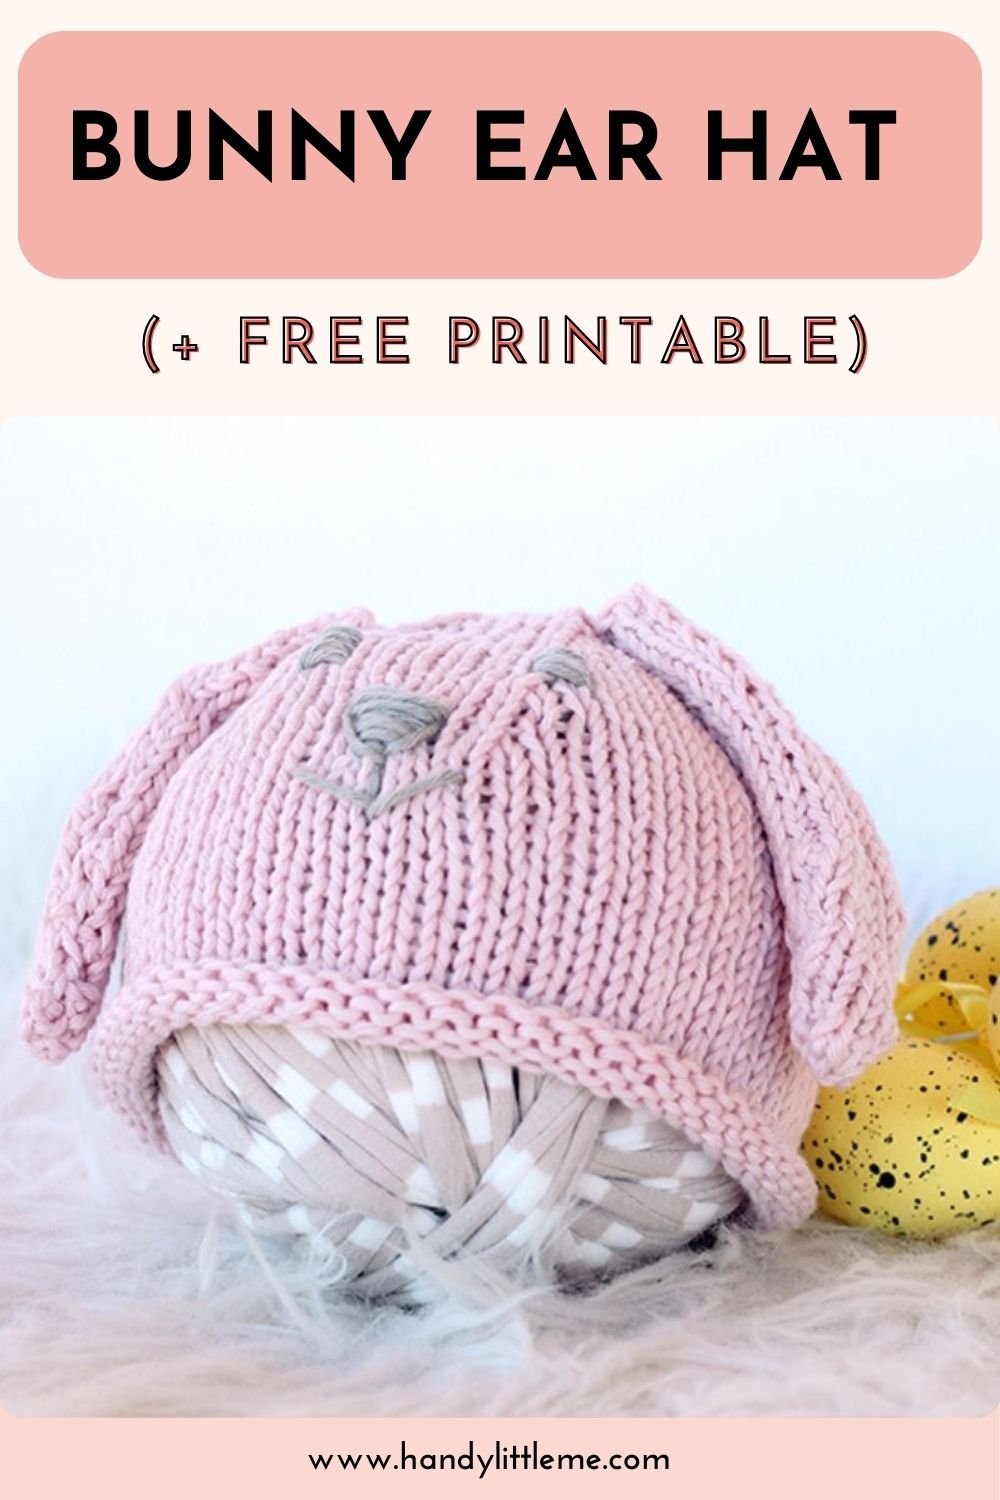
Designed with beginners and advanced beginners in mind, it uses basic stitches and easy shaping to create an adorable hat complete with soft, floppy bunny ears.
Whether you’re knitting for Easter, a baby shower gift, or a cute newborn photo prop, this pattern is fun, fast, and oh-so-cute!
An Easy Bunny Hat Knitting Pattern
This adorable bunny ear hat is a fun and easy knitting project that’s perfect for advanced beginners.
If you’re comfortable with the basics—casting on, casting off, and working knit and purl stitches—you’ll be able to complete this pattern with ease.
Along the way, you’ll also learn simple shaping techniques using basic increases and decreases, making it a great project to build your confidence.
The soft bunny ears add a sweet, playful touch—ideal for baby photos, Easter, or as a handmade baby shower gift.
Get the Free Printable Pattern
Want a version you can knit from without scrolling?
Grab the free printable below!
It’s perfect for printing and keeping beside your project, so you can focus on your stitches and enjoy the process.
Bunny Ear Hat

Make a cotton bunny ears hat for the baby with this free pattern.
Materials
- 1 x Rico Creative Cotton Aran in Rose - (00)
- Scraps of Rico Creative Cotton Aran in pearl grey (52) for the eyes/nose/mouth
- (Medium weight yarn 04)
- For the larger size hats you will need 2 x the main colour yarn for the hat
Tools
- 1 pair of 4mm (US 6) knitting needles
- 1 pair of 4.5mm (US 7) knitting needles
- Tapestry needle
- Tape measure
- Scissors
Instructions
Bunny Ear Hat Pattern
Yarn A - Pink / Yarn B - Grey
- With 4mm (US 6) knitting needles - CO 61 (68/75) sts in Yarn A and work 4 rows in st st.
- Change to size 4.5mm (US 7) knitting needlesand work 16 (18/20) rows in st st.
- Decrease > Row 1 – *K8, K2tog* rep from * to last st (8:5) and K1 (8:5).
- Work 3 rows in st st.
- Decrease > Row 2 – *K7, K2tog* rep from * to last st (8:5) and K1 (8:5).
- Work 3 rows in st st.
- Decrease > Row 3 – *K6, K2tog* rep from * to last st (0:5) and K1 (0:5).
- Work 3 rows in st st.
- Decrease > Row 4 – *K5, K2tog* rep from * to last st (0:5) and K1 (0:5).
- Purl 1 row
- Decrease > Row 5 – *K4, K2tog* rep from * to last st (0:5) and K1(0:5).
- Purl 1 row
- Decrease > Row 6 – *K3, K2tog* rep from * to last st (0:0) and K1 (0:0).
- Purl 1 row
- Decrease > Row 7 – *K2, K2tog* rep from * to last st (0:0) and K1(0:0).
- Purl 1 row
- Decrease > Row 8 – *K2tog* rep from * to last st (1:0) and K1 (1:0).
- Leave a length of yarn (say about 5/6 inches) and cut, thread the yarn through the rem st and with the wrong side of the hat facing you, secure the yarn.
Making Up
- Sew the seam (I used an invisible seam for this and you can’t see the seam on the right side).
- Roll the brim and secure it into position with a stitch or two.
- Stitch the eyes/nose mouth on in Yarn B.
Bunny Ears - Make 2
- With Yarn A and 4.5mm (US 7) needles CO 8 sts
- K 20 rows in st, st
- Row 21 - K2tog, K to last 2 sts, K2tog
- Row 22 - P
- Row 23 - K
- Row 24 - P
- Row 25 - K2tog, K to last 2 sts, K2tog
- Row 26 - P
- Row 27 - K
- Row 28 - P
- Row 29 - K2tog, K to last 2 sts, K2tog
- Row 30 - P
- Cont to work in st, st inc (KFB) at both ends of rows 2, 4, and 8.
- Work in St, st for 21 rows
- Cast off.
Making Up
- Stitch the side seams and leave the ears to lie flat.
- Stitch to the top of the bunny hat - where you want the ears to go, I find it easier to do this with the hat placed over a ball of yarn.
- Secure and sew in any loose ends.
Notes
Size Information
Gauge >
18 sts in 25 rows in 4 inches - measured over st, st using 4.5 mm (US 7) needles.
Size >
0-3 months - Head circumference = 34 cm / 13.5 inches
3-6 months - Head circumference = 38 cm / 15 inches
6-9 months - Head circumference = 42 cm / 16.5 inches
Abbreviations
- Approx = Approximately
- Beg = Begin(ning)
- CO - cast on
- Cont = Continue(ing)
- Dec = Decrease
- Inc = Increase
- K = Knit
- KFB - Knit into the front and back of the stitch (to increase)
- K2tog = Knit 2 sts together
- M1 – Make one st
- P = Purl
- Rem = Remaining
- Rep = Repeat
- St(s) = Stitch(es)
- St St = stocking stitch – knit 1 row, purl 1 row

Could you share your work with us?
I love seeing your finished projects.
If you enjoyed making the pattern, I’d love to see yours on Instagram, be sure to tag me @handylittleme.
If you are on Facebook, go to the handylittleme Facebook page and share a photo!
I’d love to see your work.
Happy Knitting!
Helpful Resources
This pattern is great for any advanced beginner knitters.
- Knitting cast-on methods
- Knitting Lessons
- How to cast on knitting
- How to cast off knitting for total beginners (step by step)
- How to knit garter stitch
- How to knit the purl stitch (for beginners + a video tutorial)
- How to knit stockinette stitch (for beginners)
- How to read knitting patterns for beginners
- Knitting abbreviations and terms (US and UK)
- How to knit rib stitch
- How to knit two stitches together – K2tog

More Baby Knitting Patterns
You may also be interested in these baby knits:
- Easy Baby Sweater Knitting Pattern For Beginners
- Baby Cardigan Knitting Pattern (For Beginners)
- Easy Baby Cardigan Knitting Pattern
- How To Knit A Baby Hat (Straight Needles)
- Baby Blanket Pattern (Patchwork + 4 Stitch Patterns)
- Stuffed Bunny Pattern {With Crochet Overalls}
- Baby Slippers Knitting Pattern
- Bunny Softie Pattern (Easy To Knit)
