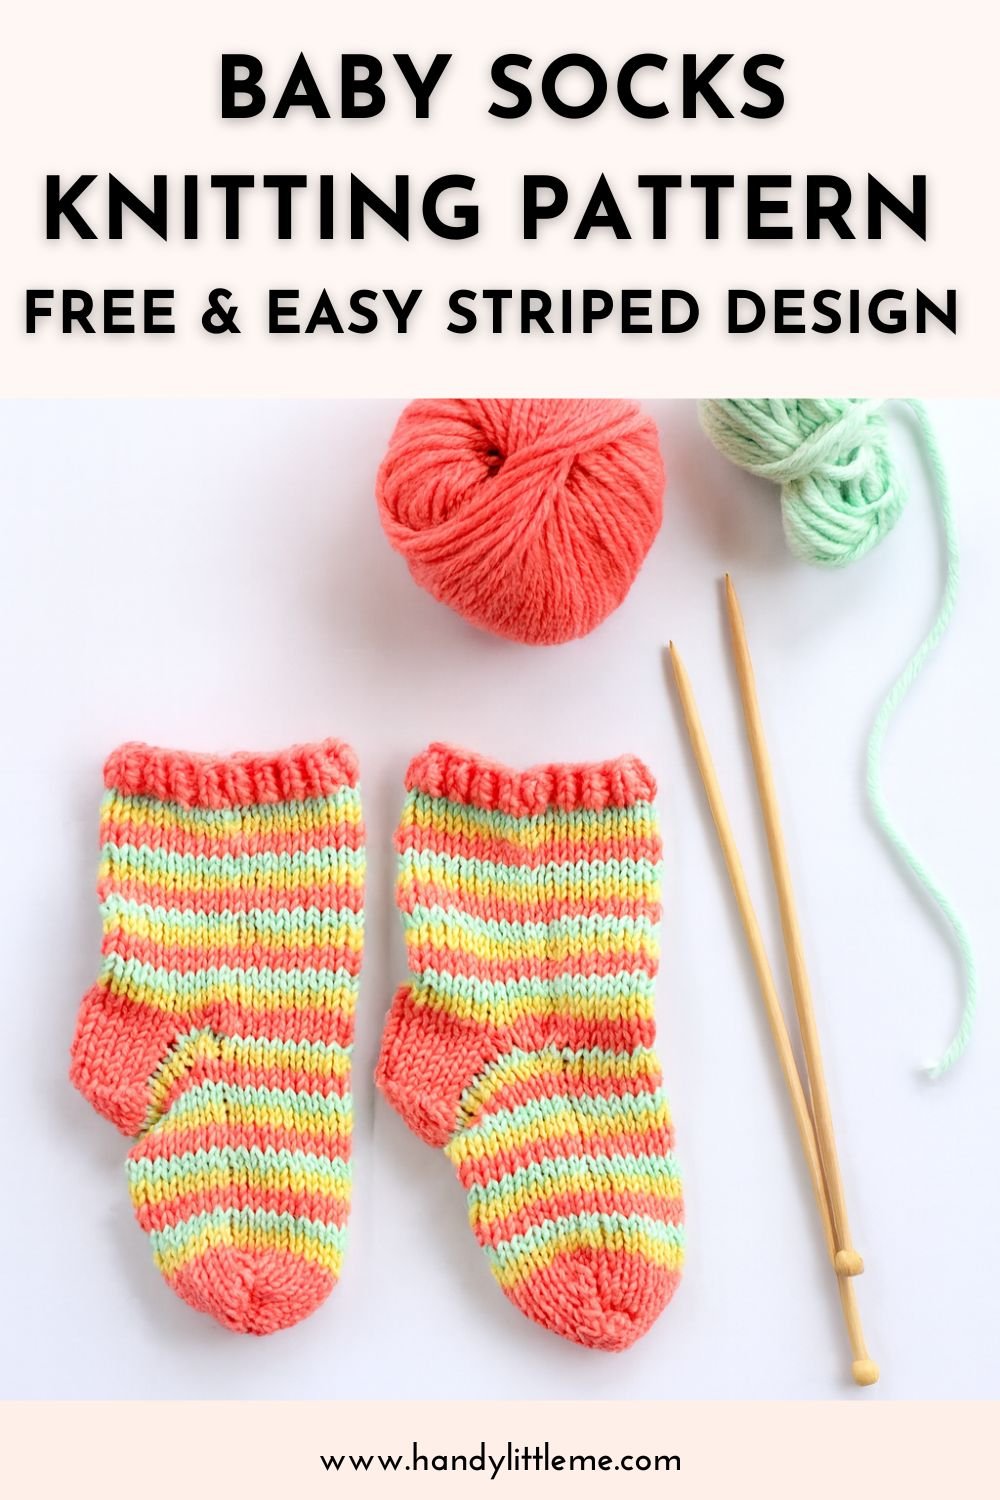
Baby Socks Knitting Pattern – Free & Easy Striped Design
THIS ARTICLE CONTAINS AFFILIATE LINKS THAT SUPPORT HANDY LITTLE ME CONTENT AND FREE PATTERNS.Knitting for little ones is always a joy, and nothing is sweeter than a tiny pair of striped baby socks.
This baby socks knitting pattern is an advanced beginner-friendly, quick to make, and perfect for using up small amounts of yarn in your favorite colors.
Whether you go for pastel stripes, rainbow brights, or neutral tones, these socks are sure to be a hit for gifts, baby showers, or just keeping tiny toes cozy.
Scroll down to view the free pattern or grab the ad-free printable PDF from my shop here.
Before You Get Started
Here’s what to know before you knit these striped baby socks:
- These socks are sized for 3–6 months and work up quickly, perfect for a weekend project.
- This pattern is an easy level, designed for advanced beginners.
- You’ll knit in the round using either circular needles or DPNs.
- Basic skills you should know: cast on, knit, purl, simple increases and decreases, and picking up stitches.

Baby Socks Knitting Pattern
Purchase the inexpensive, ad-free, PDF printable pattern in my shop here.
You can also find this pattern here – 10 Baby Knitting Patterns Ebook.
Related post: 13 Best Knitting Needles For Sock Knitting
Notes
The socks knit up quickly, and the simple design makes for a relaxing and enjoyable knit.
They are knit on a circular needle or DPNs.
Copyright Info
- Please do not copy, sell, redistribute, or republish this pattern.
- If you wish to share this pattern, link to the pattern page only.
- You may sell items produced using this pattern.
- Do NOT use the copyrighted photos for your product listing.
- For the copyright T&C, please read my Terms of Use.
Size –
- This pattern is to fit the baby’s feet, size 3-6 months
Gauge – 10 sts / 12 rows in 1 inch

Tools & Materials Needed
Yarn
- 4 ply yarn/any superfine 01 yarn 50g x 3 colors:
- Coral (Yarn A)
- Lemon (Yarn B)
- Mint (Yarn C)
- Yarn Weight Guide (+ Conversion Chart)
Needles
- 3 mm (US 2.5) 9″ or 16′′ circular needles.
- Everyone has their own preference when it comes to using DPNs or circular needles, so it is whatever is right for you.
Notions

Abbreviations
Knitting Abbreviations And Terms (US And UK)
- Beg = Begin(ning)
- Cont = Continue(ing)
- K = Knit
- K2tog = Knit 2 sts together
- P = Purl
- P2tog = Purl two stitches together
- Psso = pass slipped stitch over
- Rem = Remaining
- Rep = Repeat
- RIB = K1, P1
- S1 – Slip one stitch
- St(s) = Stitch(es)
- St St = stocking stitch – knit 1 row, purl 1 row
Pattern Instructions
*Place a marker at the beginning of the round.
*Also please note – carry the yarn throughout the pattern unless it tells you to break the yarn
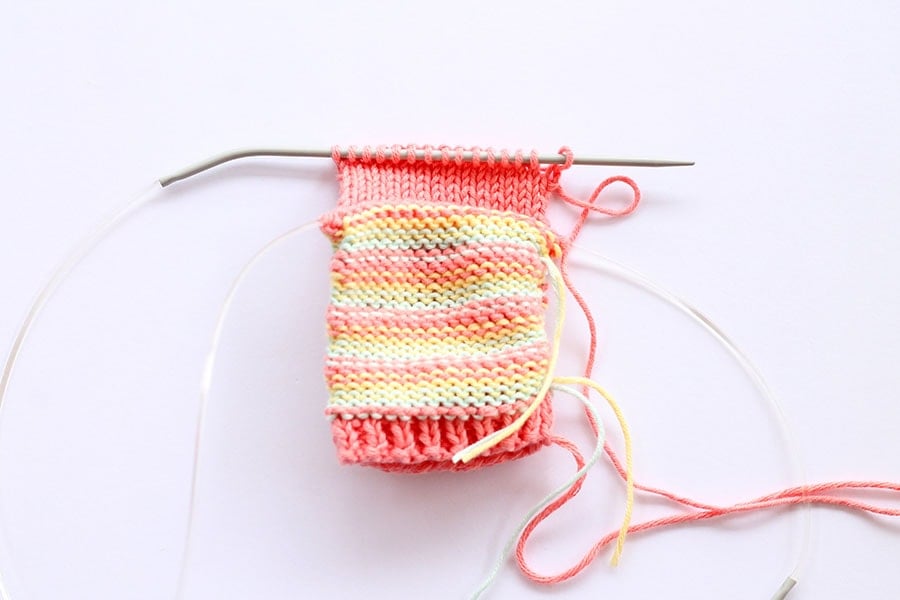
Cuff
- Using Yarn A cast on 36sts.
- Work 3 rounds in *K1, P1* to end.
- Rounds 4-5 – Using Yarn C, K to end.
- Rounds 6-7 – Use Yarn B, K to end.
- Rounds 8-9 – Use A and K to end
- Rounds 10-27 – as rounds 4-9 three times.
- You can cut Yarns B and C now and re-join later

Start heel
- Using A, K15, turn, leave remaining sts on needles for instep.
- On 15 sts, work 7 rows in stockinette st, starting with a Purl row.
Shape and turn heel
- Row 1 – K9, turn.
- Row 2 – S1, P2, turn.
- Row 3 – S1, K1, S1, K1, PSSO, K1, turn.
- Row 4 – S1, P2, P2tog, P1, turn.
- Row 5 – S1, K3, S1, K1, PSSO, K1, turn.
- Row 6 – S1, P4, P2tog, P1, turn.
- Row 7 – S1, K5, S1, K1, PSSO, turn.
- Row 8 – S1, P6, P2tog, P1.
- Break Yarn.
- Using Yarn A you will now pick up and knit the heel stitches as follows – pick up and knit 6 sts along the heel, 9 sts from the needle, 6 sts along the heel, K to the end of the round, then move stitch marker to here.
Cont as follows
*Join in Yarn C then B as in the pattern
- Round 1 – using Yarn C, K2tog, K19, K2tog, K to end.
- Round 2 – using Yarn B, K2tog, K17, K2tog, K to end.
- Round 3 – using Yarn B, K2tog, K15, K2tog, K to end.
- Round 4 – using Yarn A, K2tog, K13, K2tog, K to end.
- Round 5 – using Yarn A, K to end.
- Rounds 6-25 – as round 5, keep the stripe pattern correct.
- Break Yarns B and C.
Shape toe
- Using Yarn A,
- Round 1 – Knit to the last stitch, and slip this stitch onto the left-hand needle to be the first stitch of the next round.
- Round 2 – *K2tog, K13, S1, K1, PSSO* twice.
- Round 3 – Knit.
- Round 4 – *K2tog, K11, S1, K1, PSSO* twice.
- Round 5 – Knit.
- Round 6 – *K2tog, K9, S1, K1, PSSO* twice.
- Round 7 – Knit.
- Round 8 – Graft toe using the Kitchener stitch.
Second Sock > Make the second sock to match.
Finishing
- Graft toe using the Kitchener stitch for no seam and weave in any loose ends.
- It is best to use the Kitchener stitch when sewing up sock toes so that there is no ridge inside that will rub against the skin.
- Block your socks if possible for a better finish.
FAQs & Tips
Can beginners knit baby socks?
Yes — this pattern uses simple stitches and shaping, making it a great first sock project.
Do I have to use 3 colors?
No, you can knit these in a single color or experiment with more stripes.
Can I knit these on straight needles?
Not as written — this pattern is designed for knitting in the round.
Share Your Project
I love seeing your finished projects on social media.
If you enjoyed making the socks, I’d love to see yours on Instagram, tag me @handylittleme.
I’d love to see your work.
Happy knitting!
More Baby Knitting Patterns
You may also be interested in these baby knits:
- 20 Free Baby Cocoon Knitting Patterns (Easy + Cute)
- Easy Baby Sweater Knitting Pattern For Beginners
- Knitted Baby Cardigan (Free Knitting Pattern)
- Easy Baby Cardigan Knitting Pattern
- How To Knit A Baby Hat (Straight Needles)
- Baby Blanket Pattern (Patchwork + 4 Stitch Patterns)
- Stuffed Bunny Pattern {With Crochet Overalls}
- Baby Slippers Knitting Pattern
- Bunny Softie Pattern (Easy To Knit)
- 10 Free Knitted Baby Headbands (Easy Patterns)
Helpful Resources
This pattern is great for any advanced beginner knitters.
- How to knit two stitches together – K2tog
- Knitting cast-on methods
- Knitting Lessons
- How to cast on knitting
- How to cast off knitting for total beginners (step by step)
- How to knit garter stitch
- How to knit the purl stitch (for beginners + a video tutorial)
- How to knit stockinette stitch (for beginners)
- How to read knitting patterns for beginners
- Knitting abbreviations and terms (US and UK)
- How to knit rib stitch patterns (1×1 and 2×2 ribbing)
- You should be comfortable picking up stitches (how to pick up stitches in knitting)
More Patterns You May Be Interested In…
- How To Knit A Hat For Complete Beginners (+ Video Tutorial)
- 20 Temperature Blanket Patterns (The Ultimate Guide)
- How To Knit A Hat With Circular Needles (Step-By-Step)
- 31 Free Baby Blanket Knitting Patterns (Easy Knit Blankets)
- How To Knit Baby Booties (Step-By-Step)
- Knitted Dog Sweater Pattern (3 Sizes)
- 12 Simple Knitting Stitches For Beginners
- Free Knitted Dishcloth Patterns
- 37+ Patterns To Use Up Your Yarn Stash (Small Projects)
- Free Dog Sweater Knitting Pattern (Straight Needles)
- Super Easy Corner To Corner Baby Blanket Pattern (Knit)
- Easy Baby Sweater Knitting Pattern For Beginners
- How To Knit A Baby Hat (Straight Needles)
- Pumpkin Knitting Pattern (Beginner Friendly!)
- 8 Cable Stitch Knitting Patterns
- Free Knitted Heart Pattern (Easy + Quick Project)
- 20+ Fall Oversized Knits (Sweater Knitting Patterns)
- Ribbed Beanie Knitting Pattern (Unisex Mariner’s Hat)
Love the pattern! First socks I have ever made and they turned out great!
Hello Peggy,
I’m so happy you enjoyed the pattern!
Happy knitting 🙂
Louise
Hello, this is my first pair of socks and I don’t understand the shape and turn heel section’s instructions… I knit the 7 rows in stockinette. Now what? Am I picking up those same “heel” stitches and K9 then turn? What would I do with the other 6 stitches on that row? Why is Row 2 only 3 stitches but again I have 15 stitches in the row? Is there of video of this process you could send? Thank you!
Hello Rebecca,
Thanks so much for your comment – and yes, this part can feel confusing the first time you make socks!
At the heel turn, you are not working across all 15 stitches on every row. You are working short rows, which means you knit or purl partway across, then turn your work before reaching the end of the row. That is why Row 1 says K9, turn and Row 2 says S1, P2, turn. The other stitches are left unworked for the moment and are brought in gradually as you continue the heel-turn rows.
So after knitting the 7 rows in stockinette on the 15 heel stitches, you go straight to:
Row 1 – K9, turn
This means knit 9 stitches only, then turn the work. Do not knit the remaining 6 stitches yet.
Then:
Row 2 – S1, P2, turn
Again, you are only working part of the row.
Each following row shapes the heel by working a few more stitches and using the decreases:
S1, K1, PSSO
P2tog
Once you complete Row 8, the heel turn is finished, and then you move on to:
Pick up and knit 6 stitches along the heel, 9 stitches from the needle, 6 stitches along the heel, then knit to the end of the round.
So in short:
Yes, you keep using those same 15 heel stitches
No, you do not work all 15 stitches on each heel-turn row
The “missing” stitches are meant to stay unworked until the heel shape is complete.
I don’t currently have a video for this exact sock heel, but the technique used here is a standard heel turn with short rows.
I hope this helps, and once you’ve worked through it, it should make much more sense on the needles.
Best wishes,
Louise x